See the VCR in action playing Enter the Dragon movie on Philips Discoverer CRT TV.
Resources
Documents
Internals
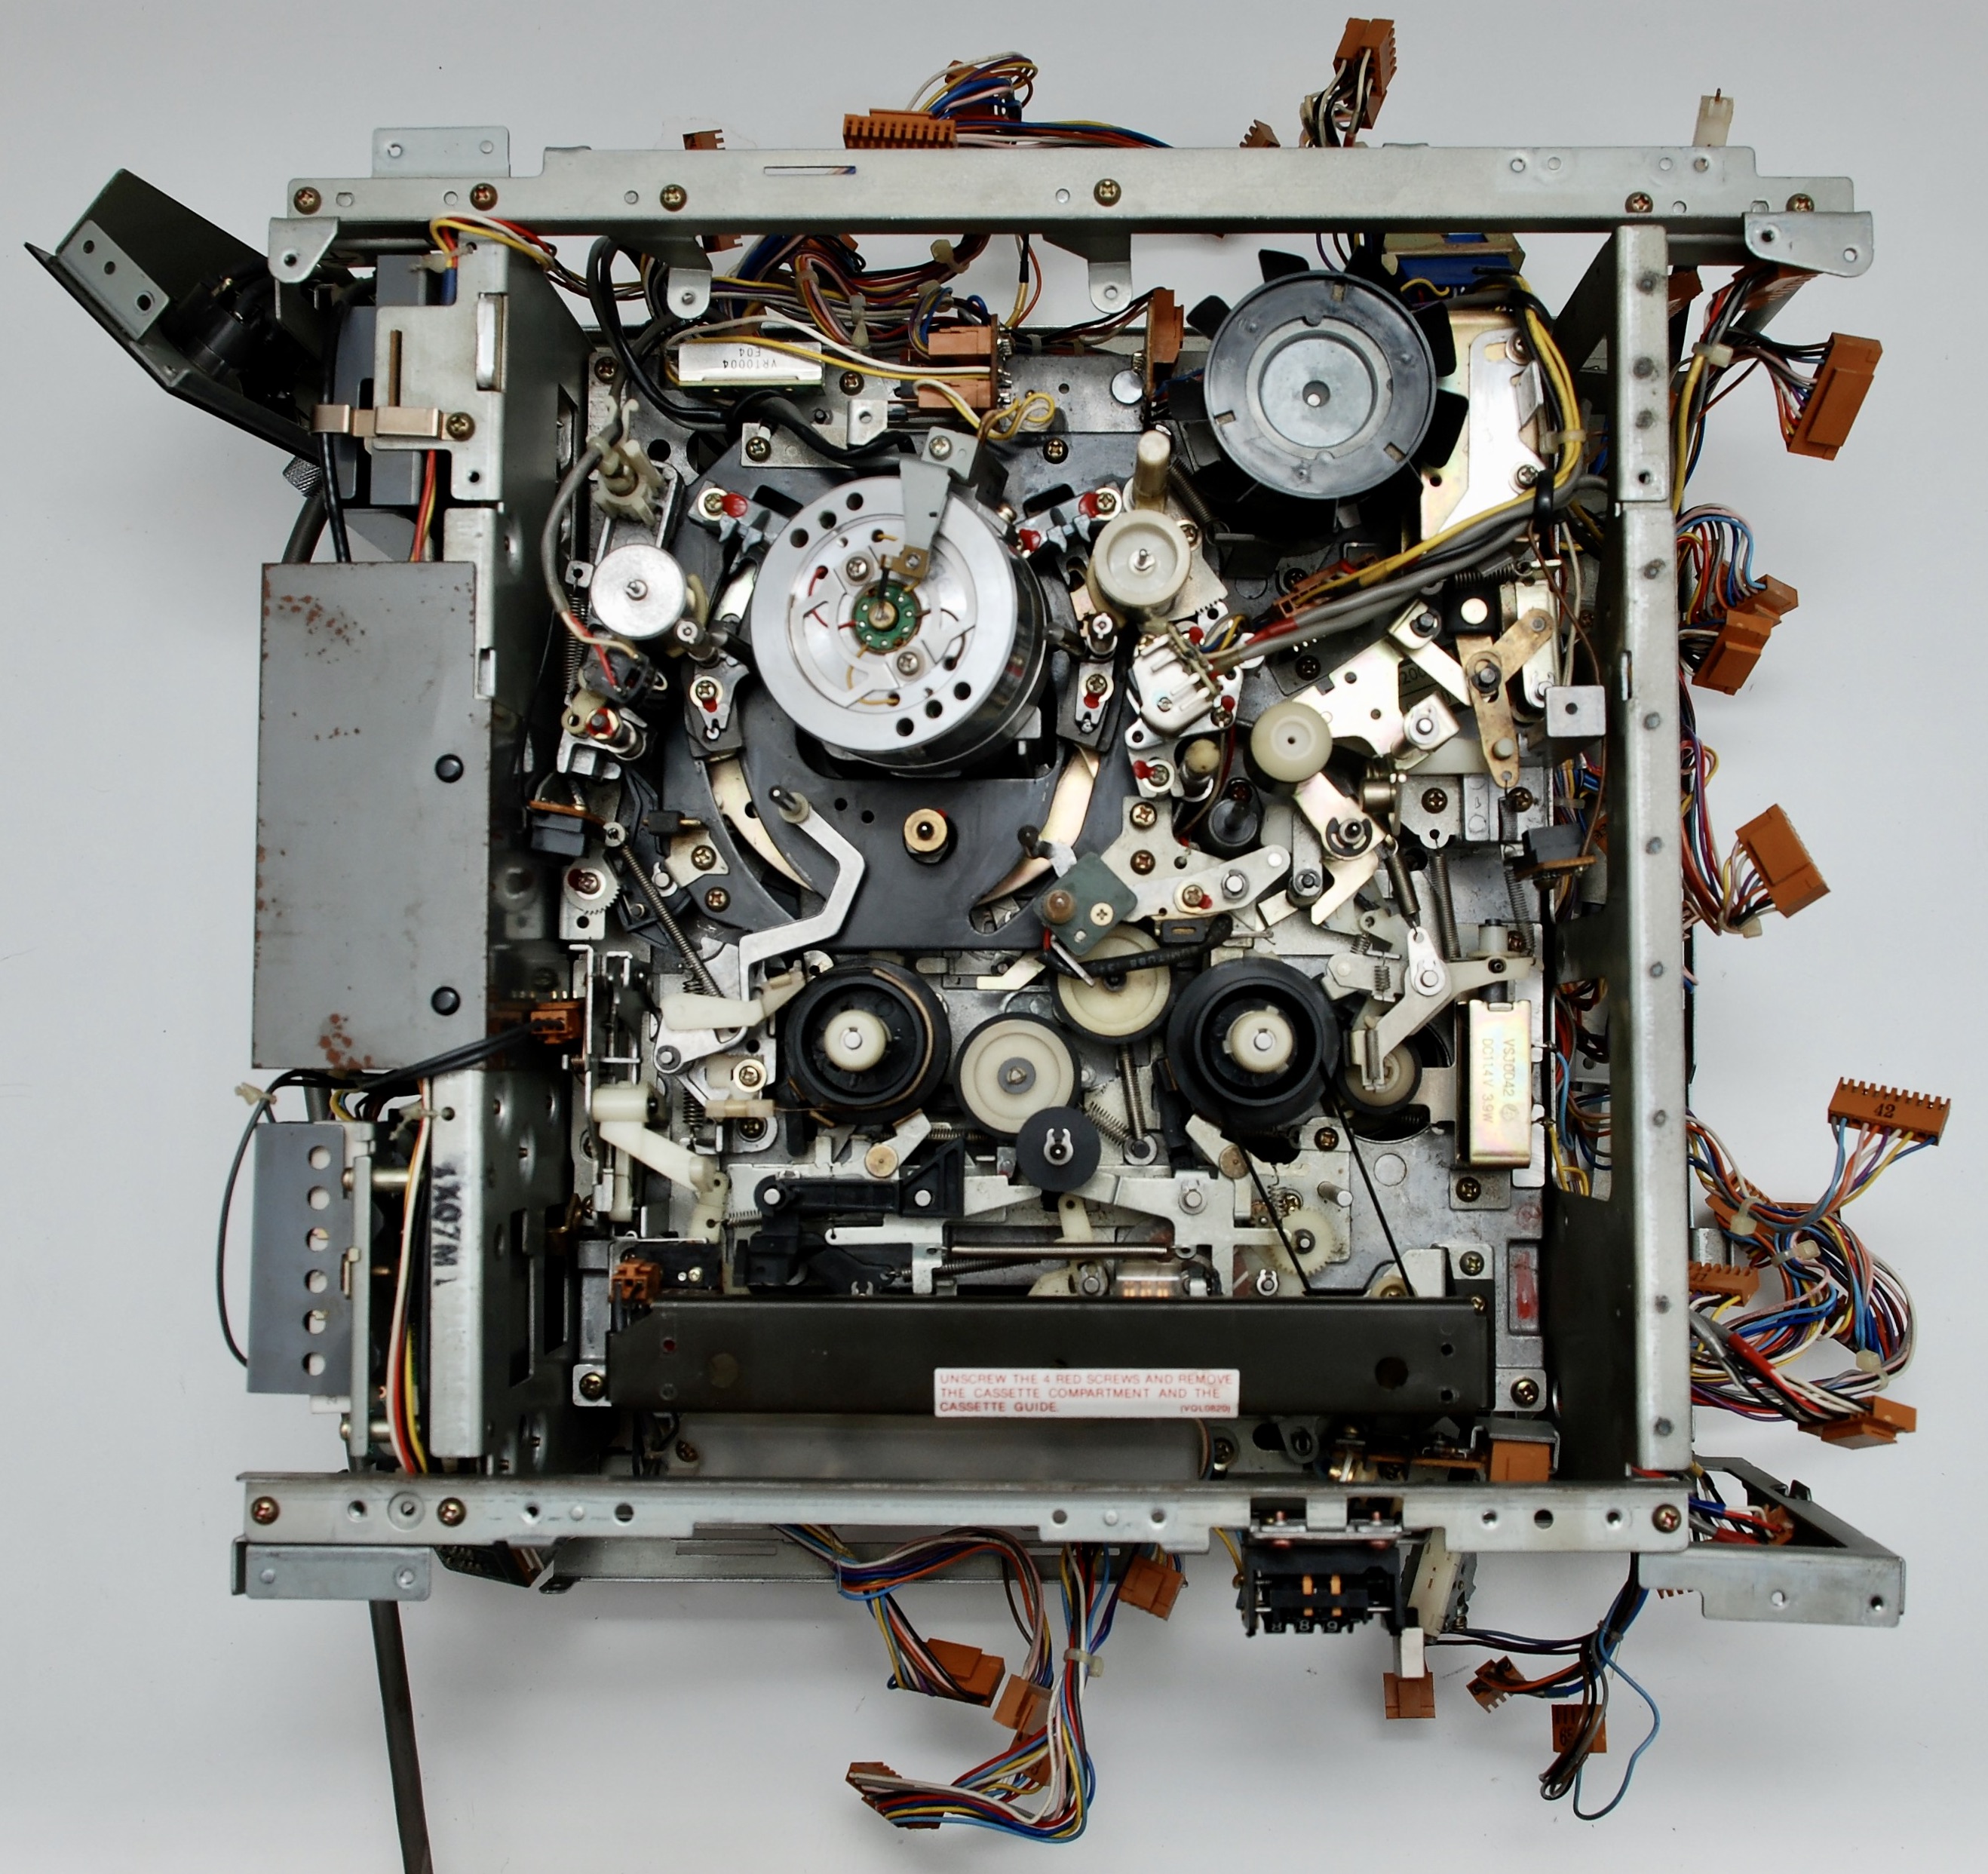
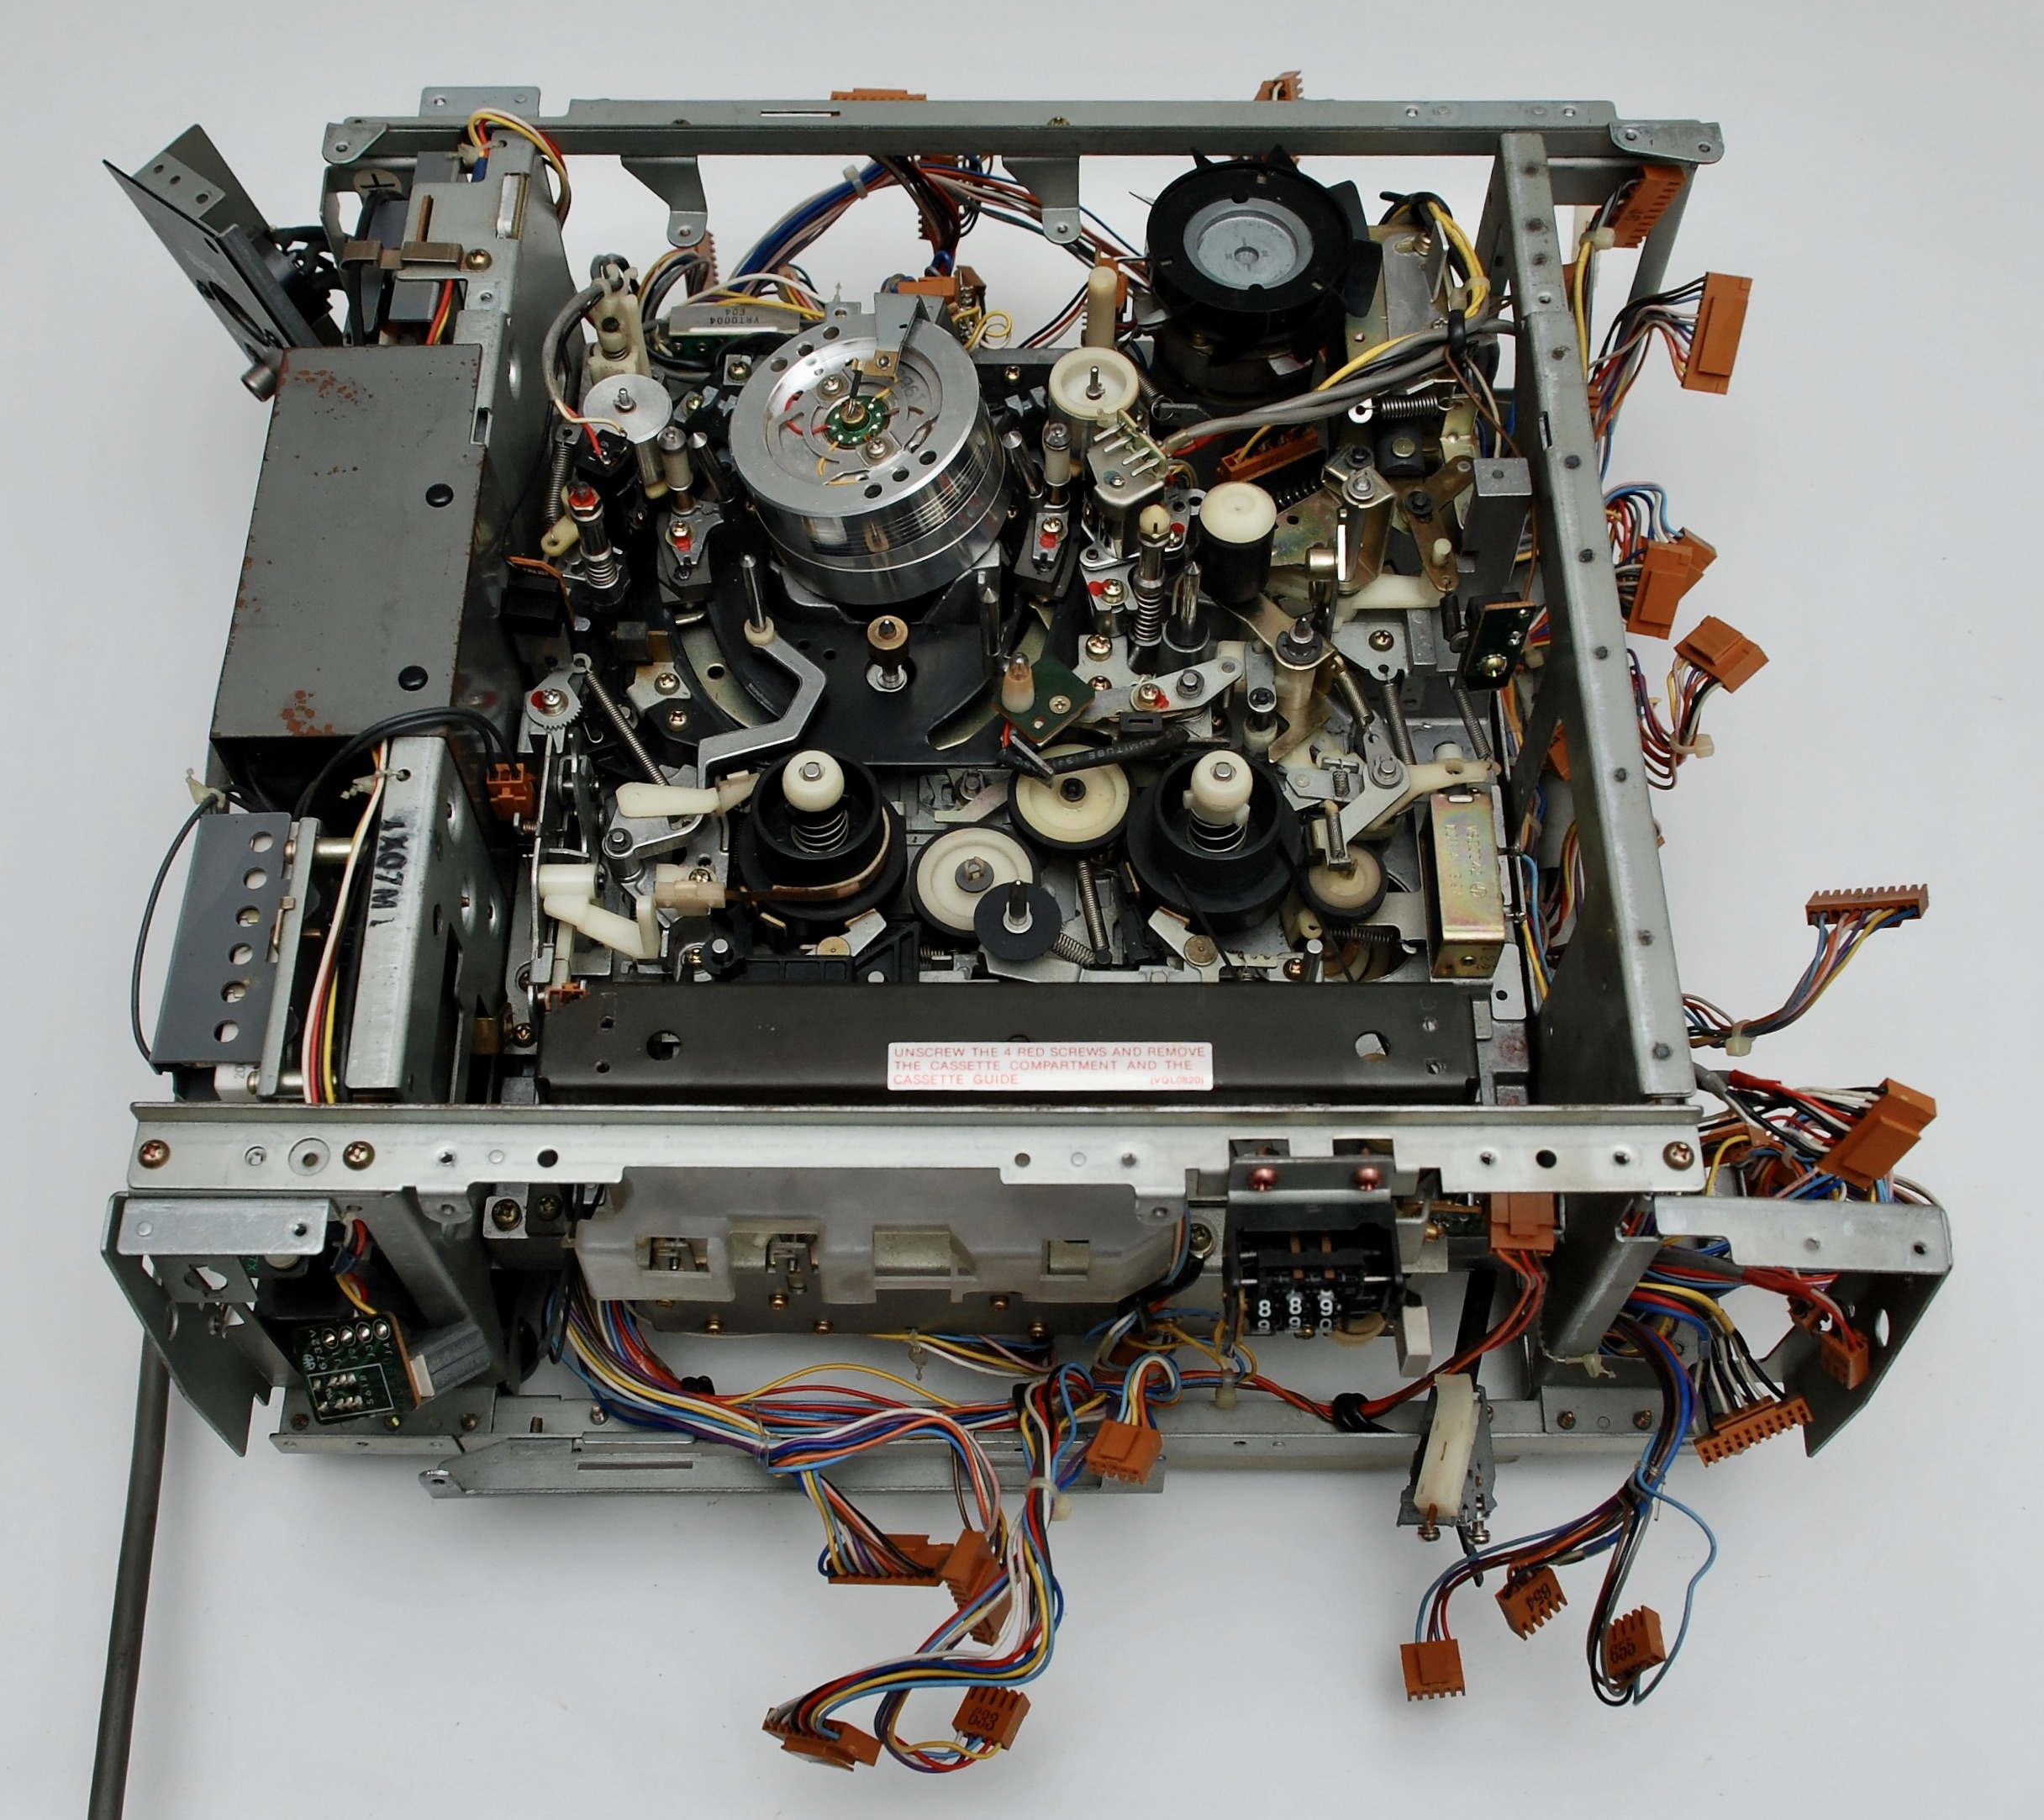
Working Mechanism
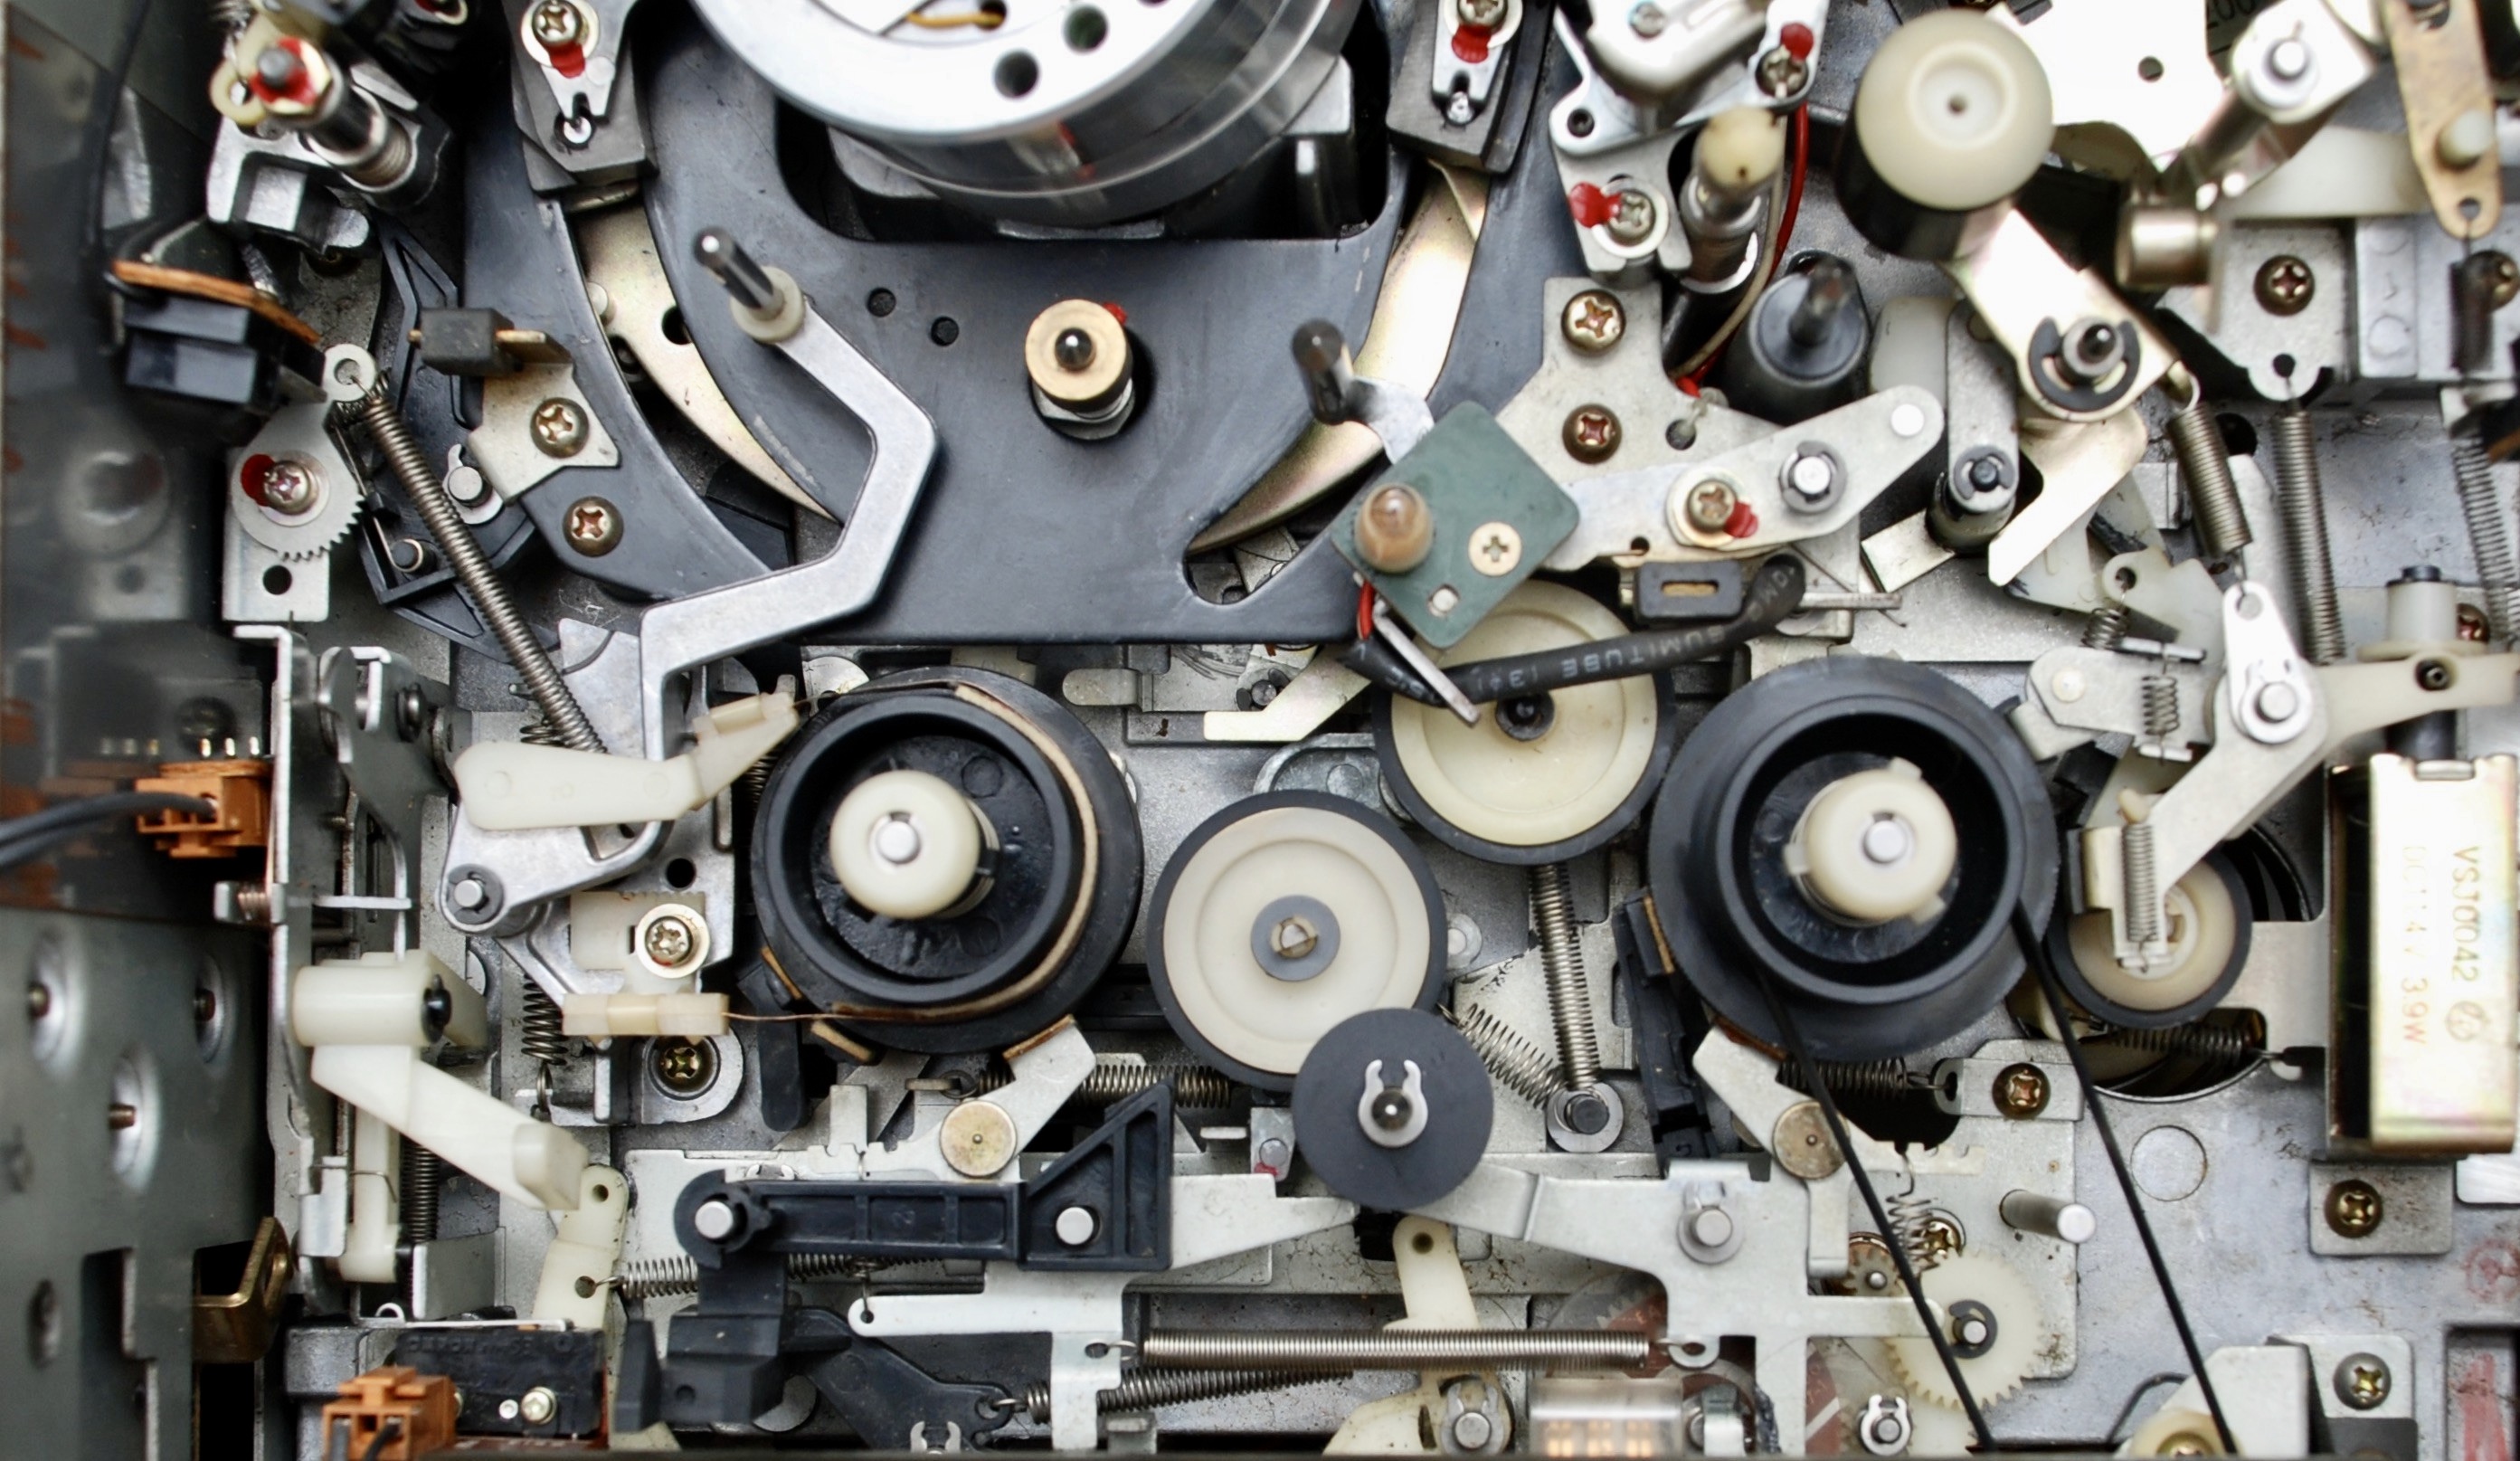
Top Side of the Mechanism


Cassette Cradle


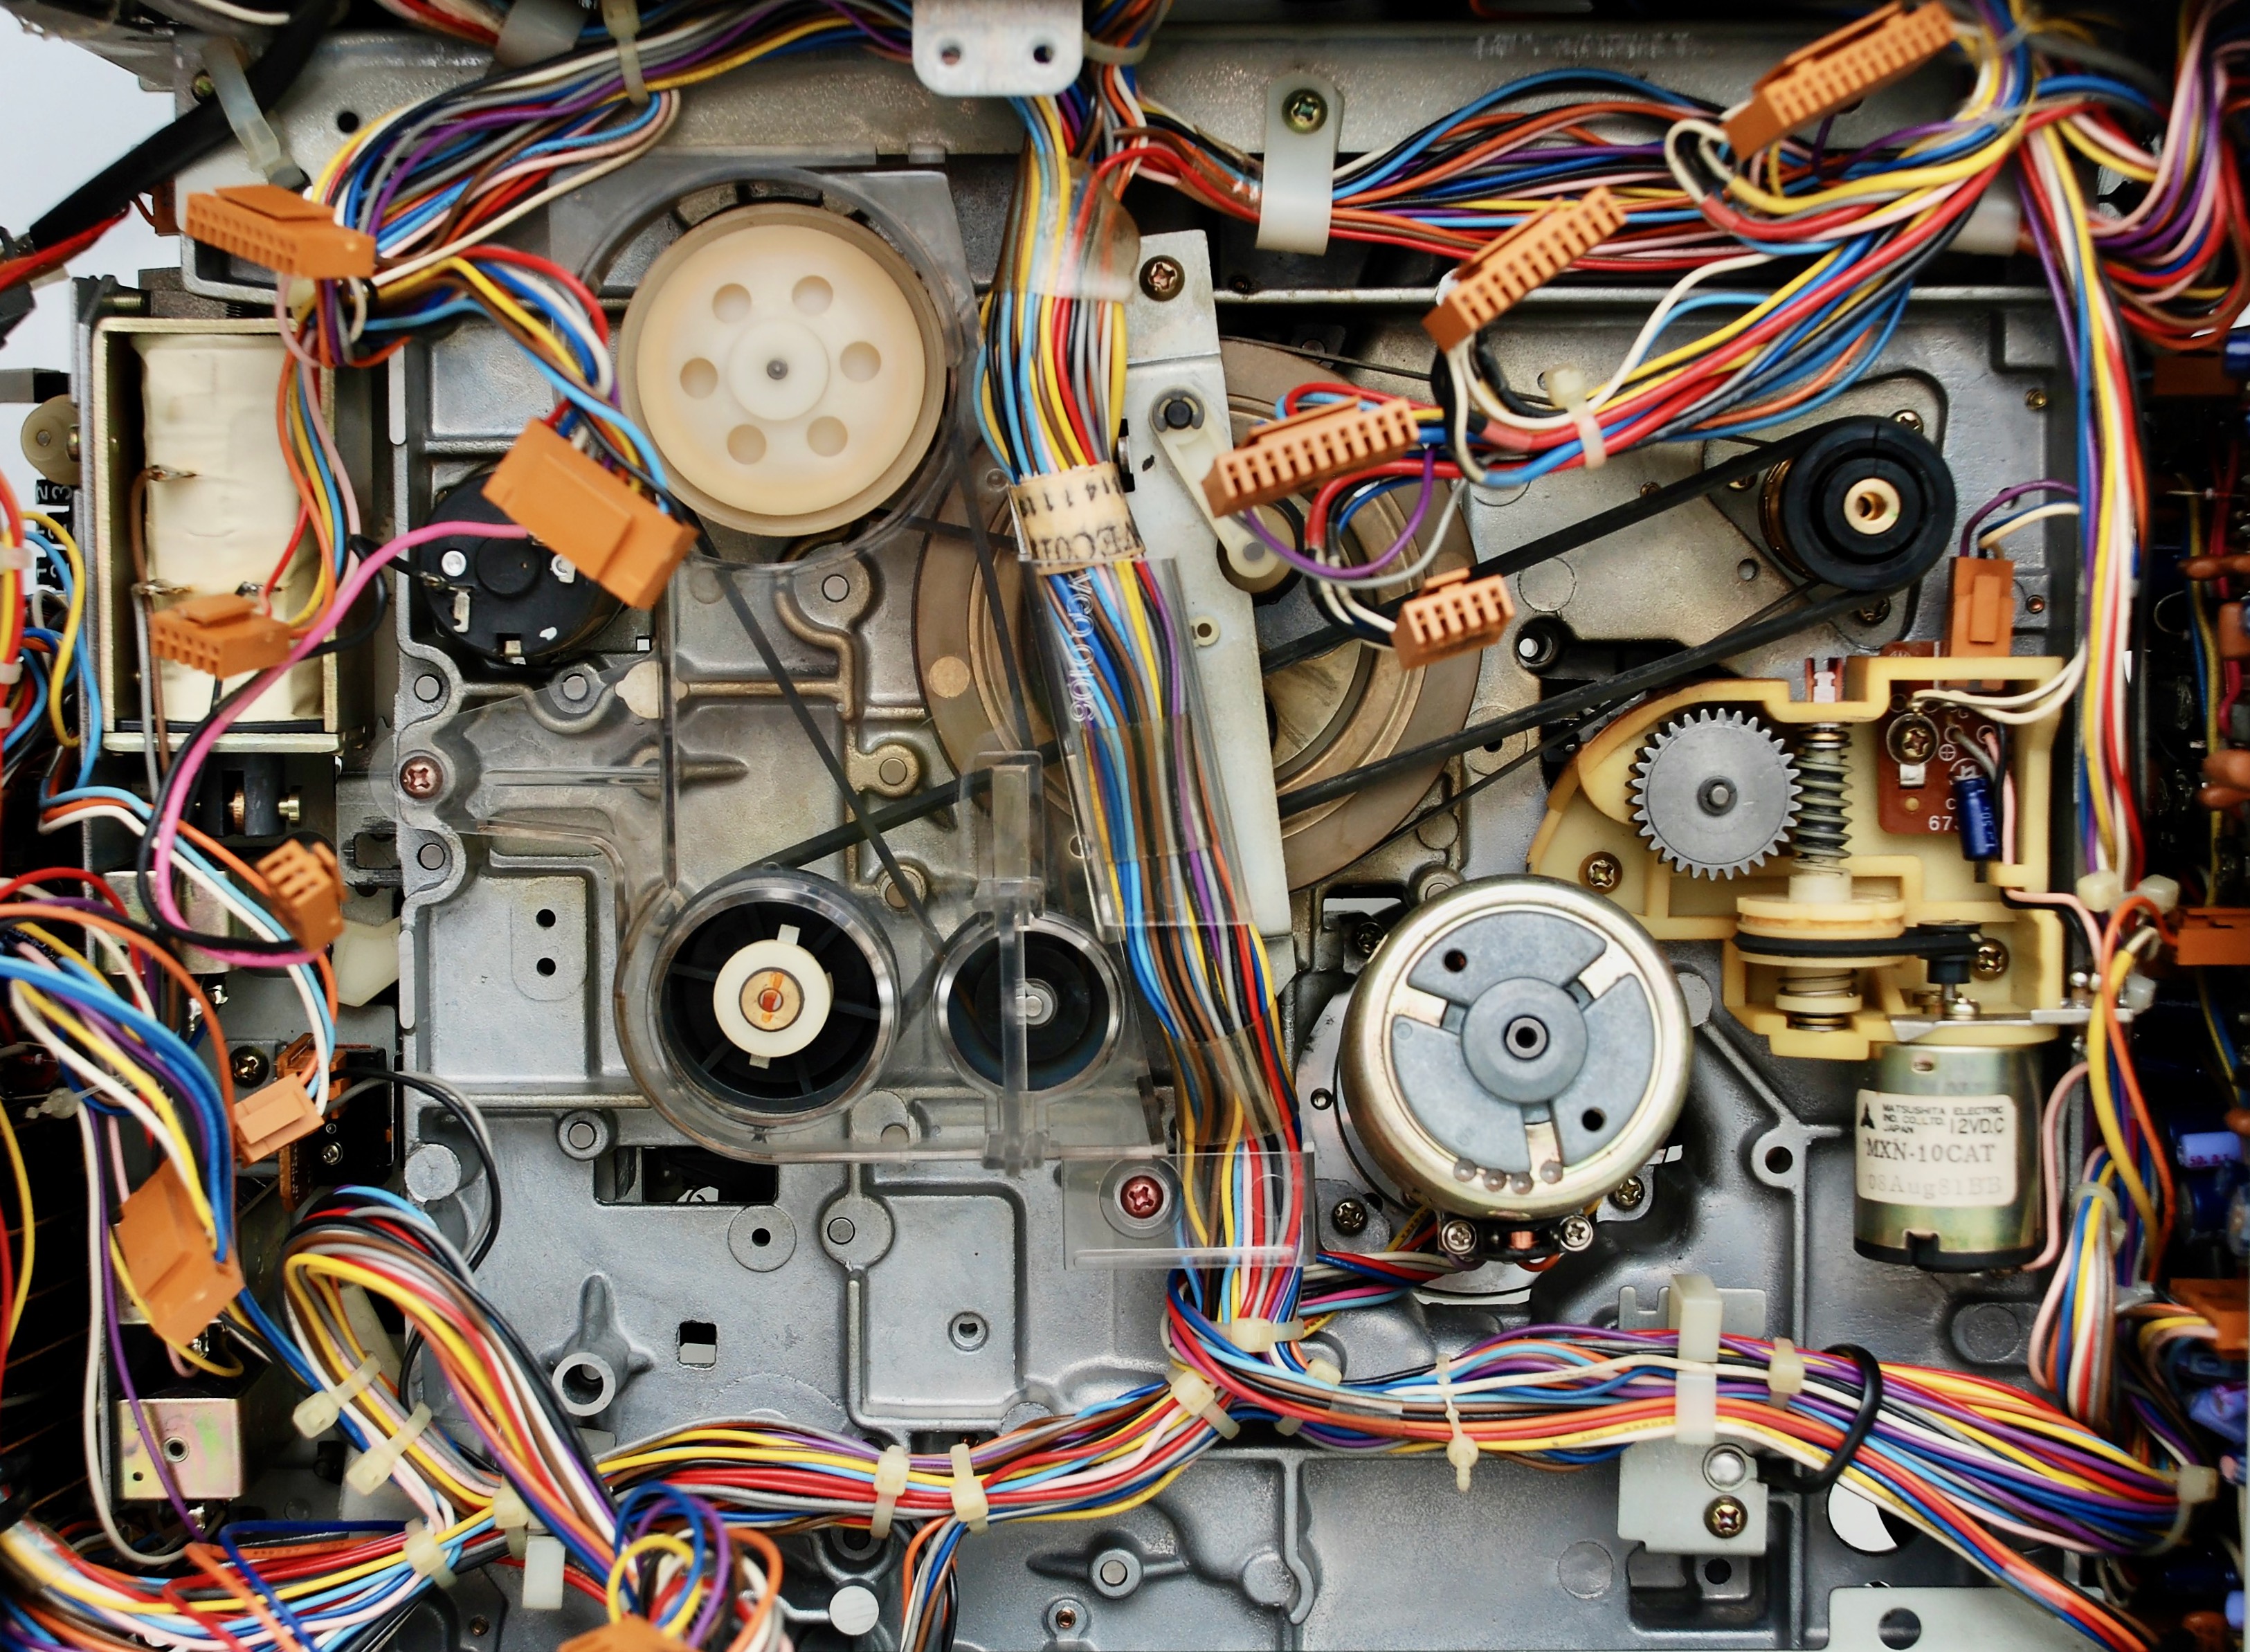
Bottom Side of the Mechanism
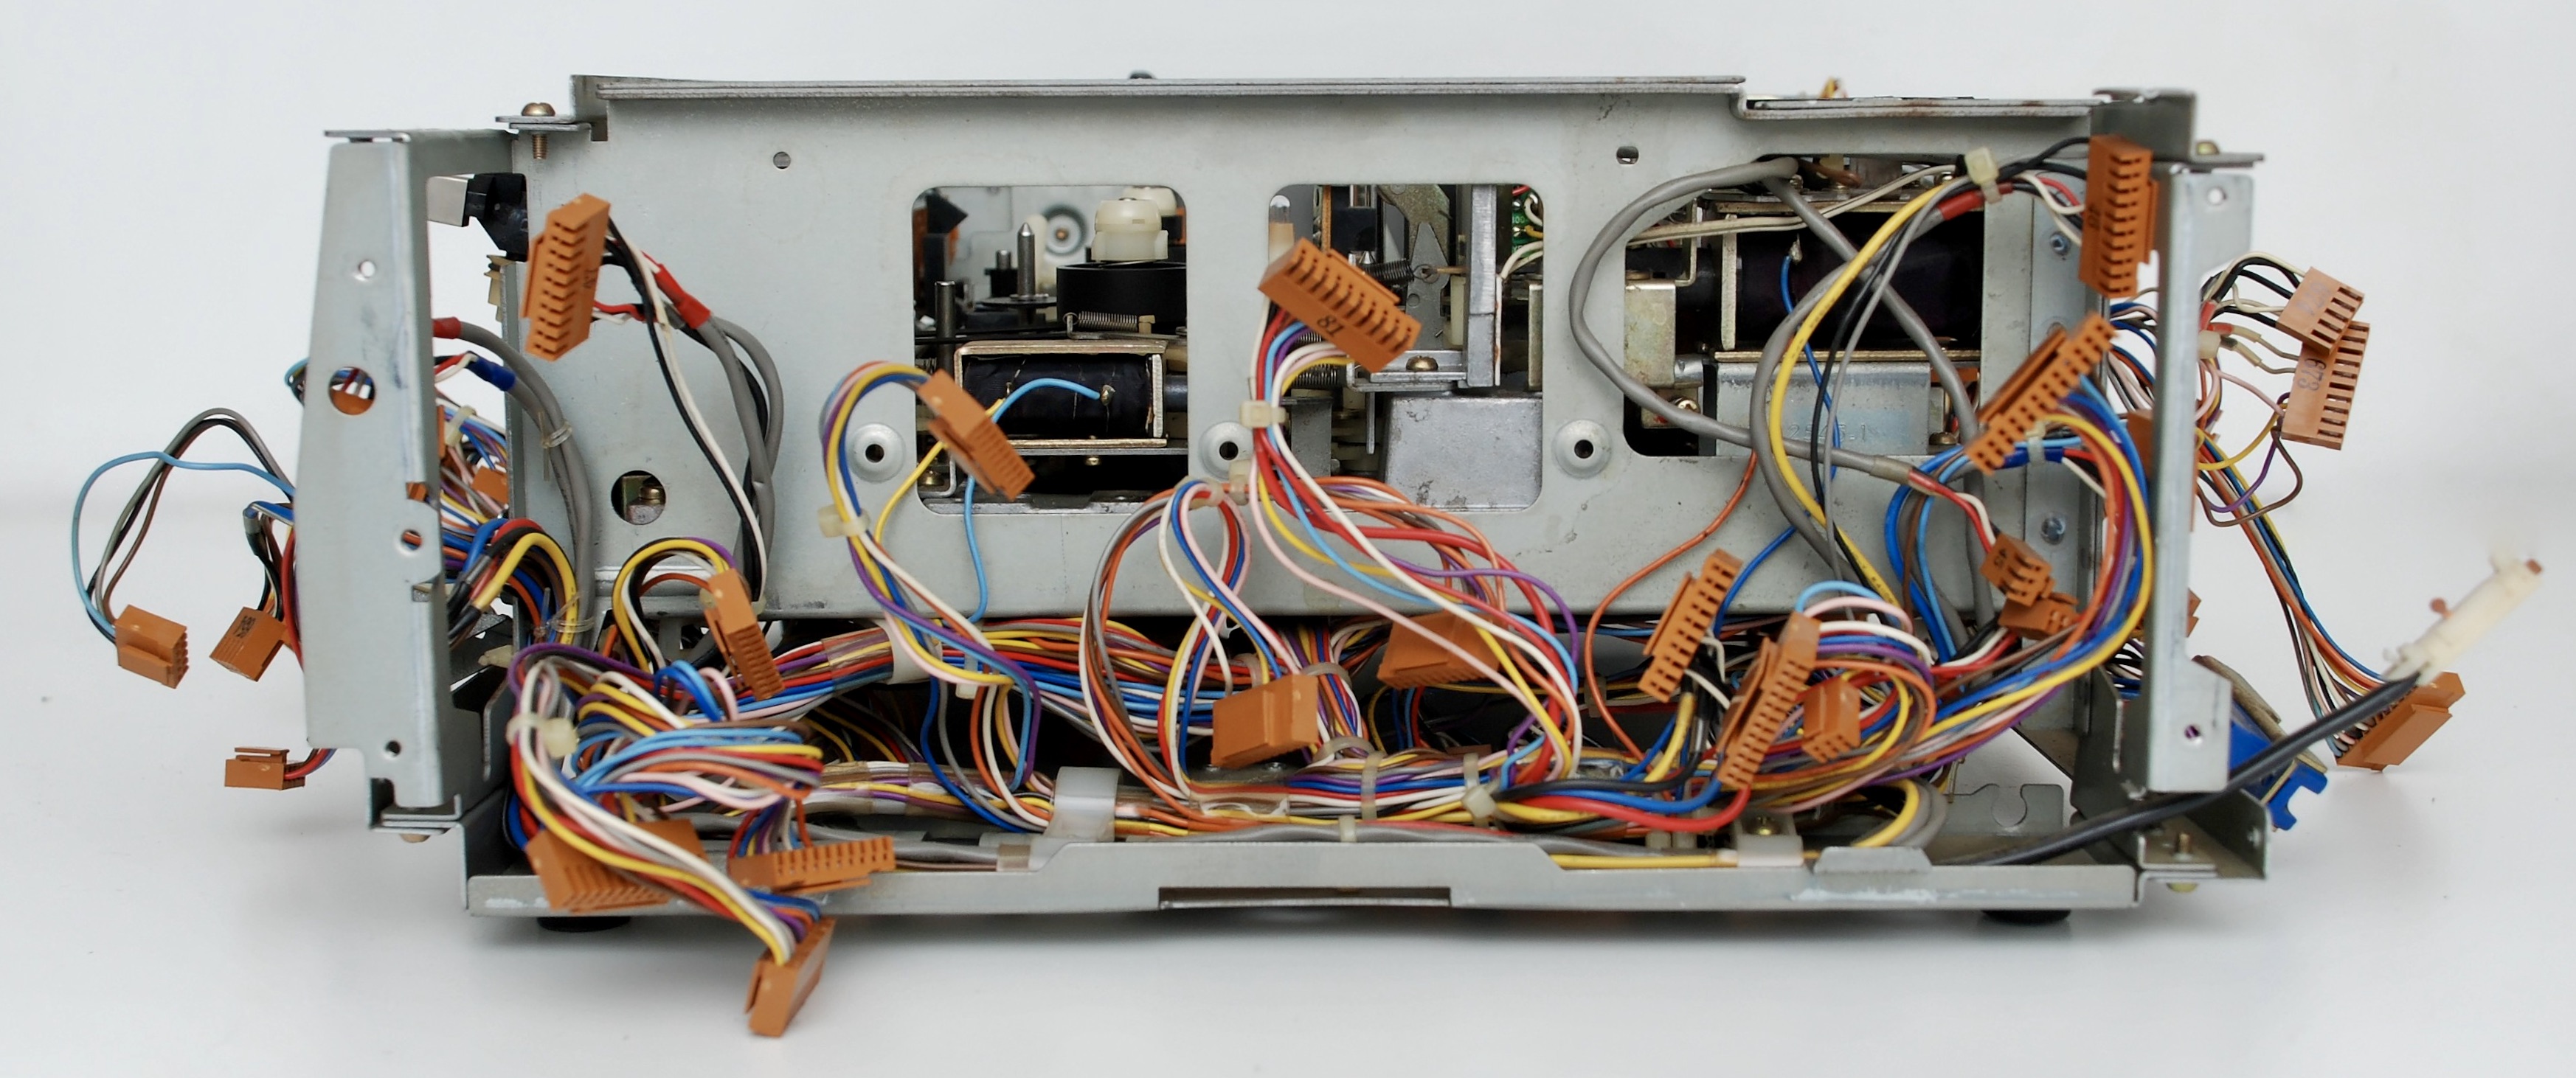
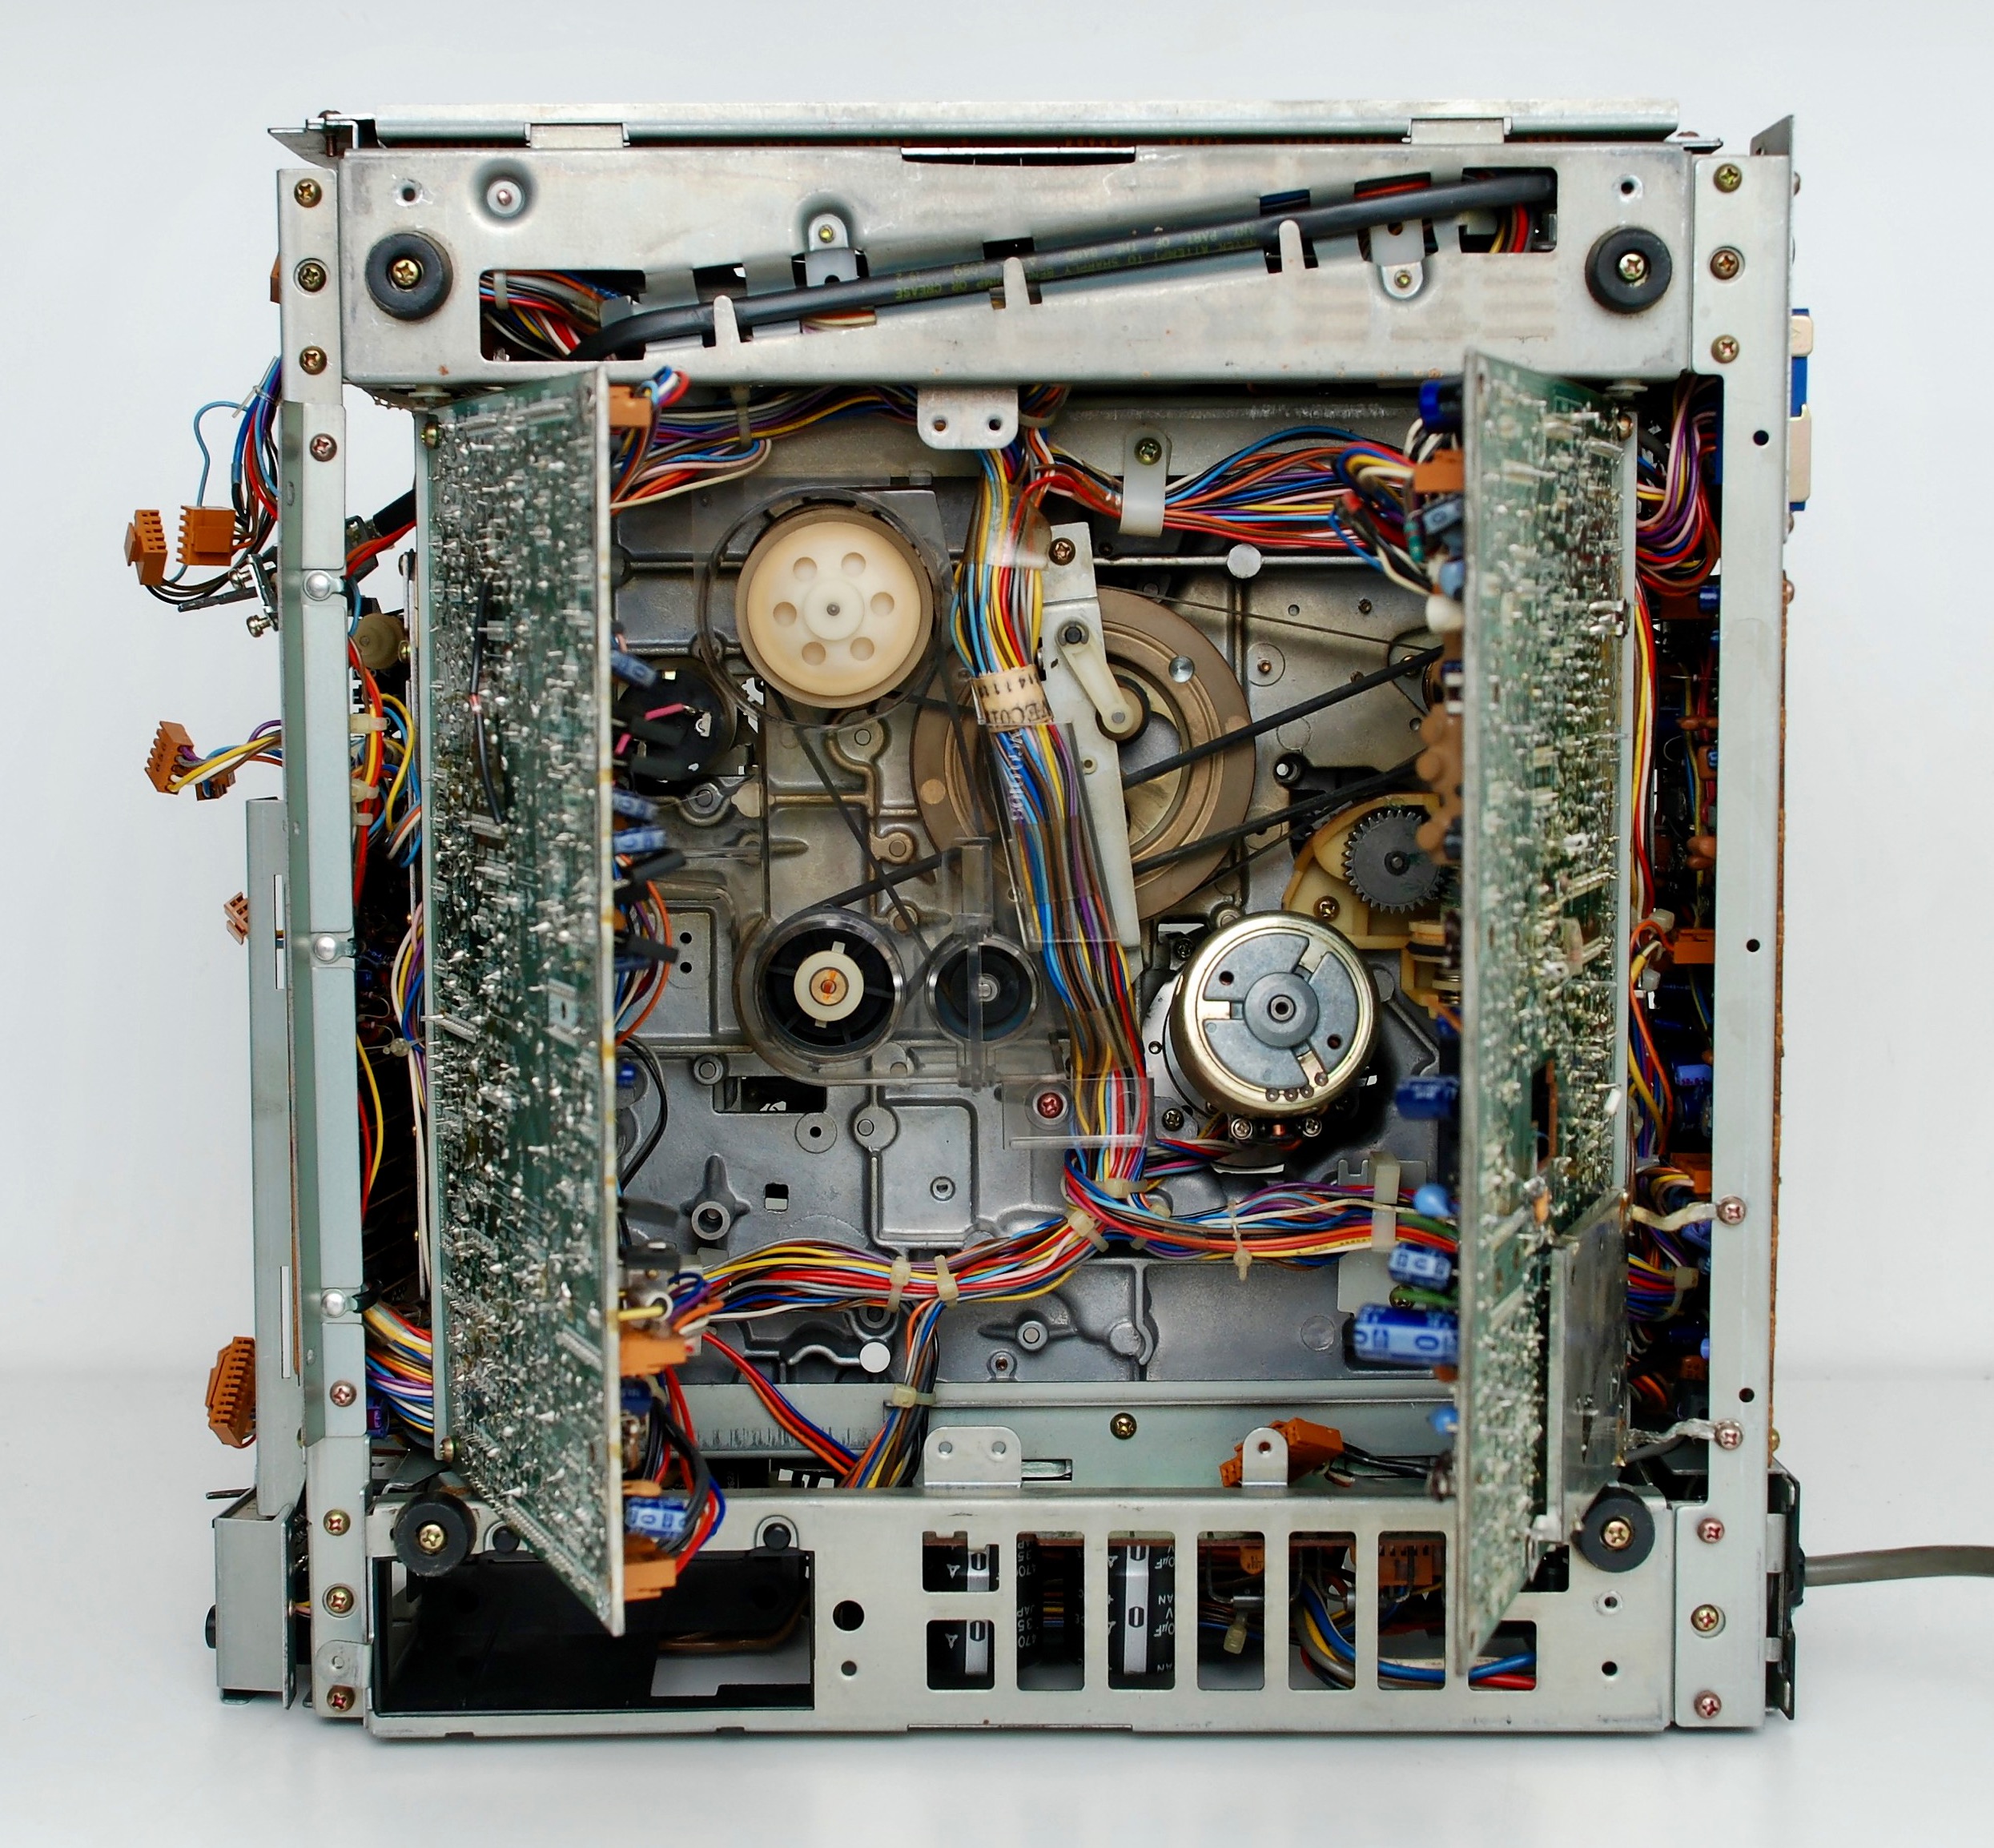
Frame without Circuit Boards

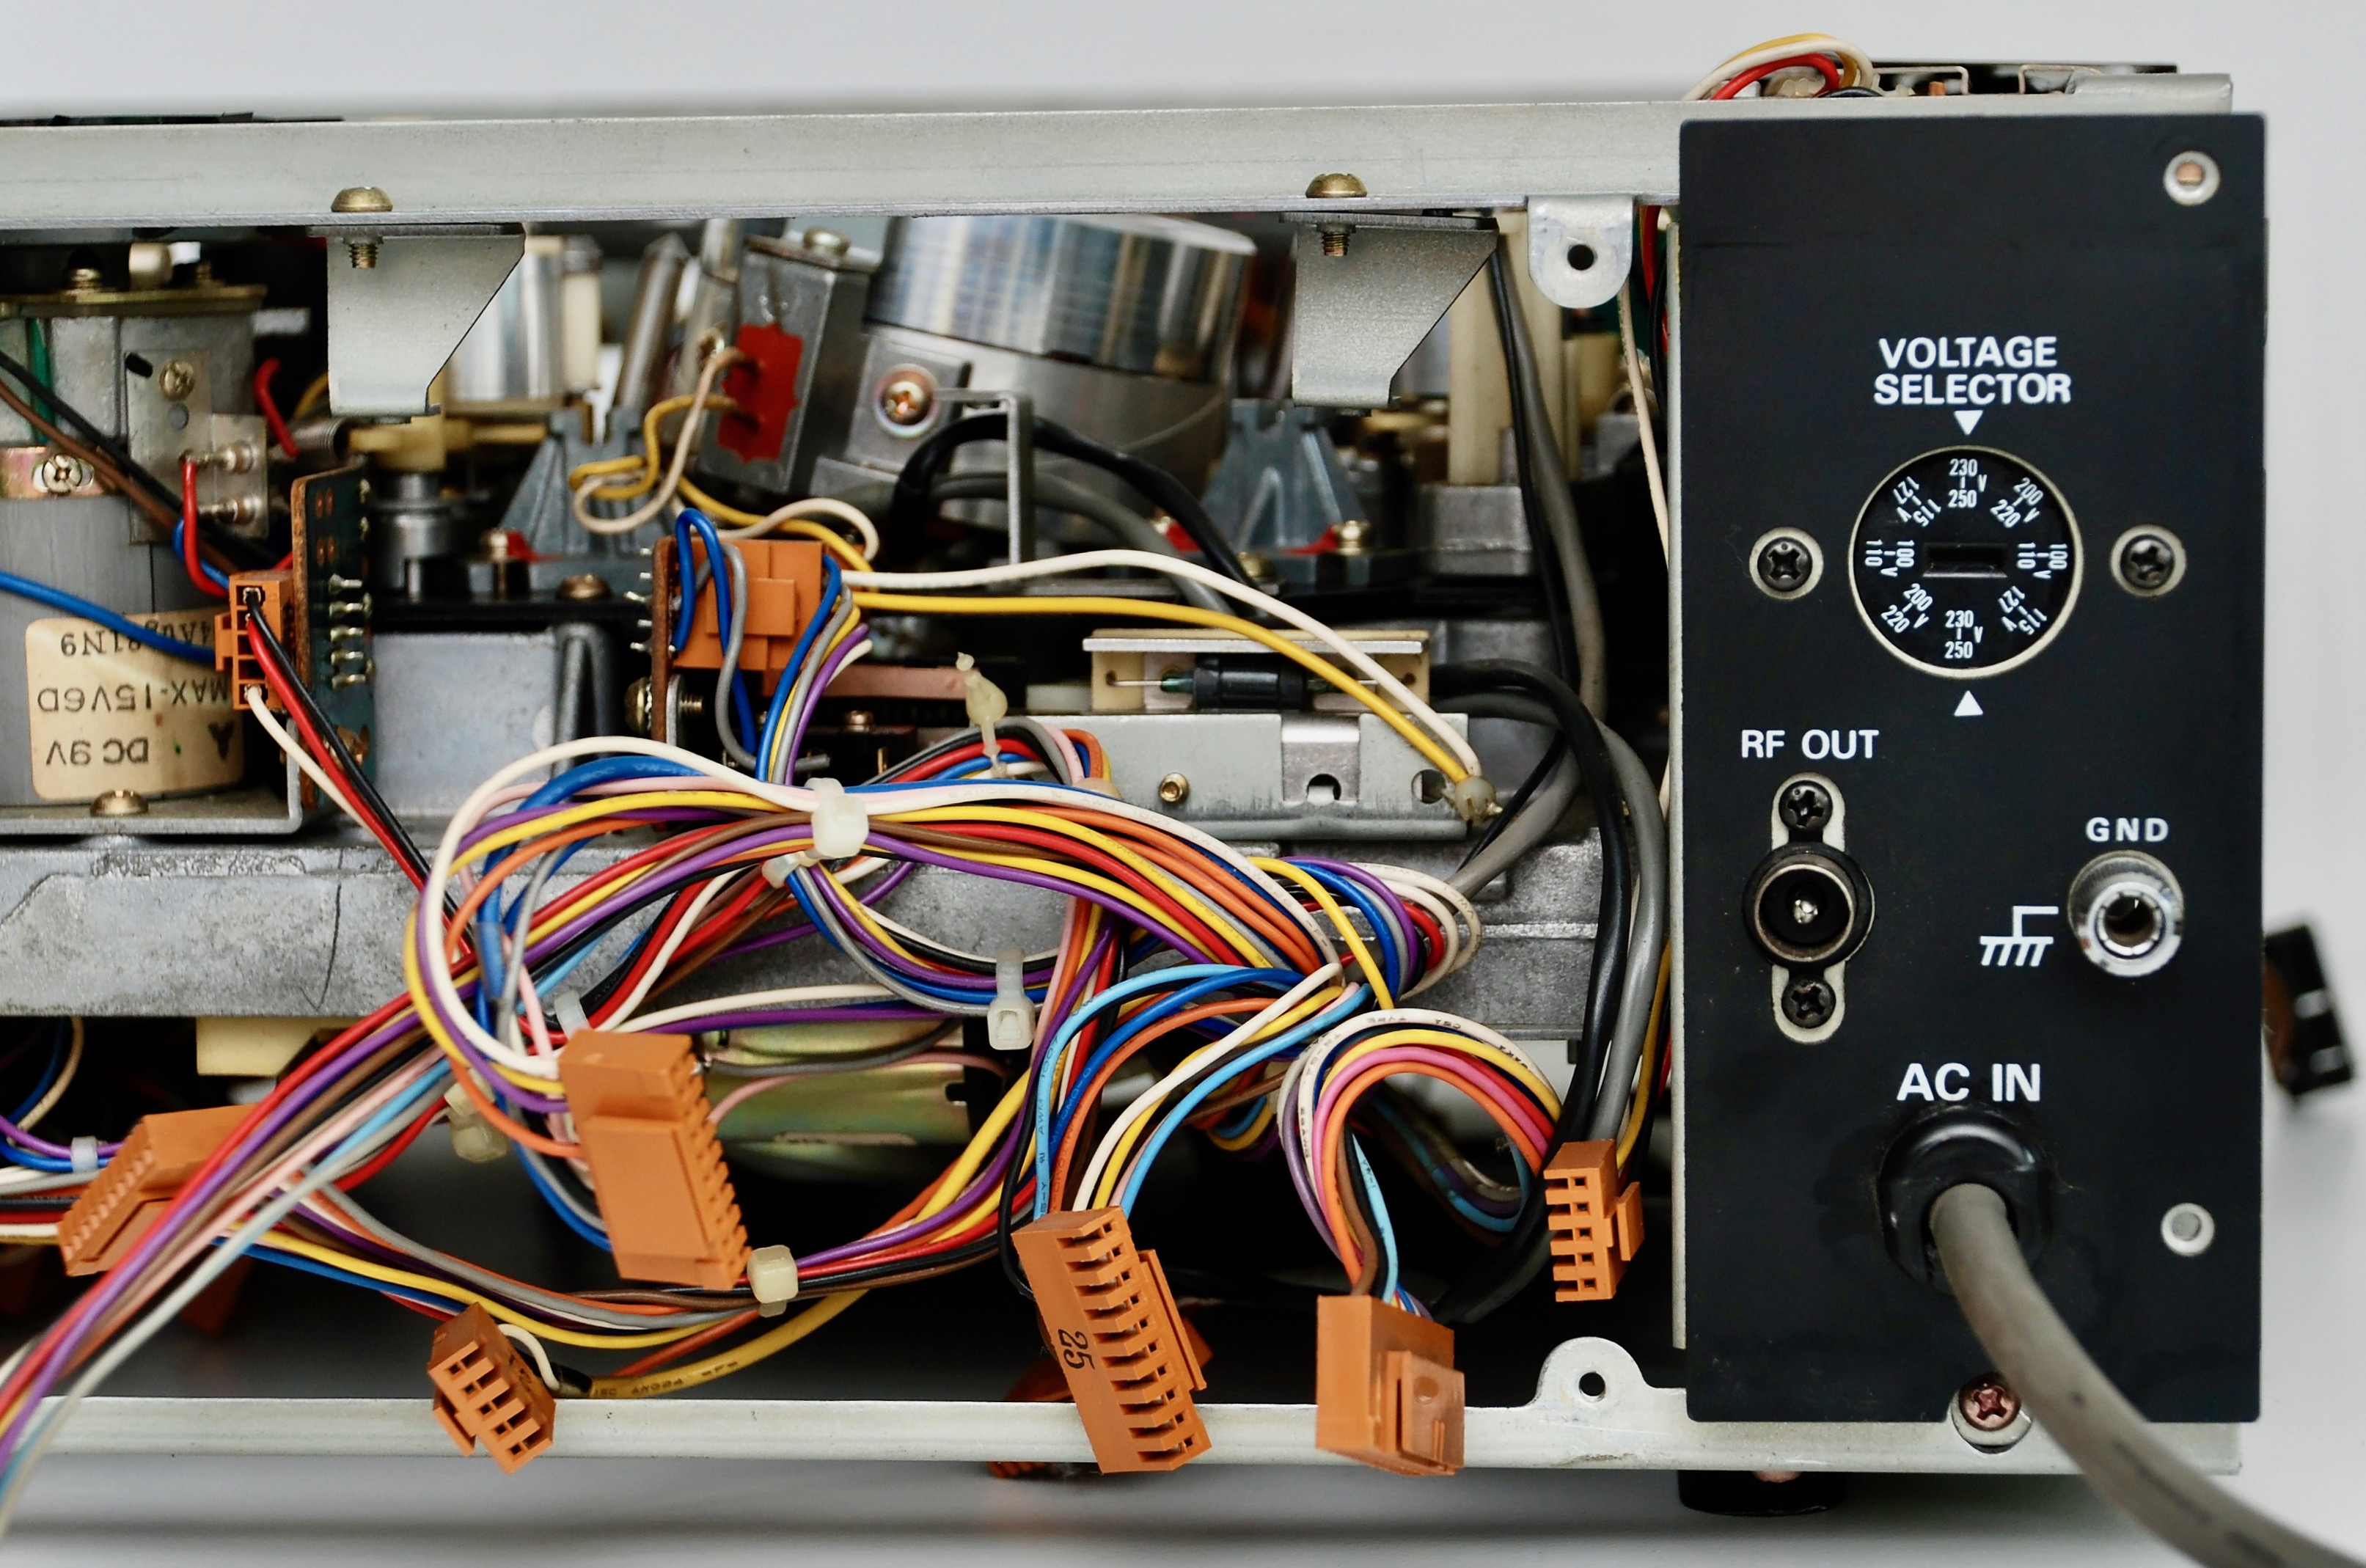

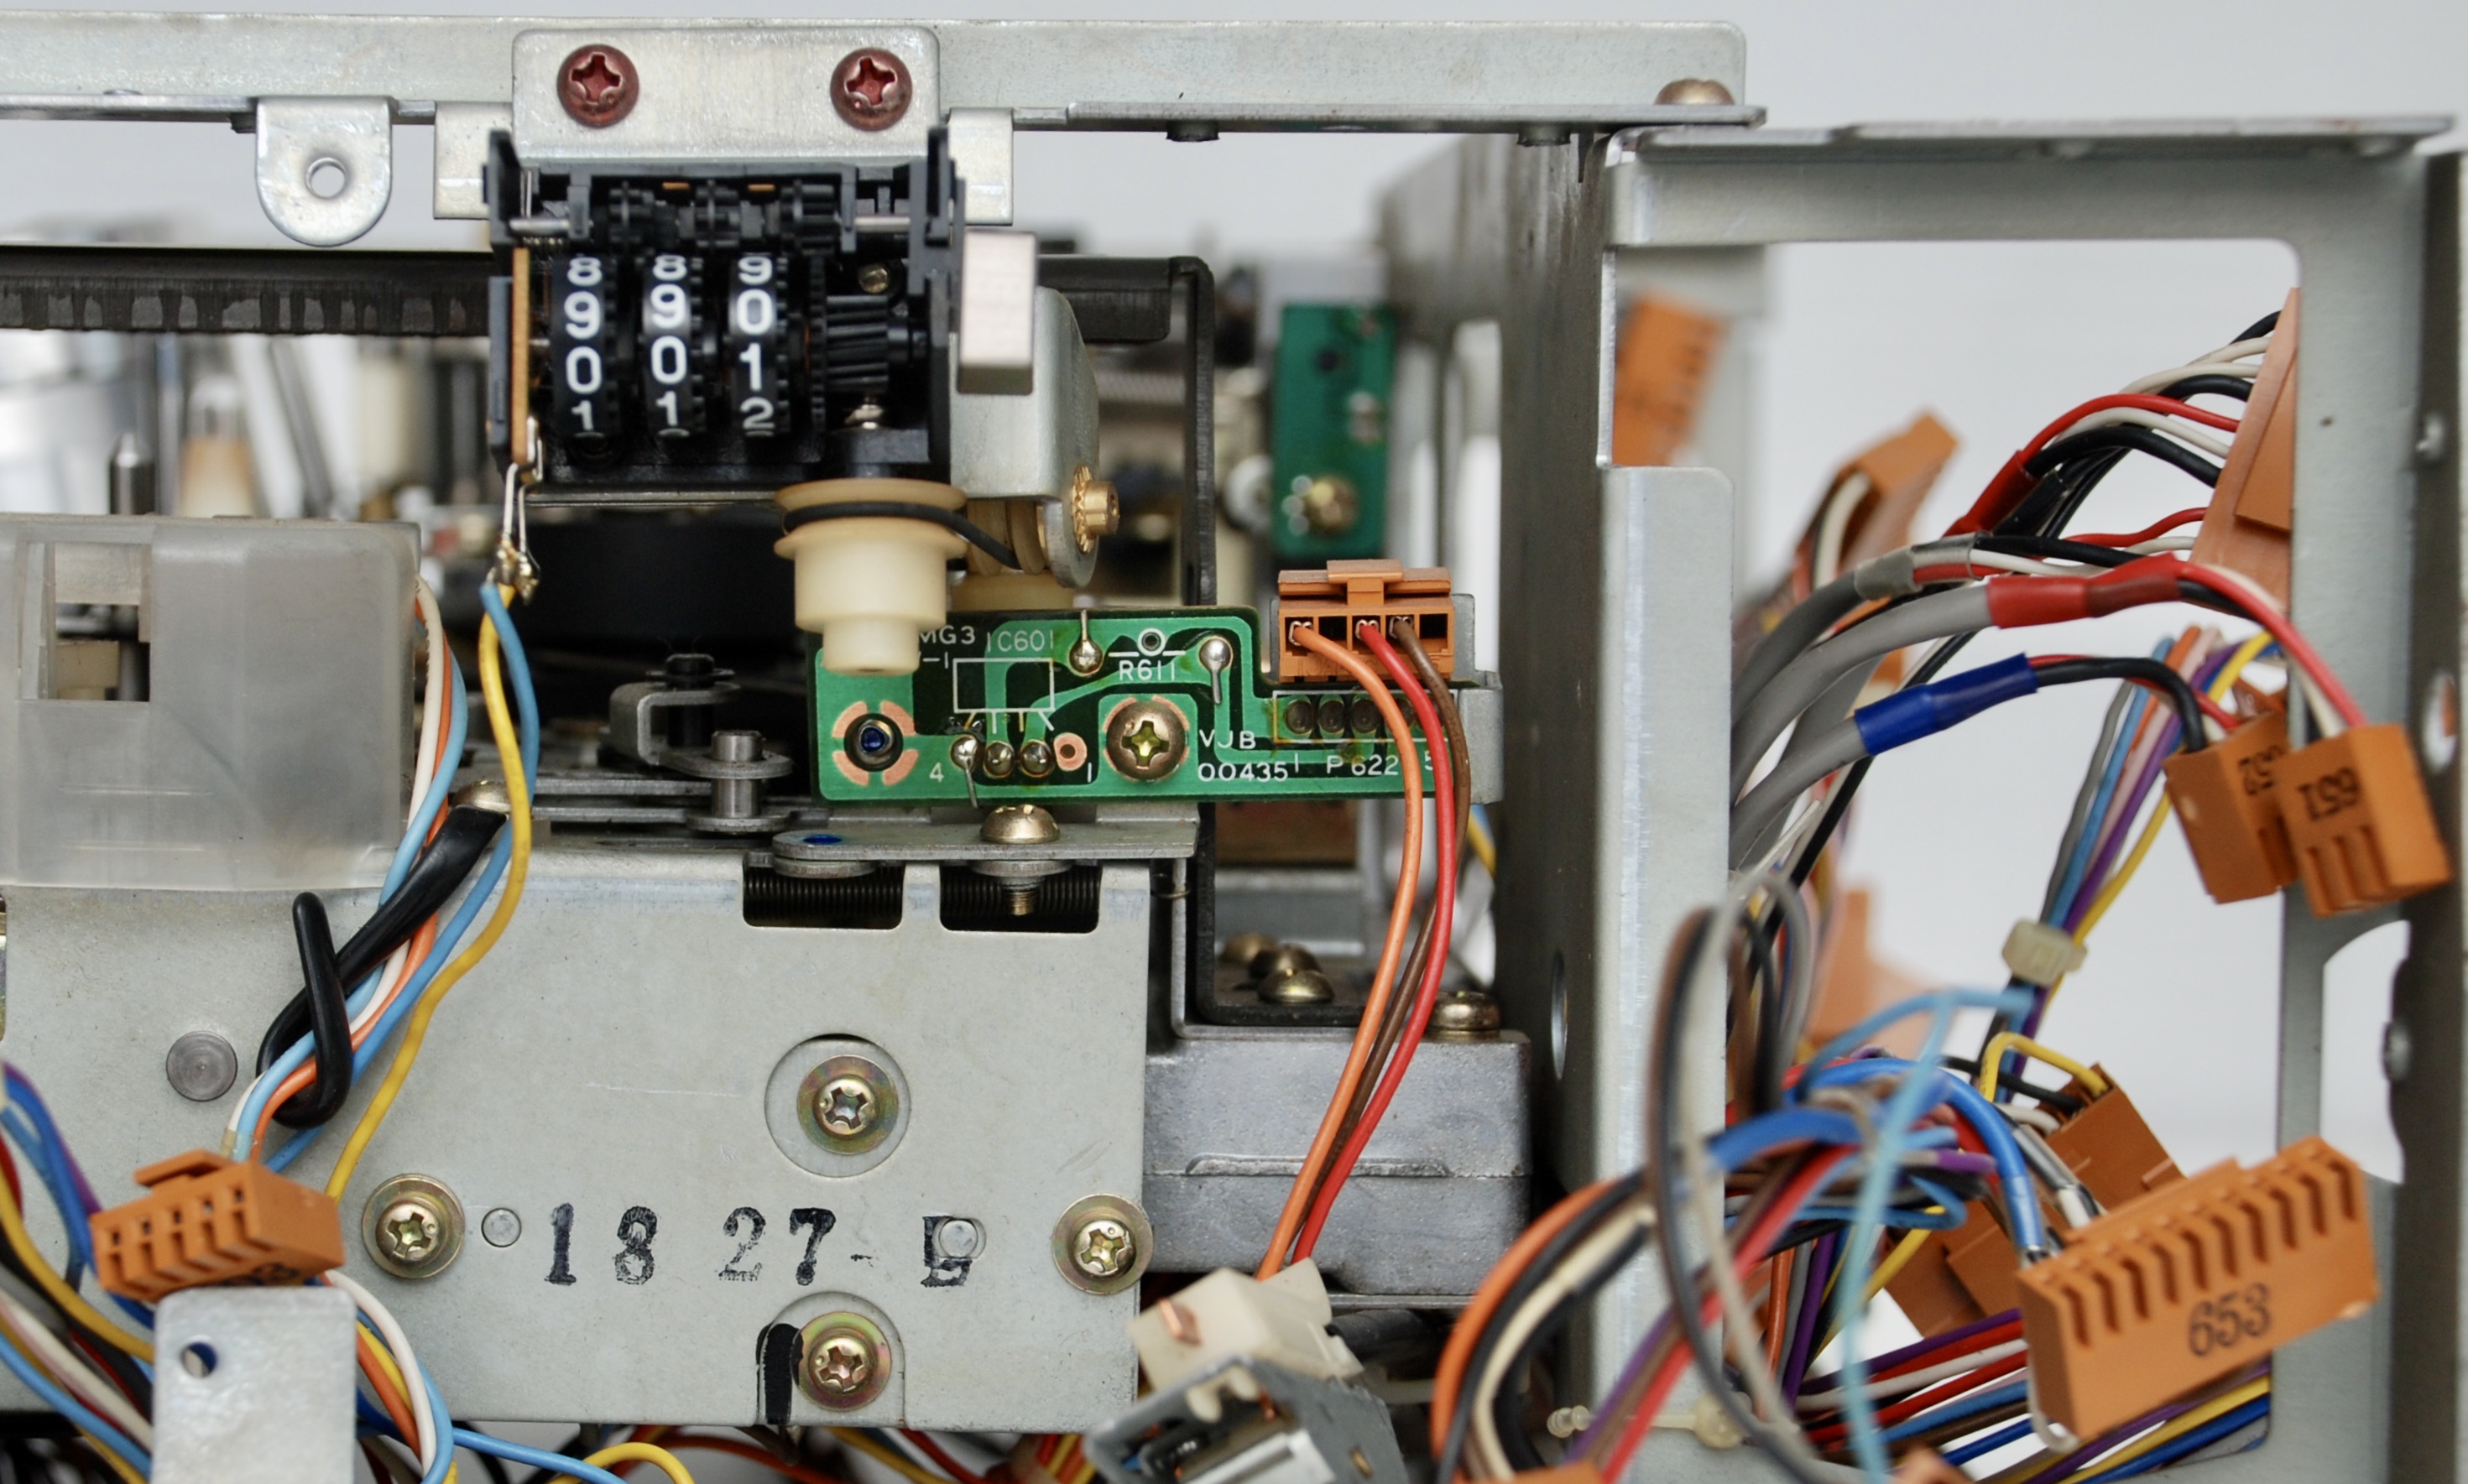

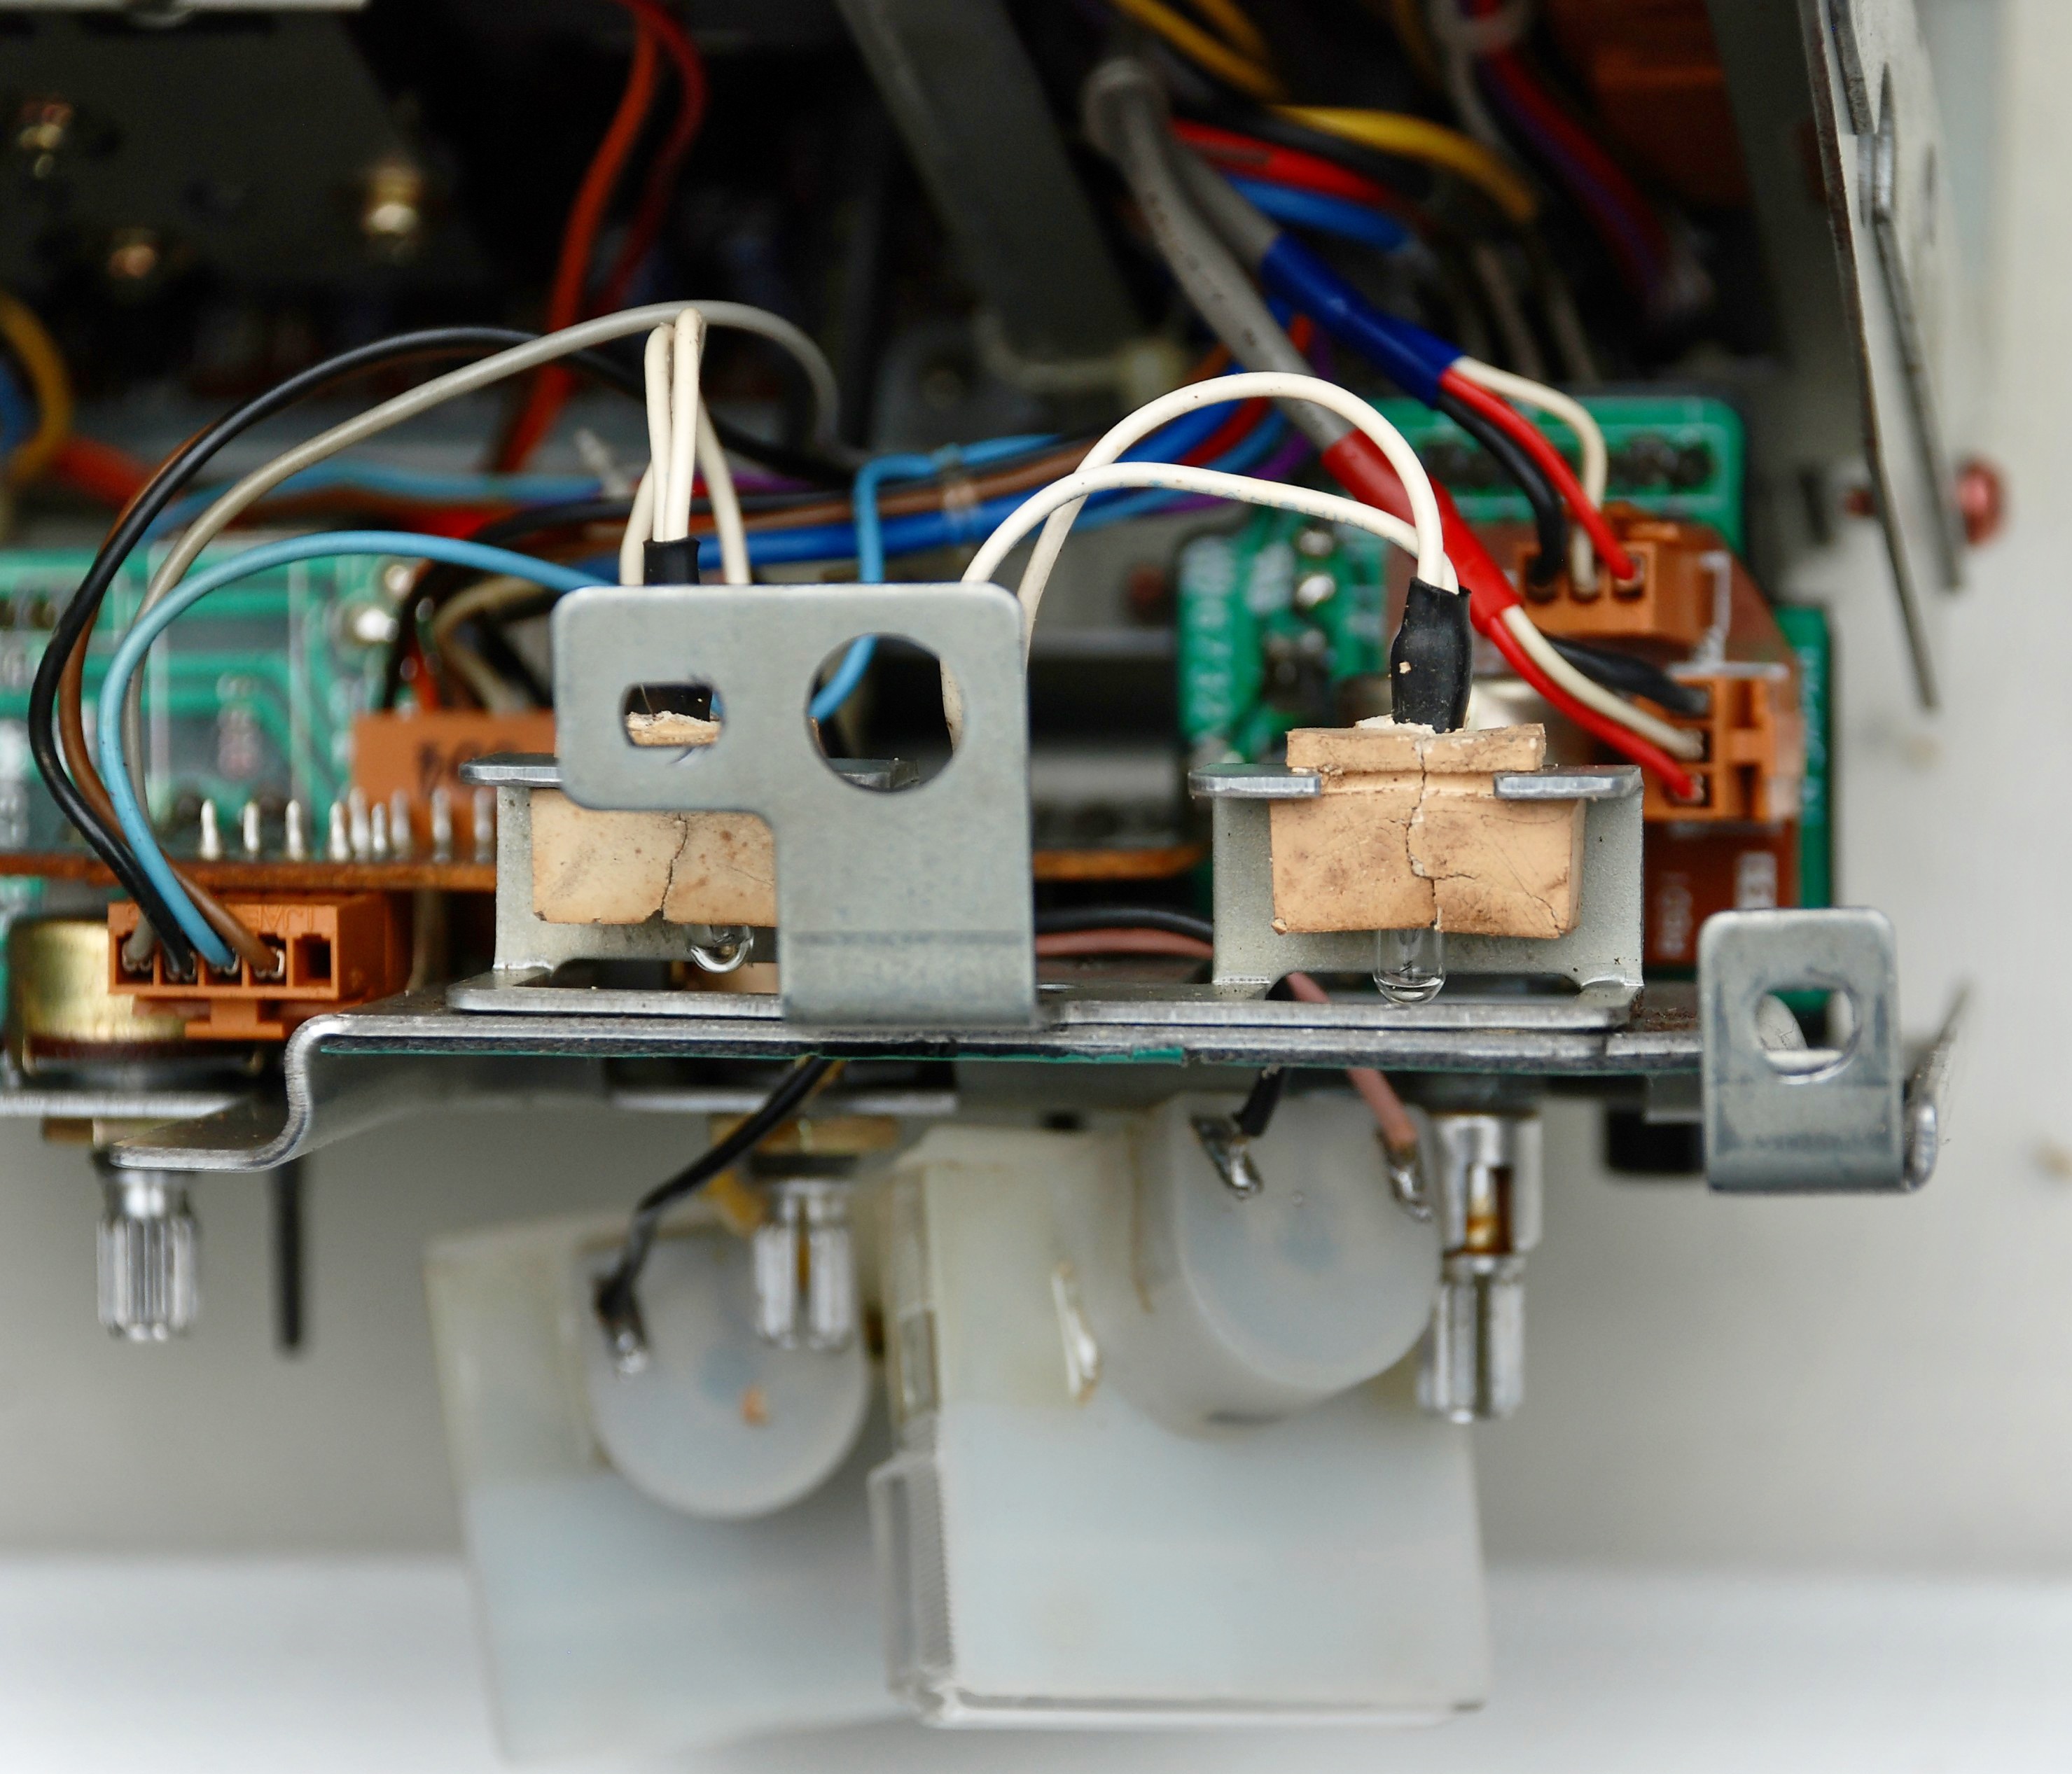
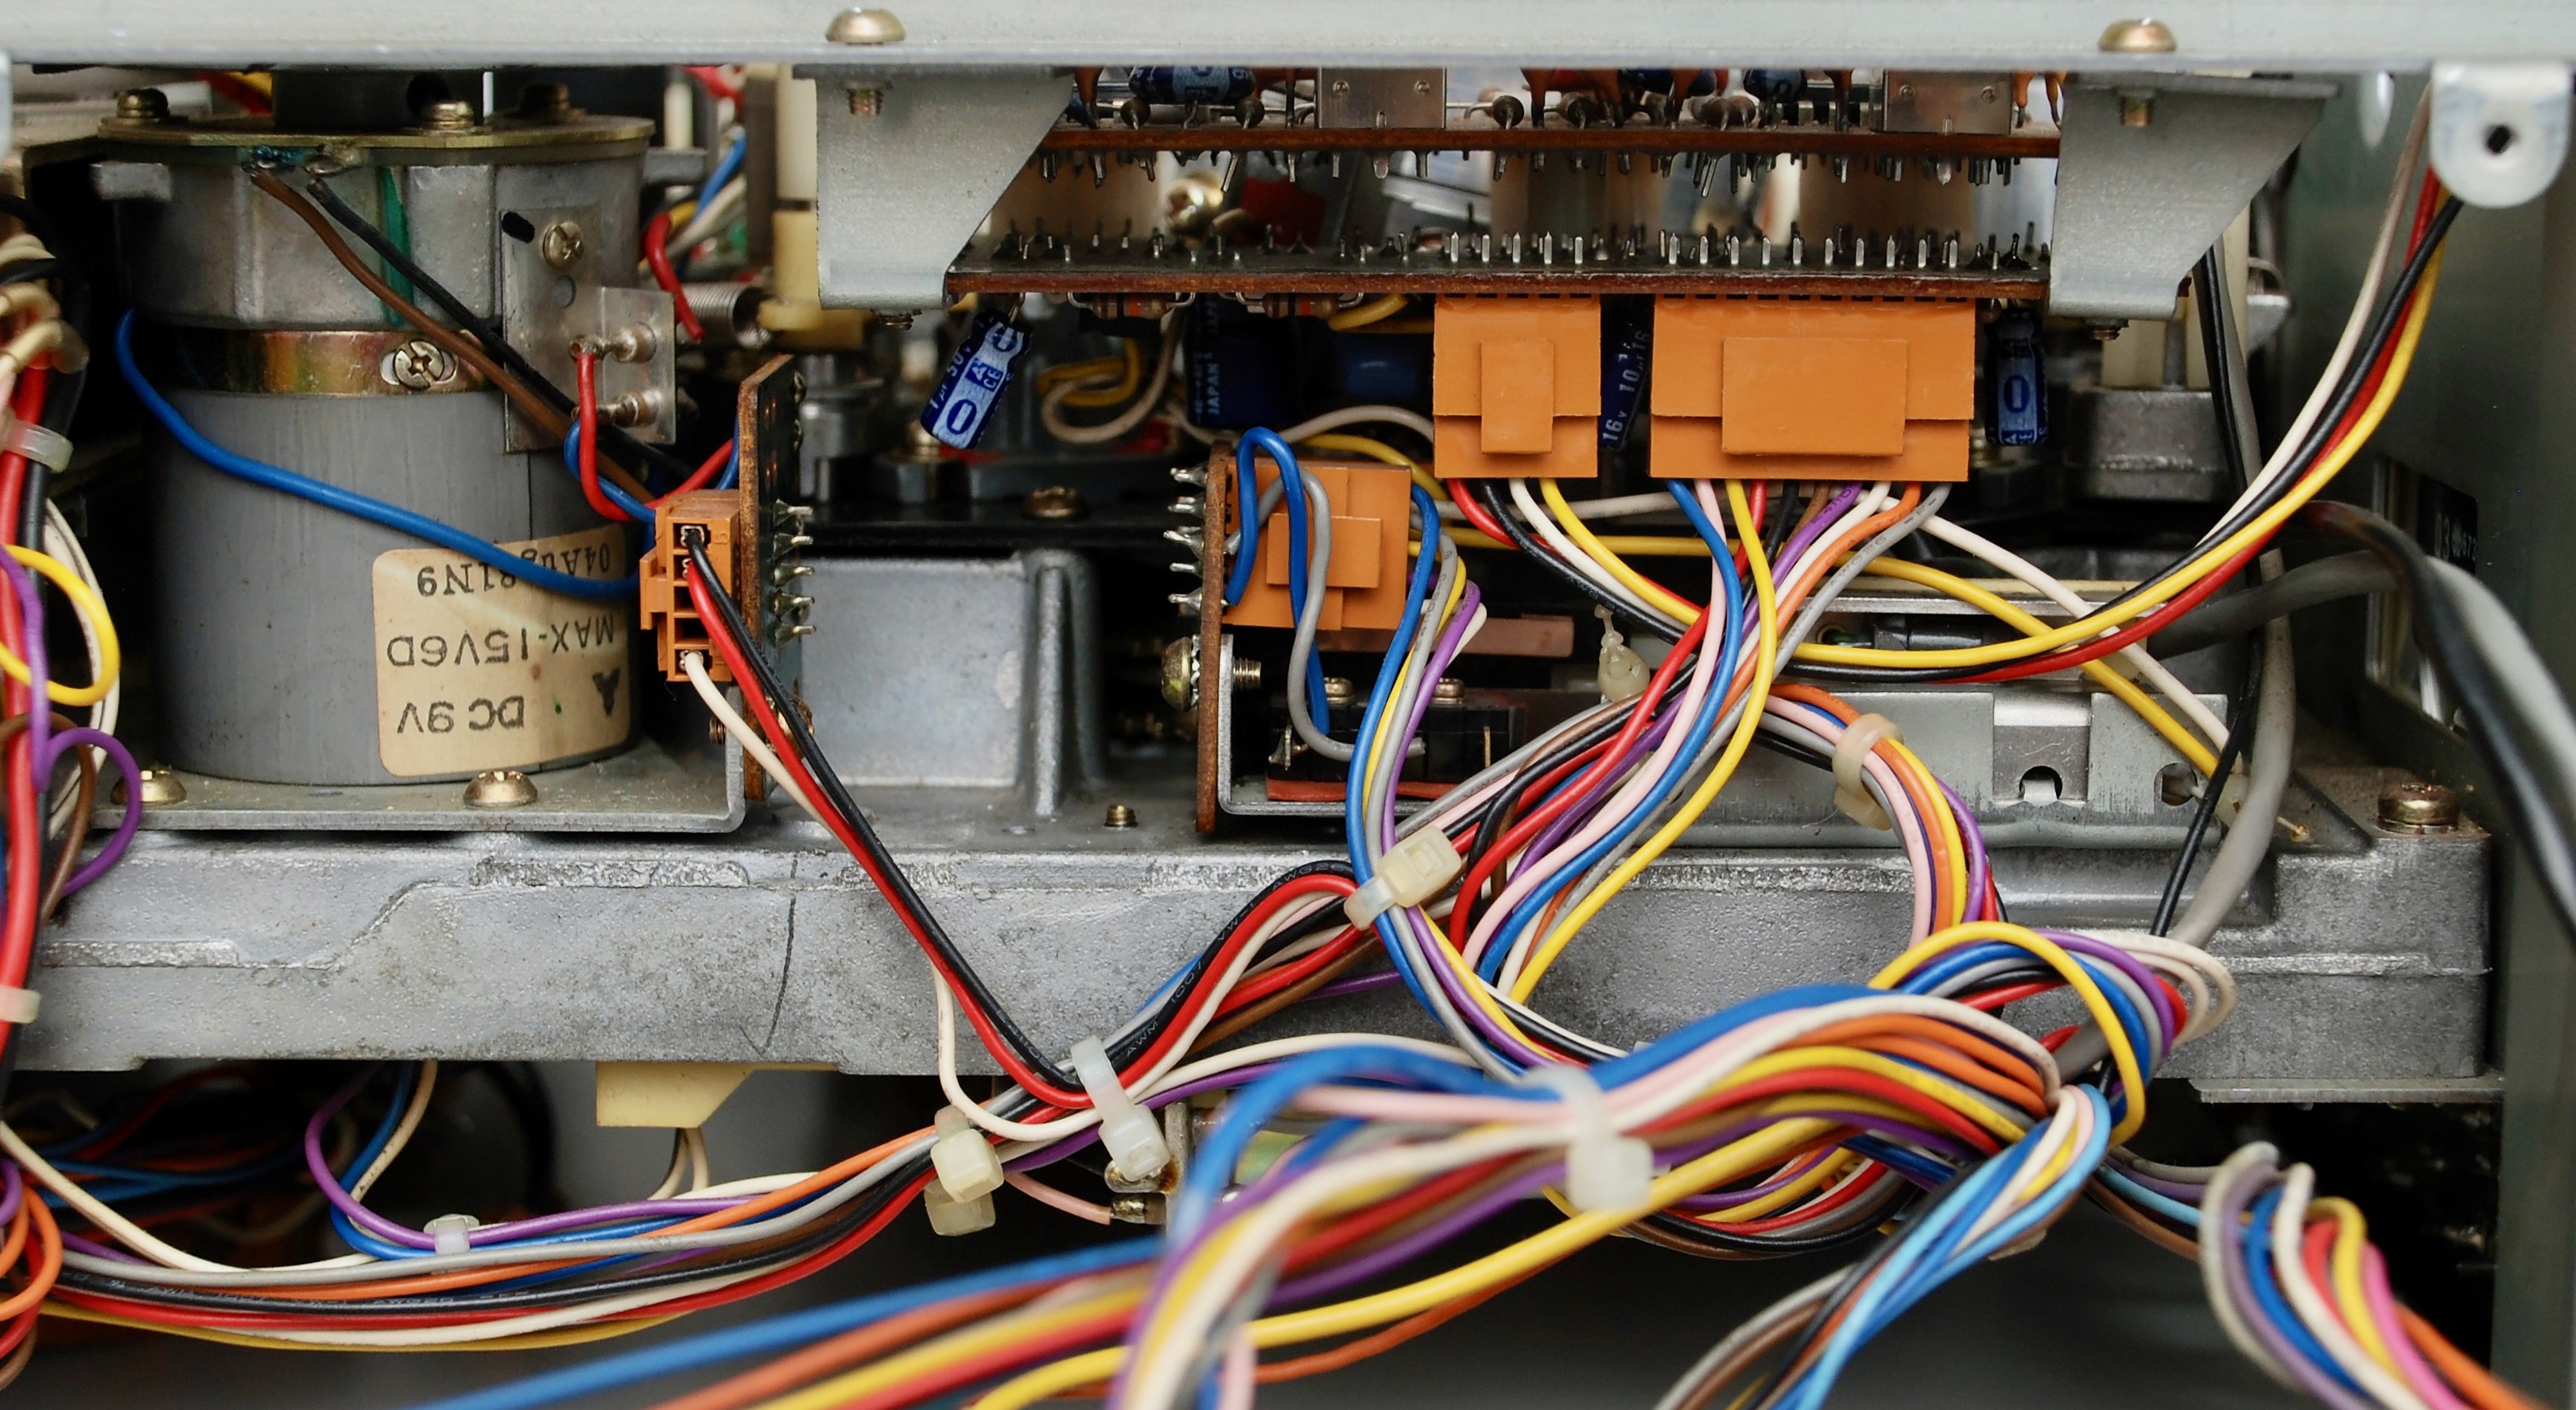
Power Supply Section

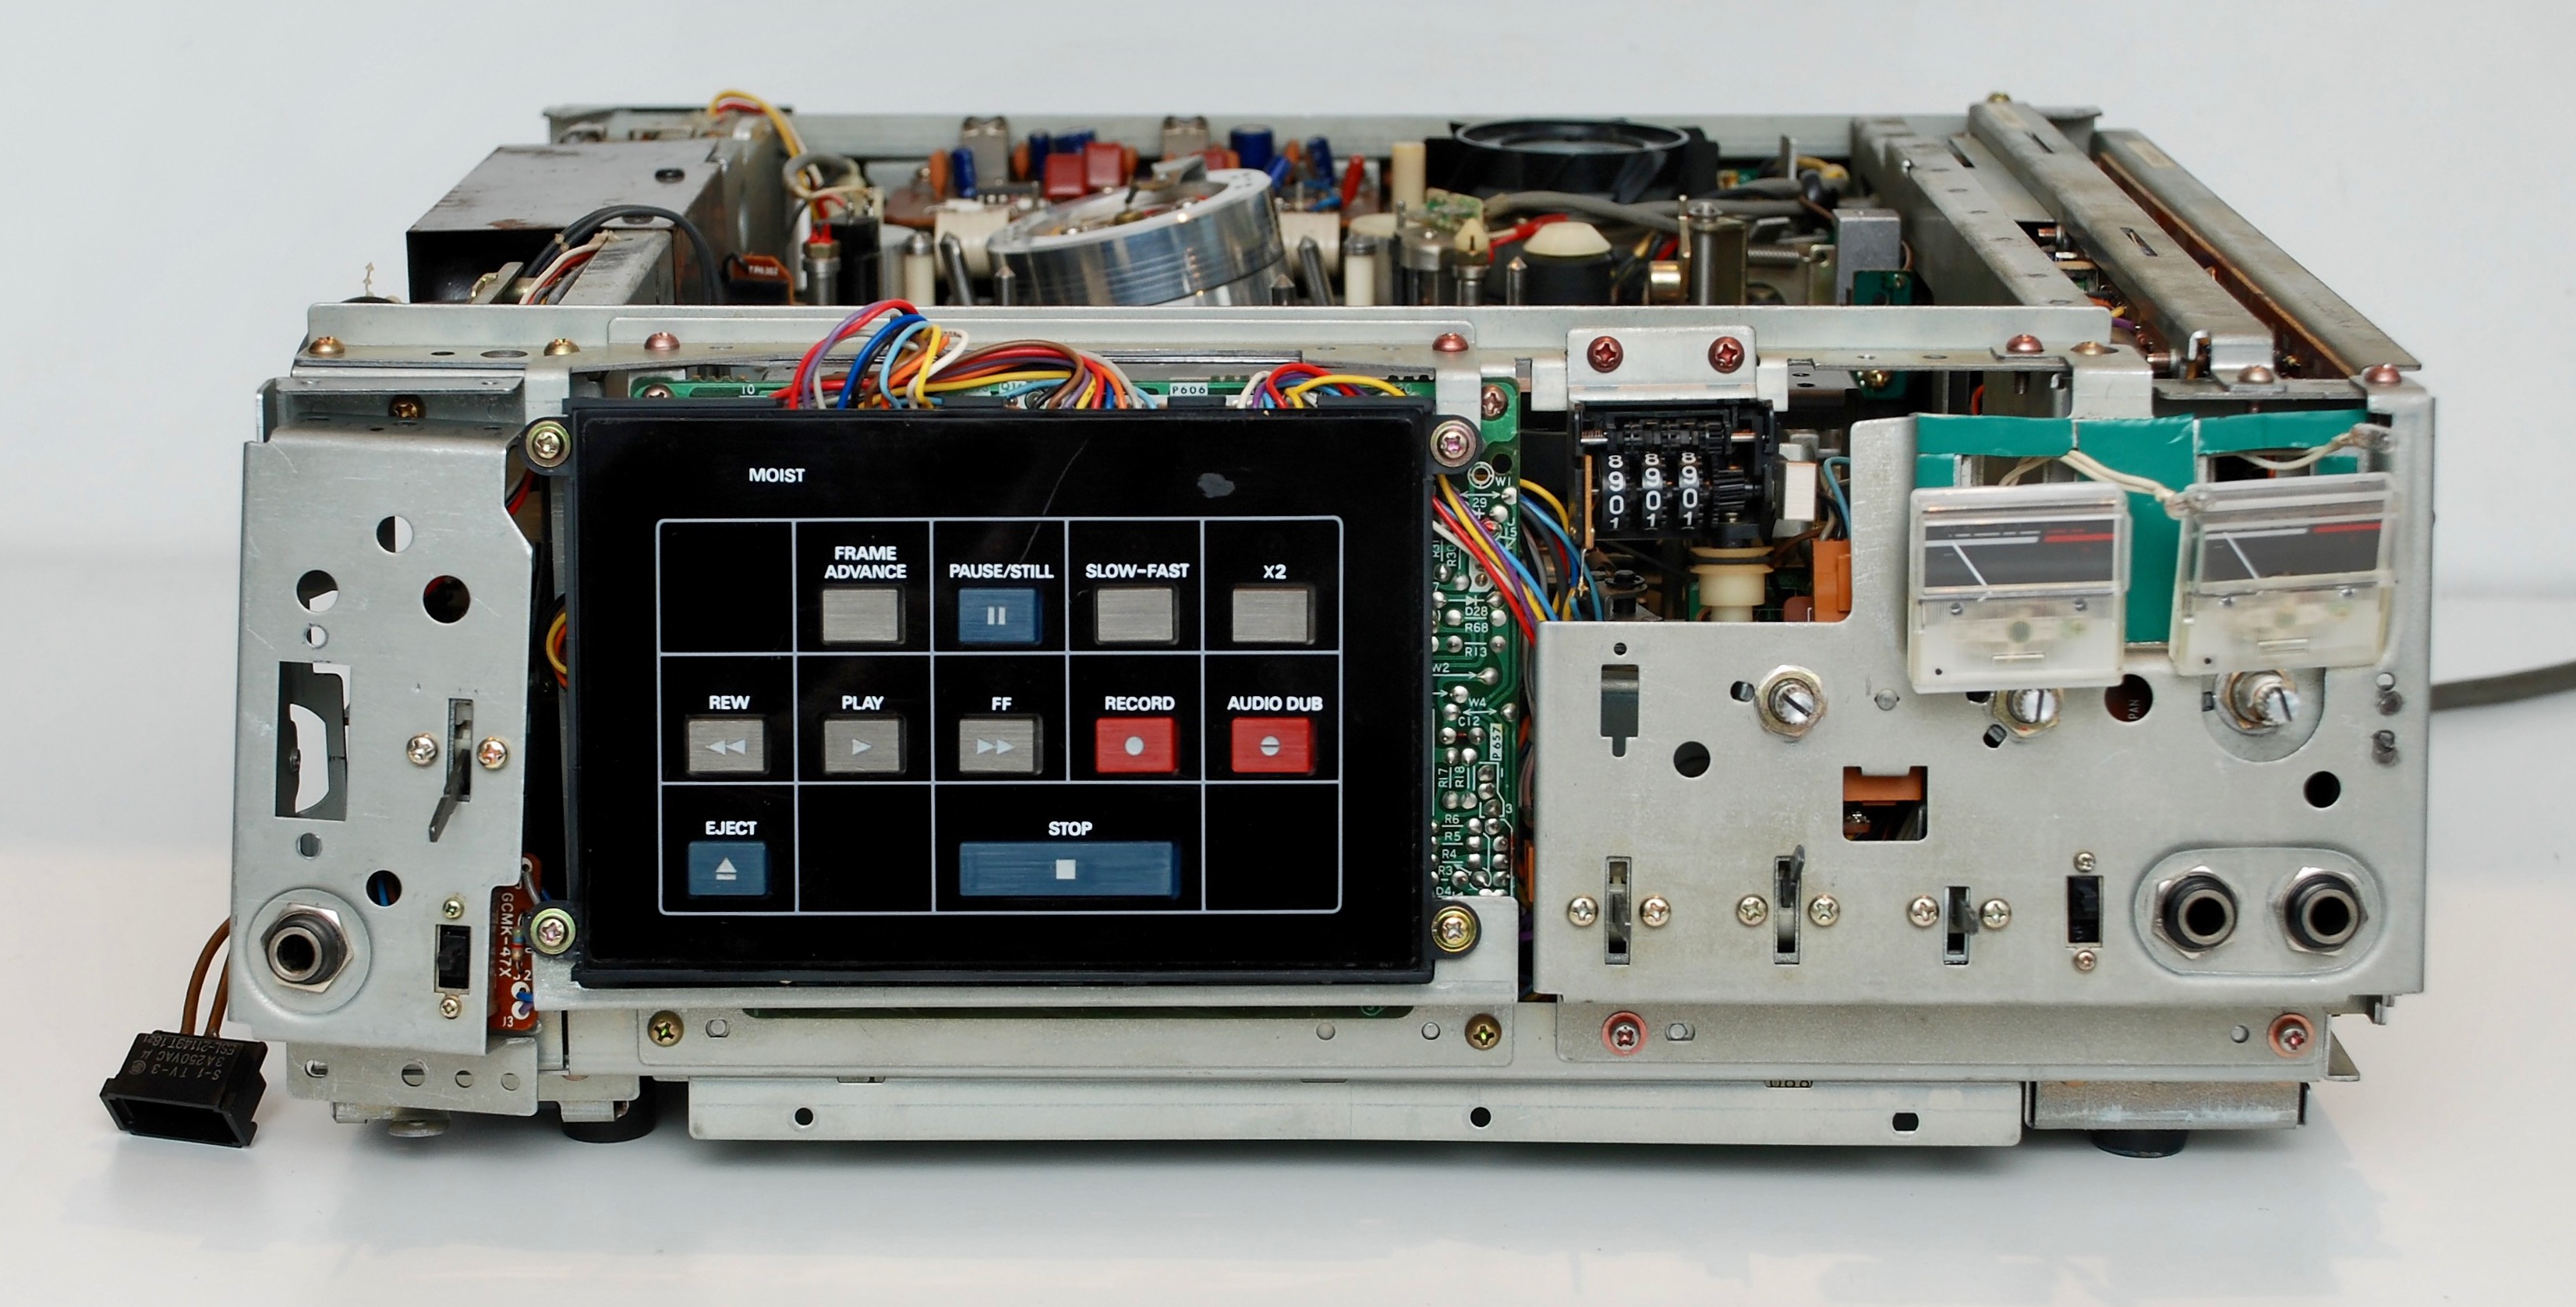
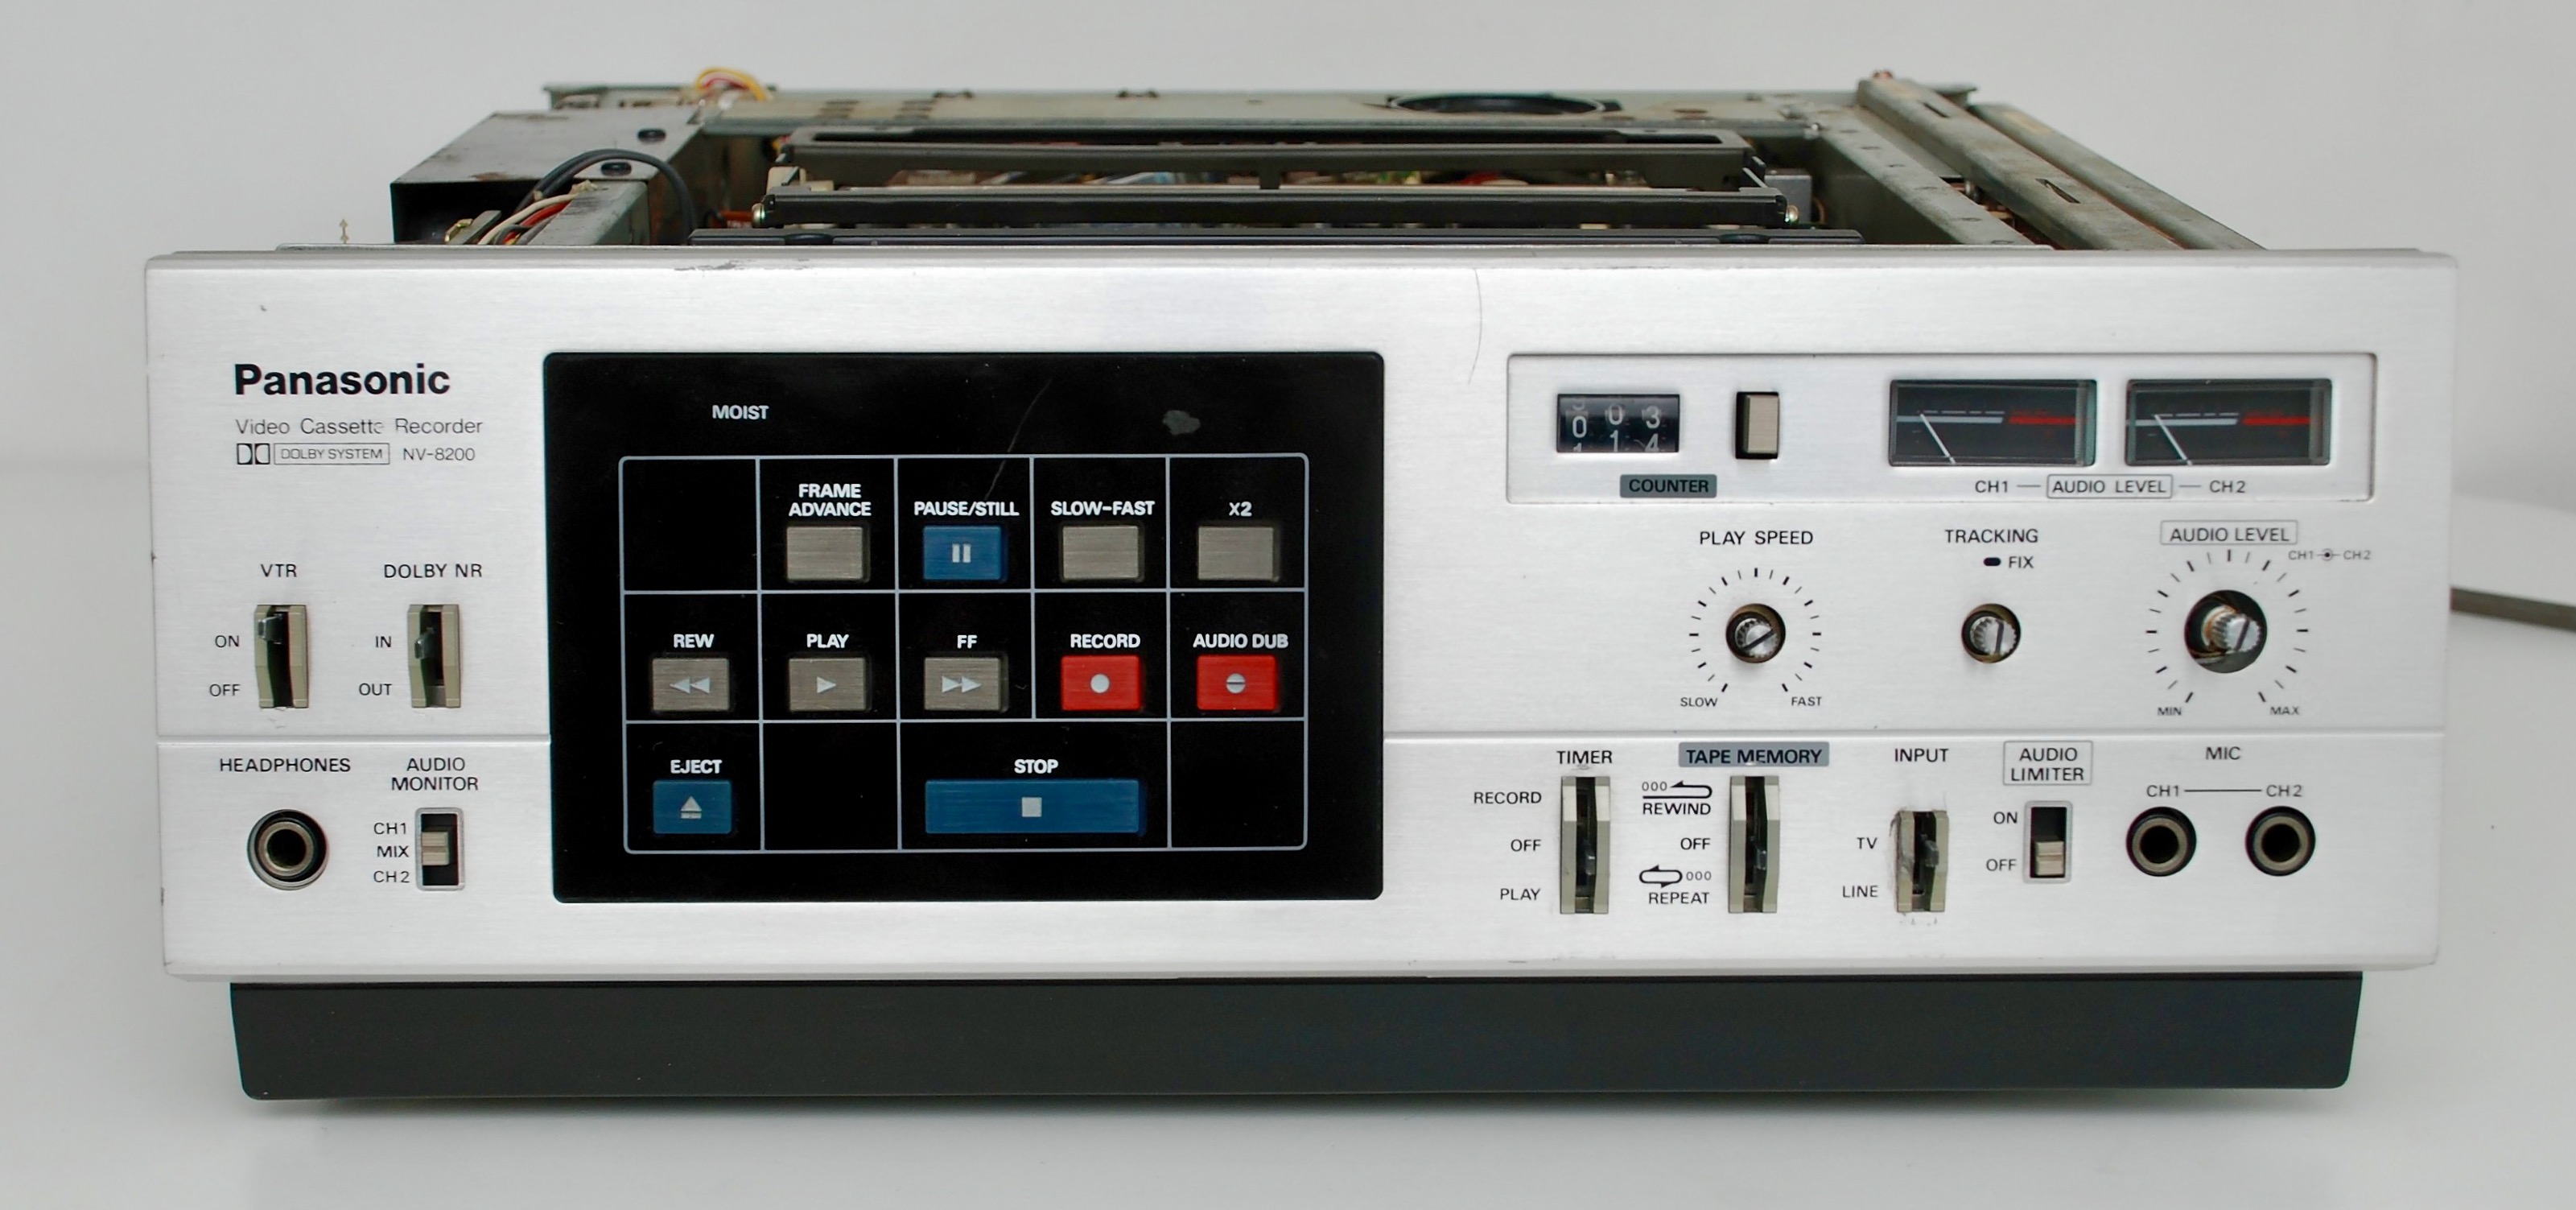
Control Panels
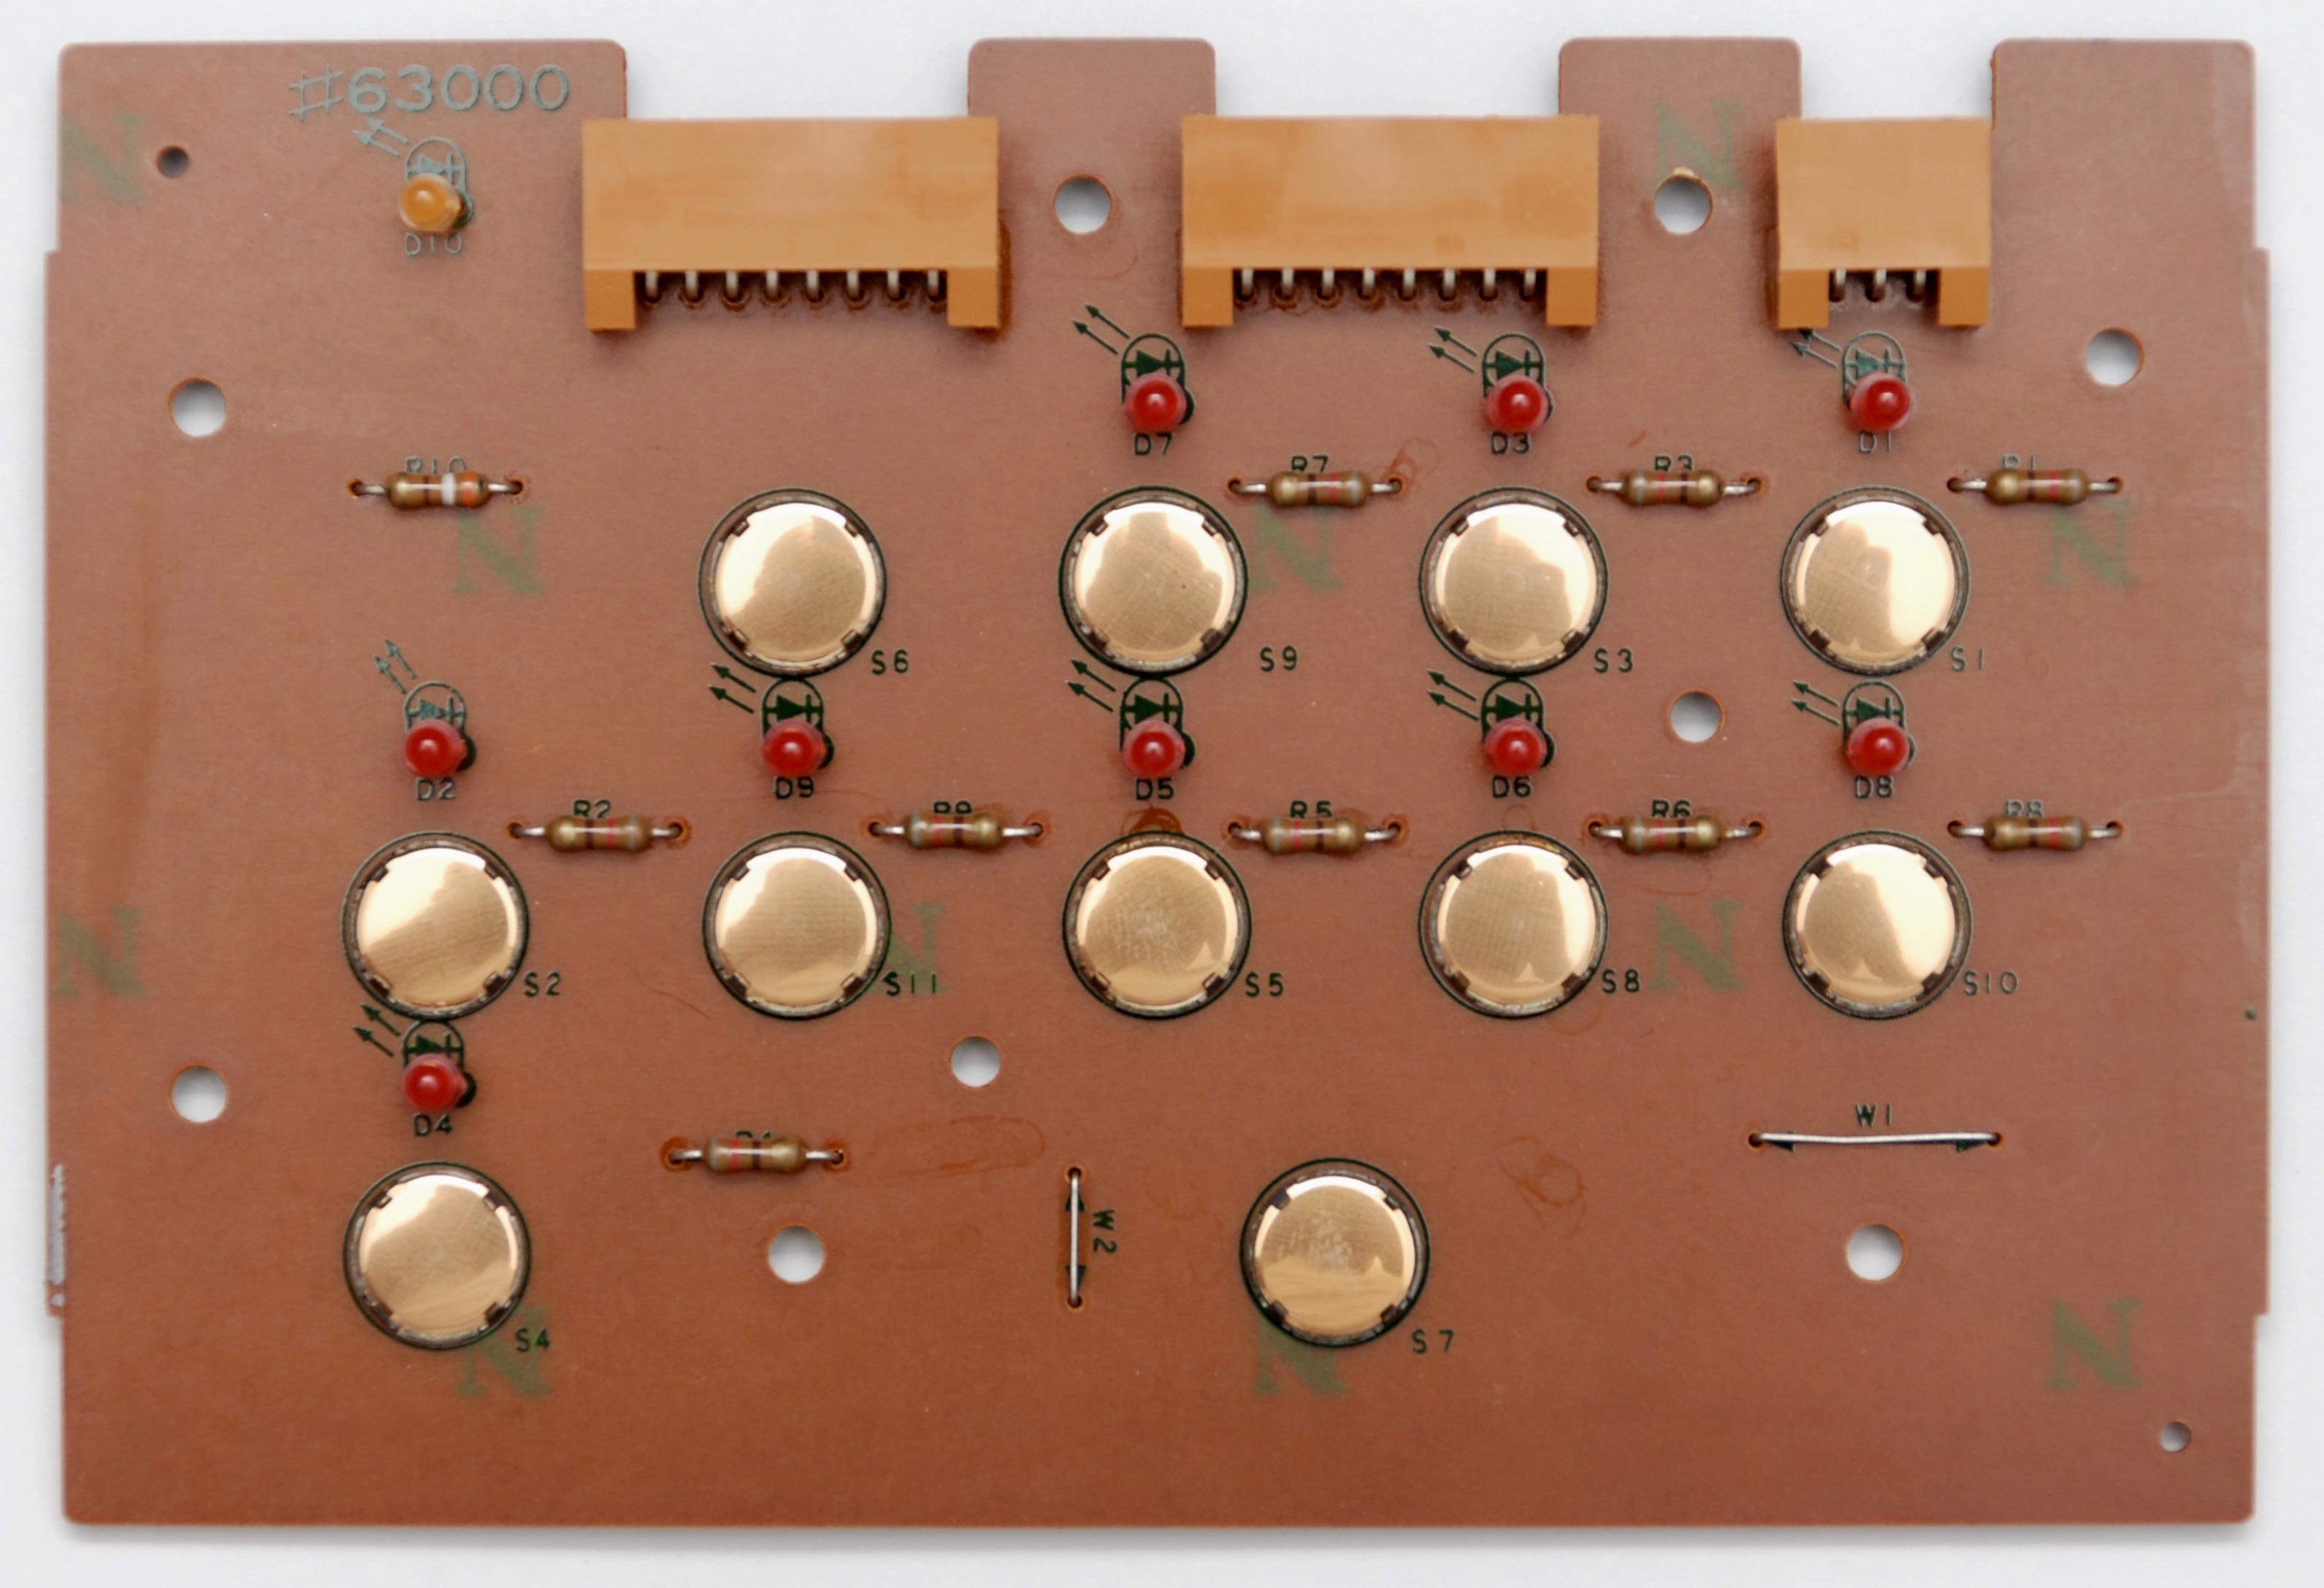
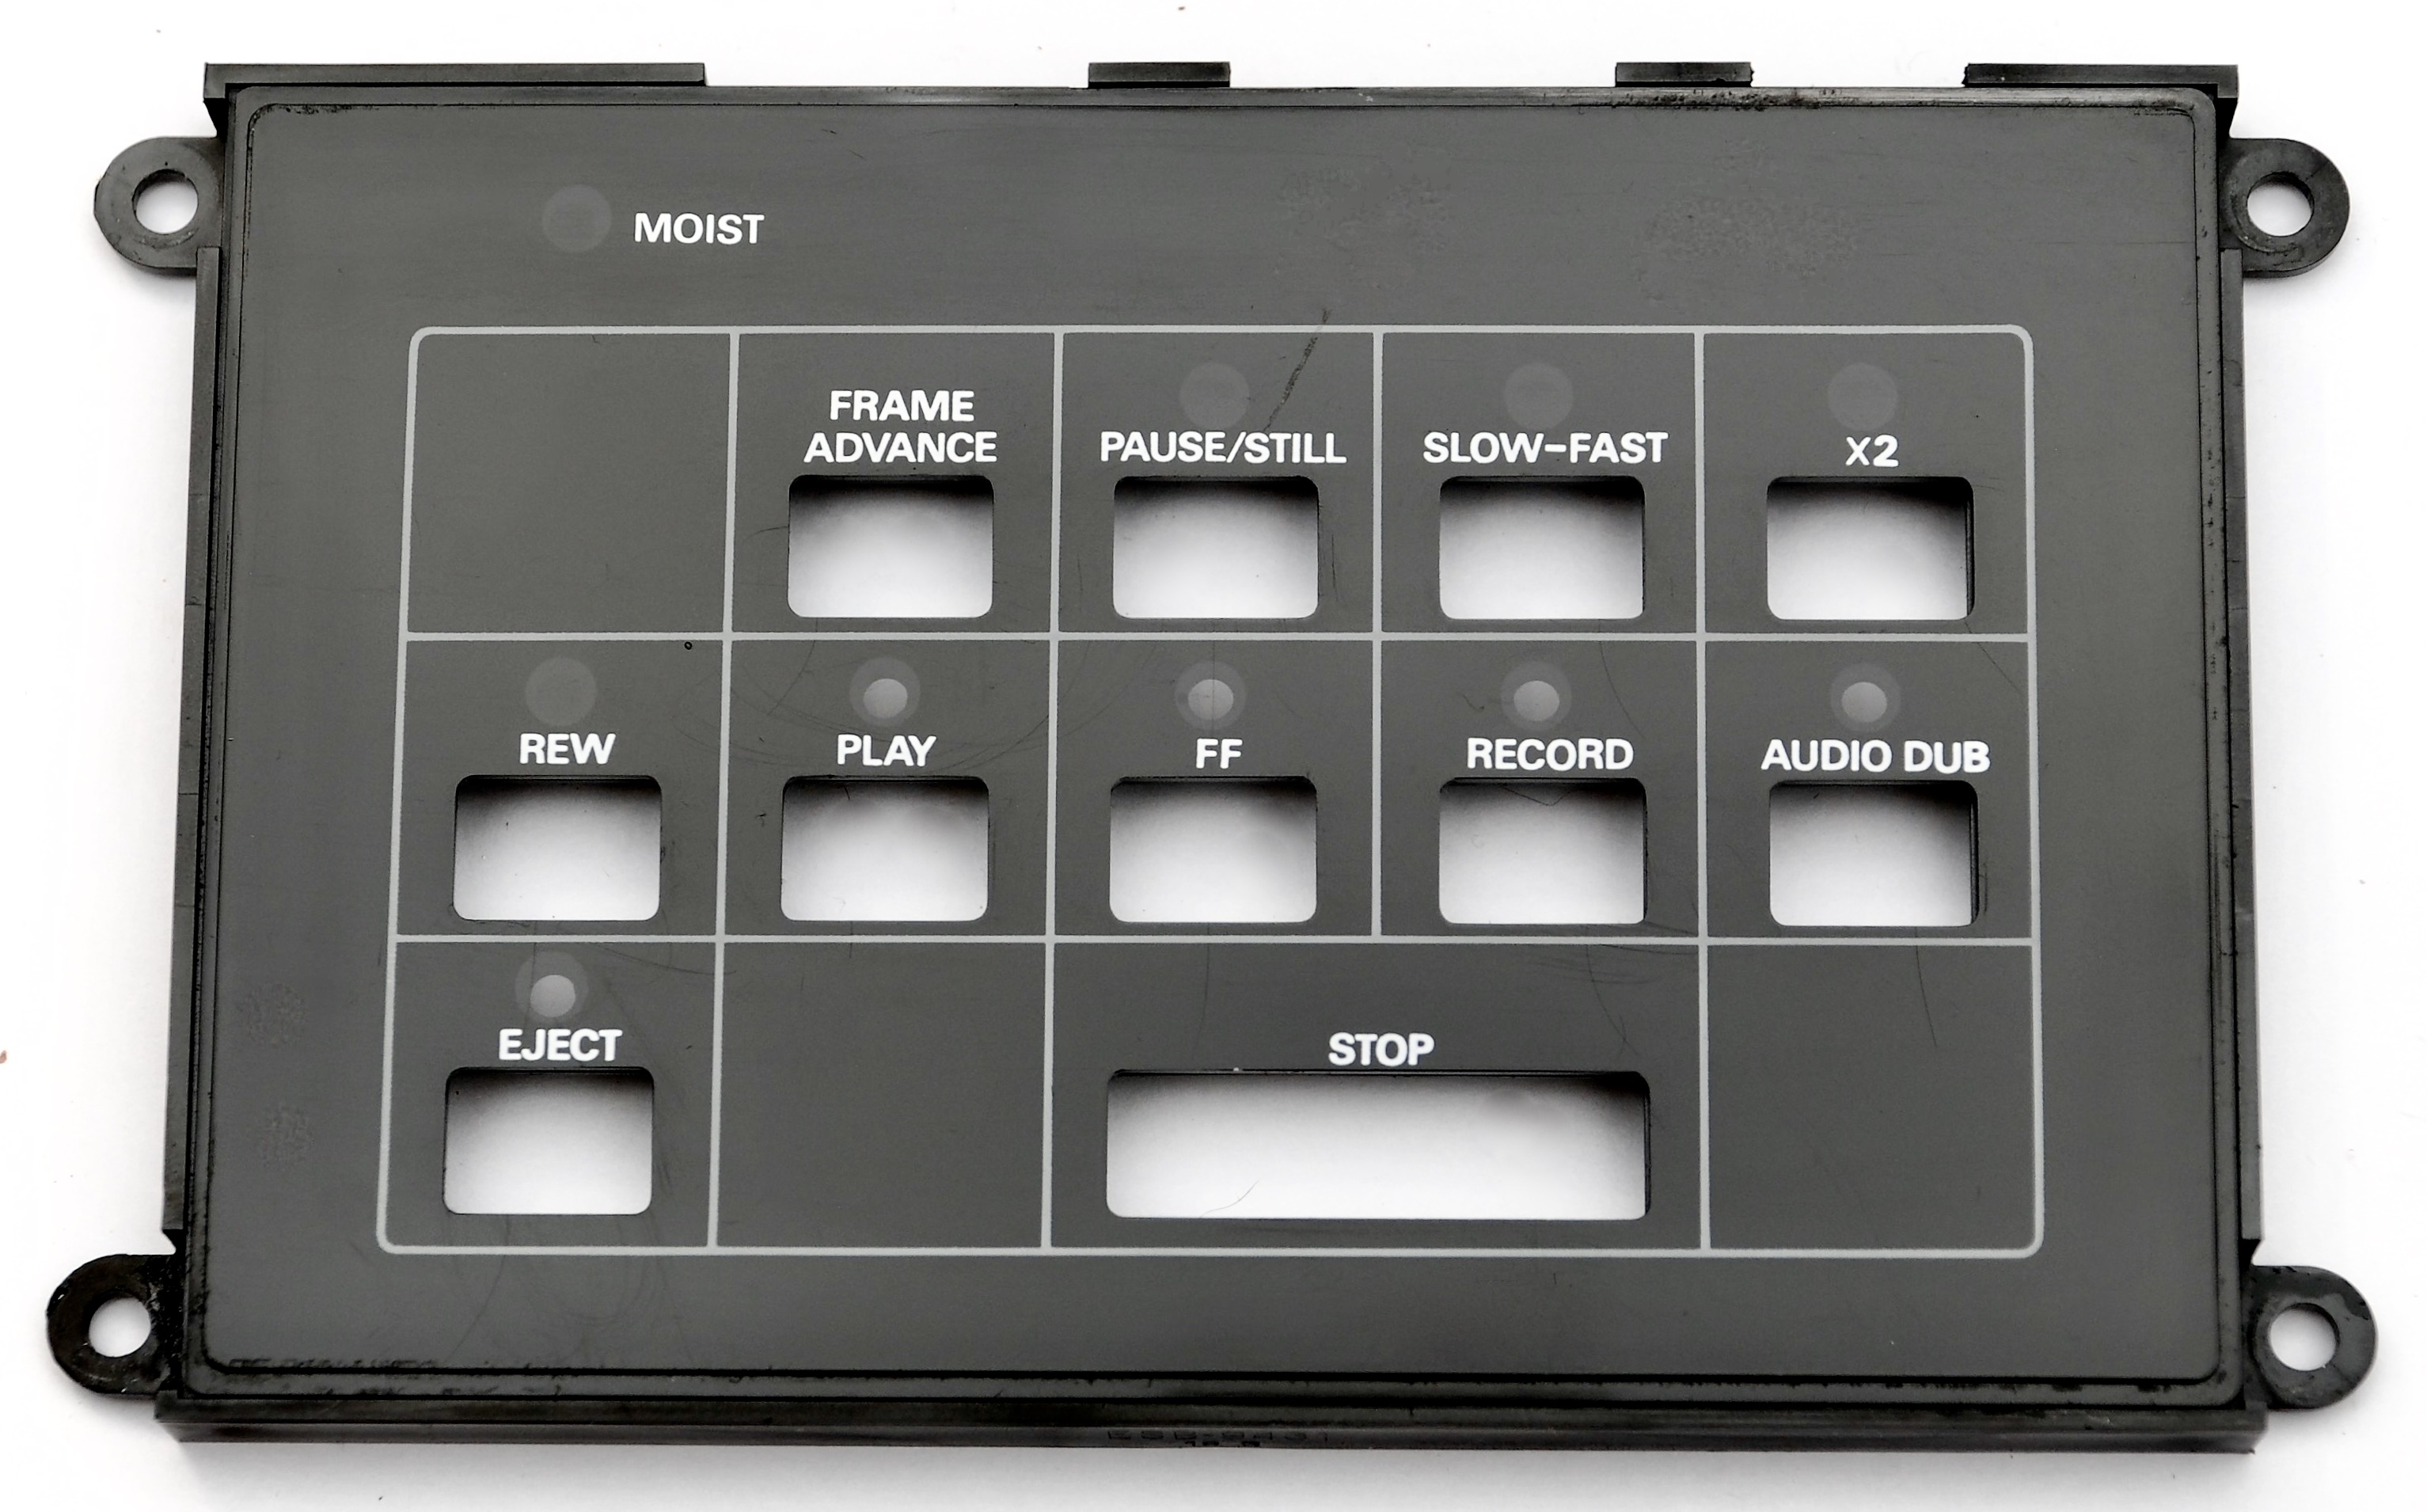
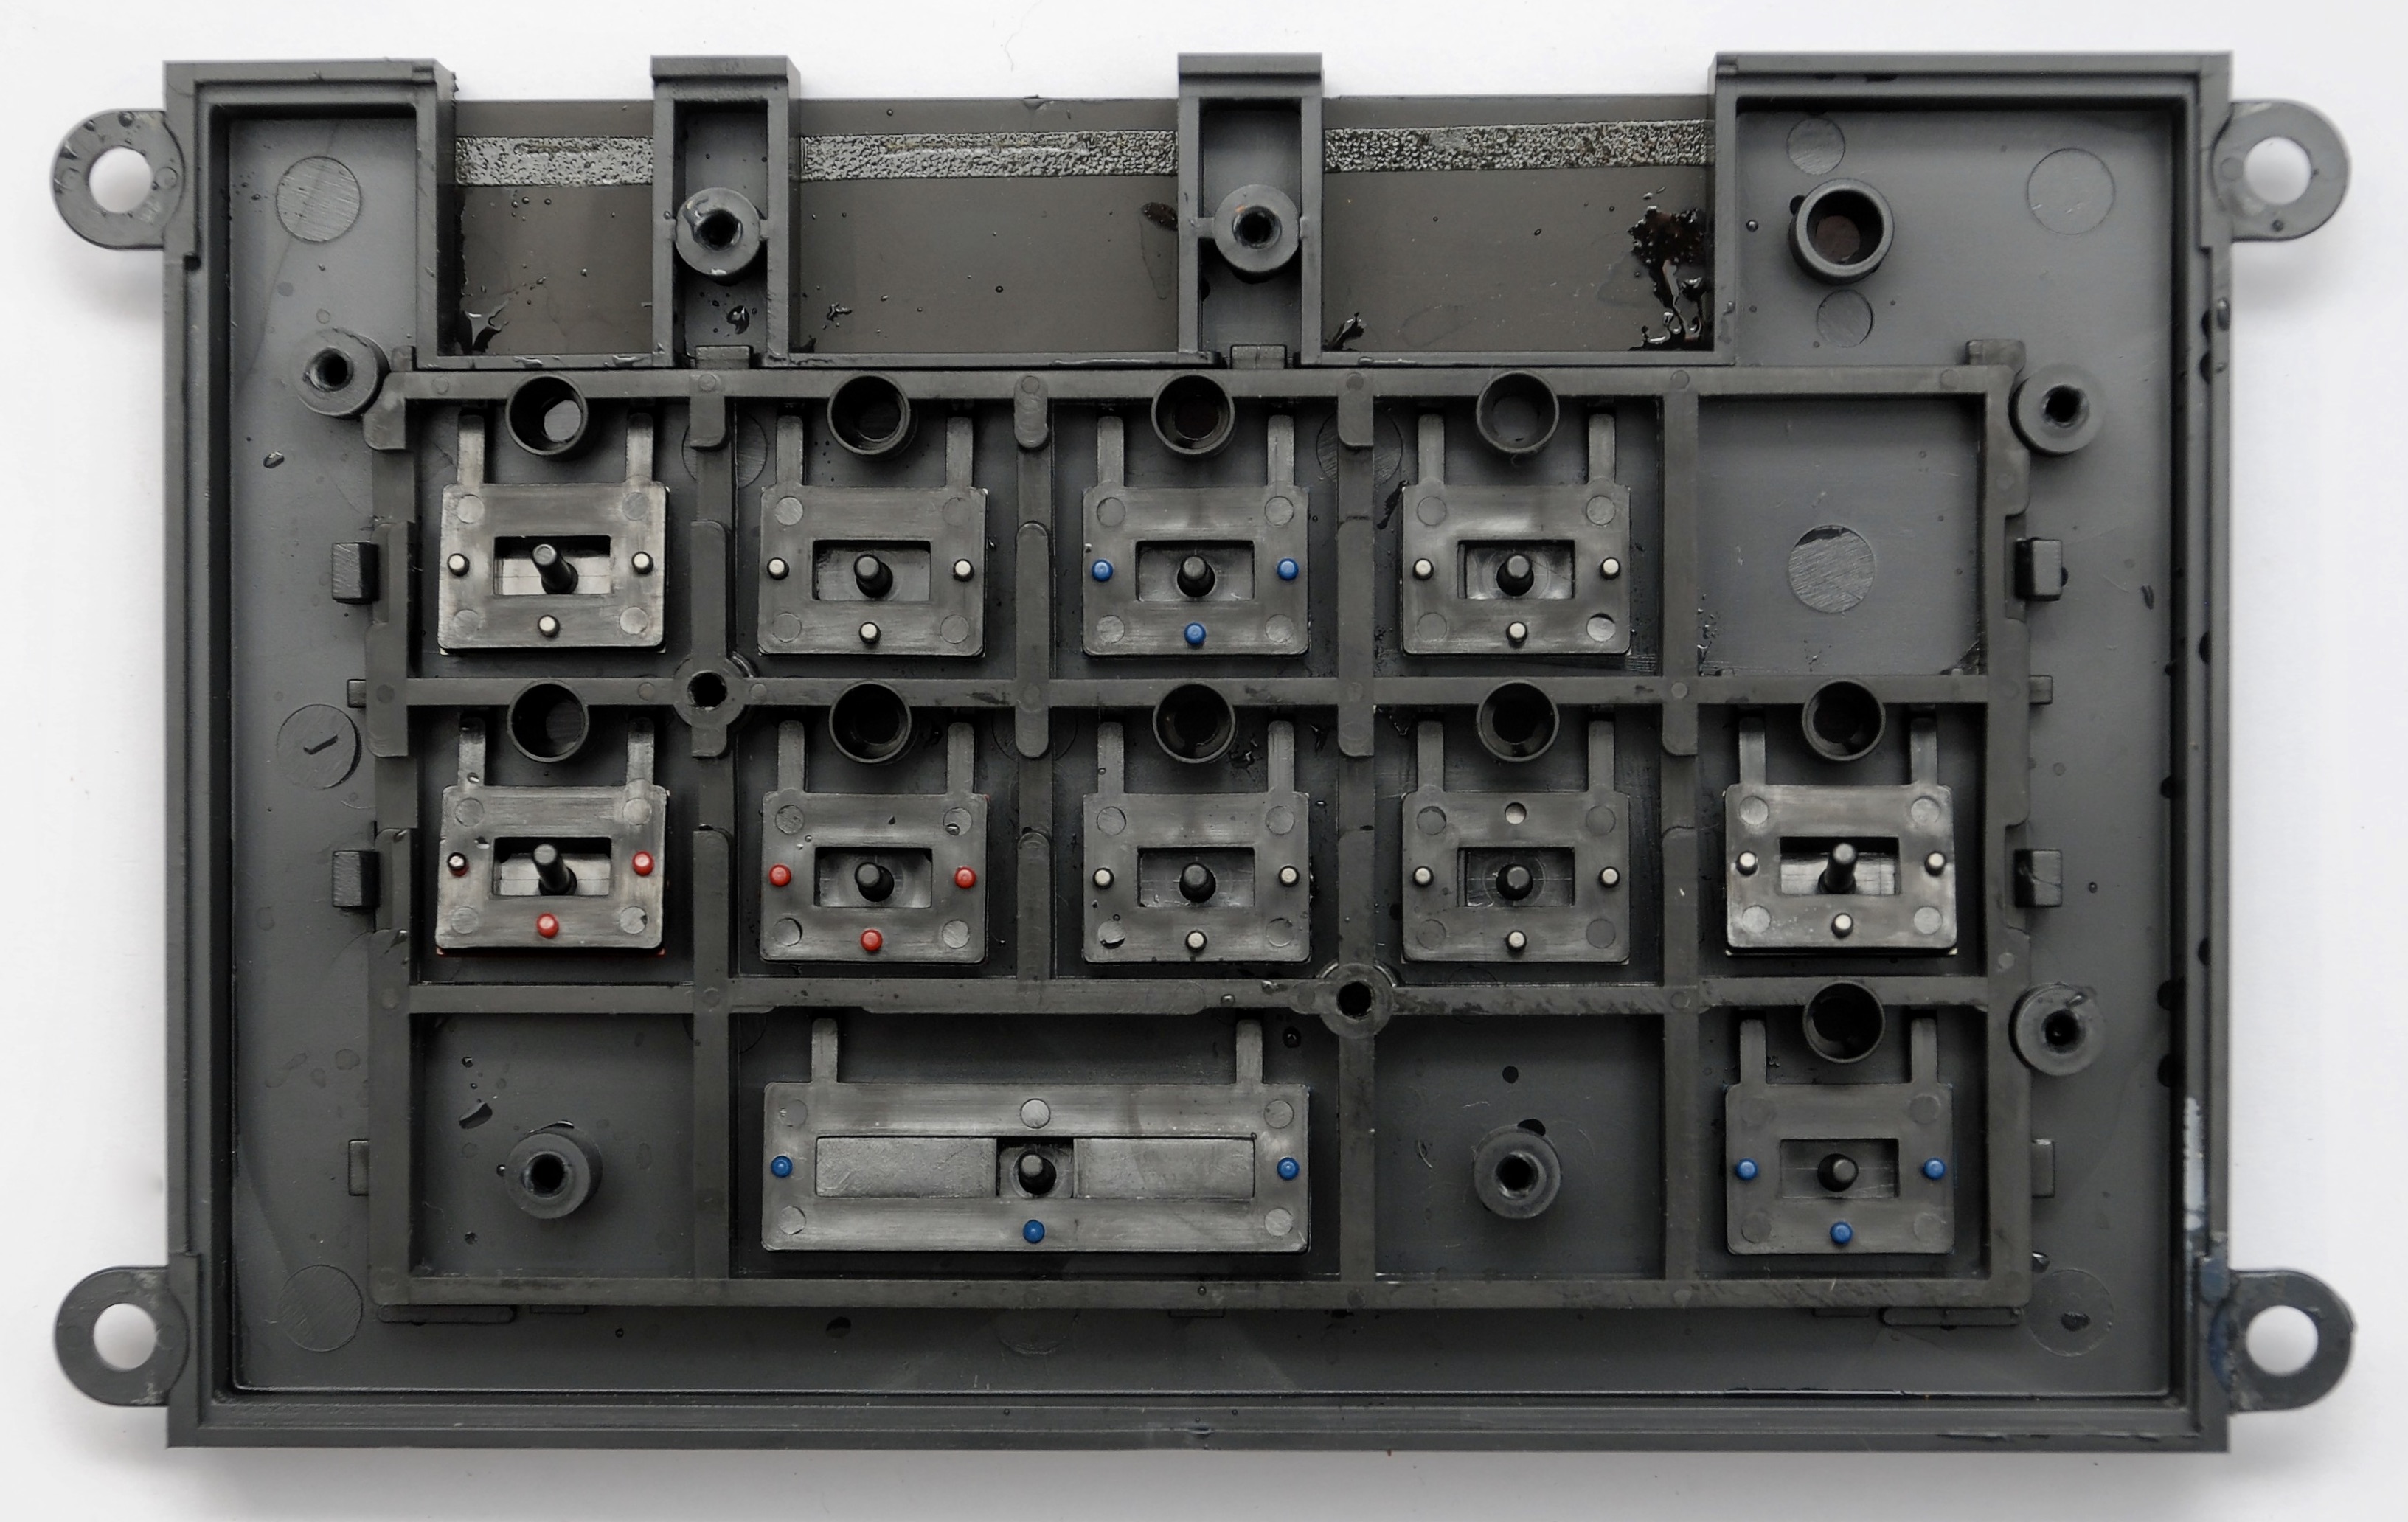
Buttons Panel


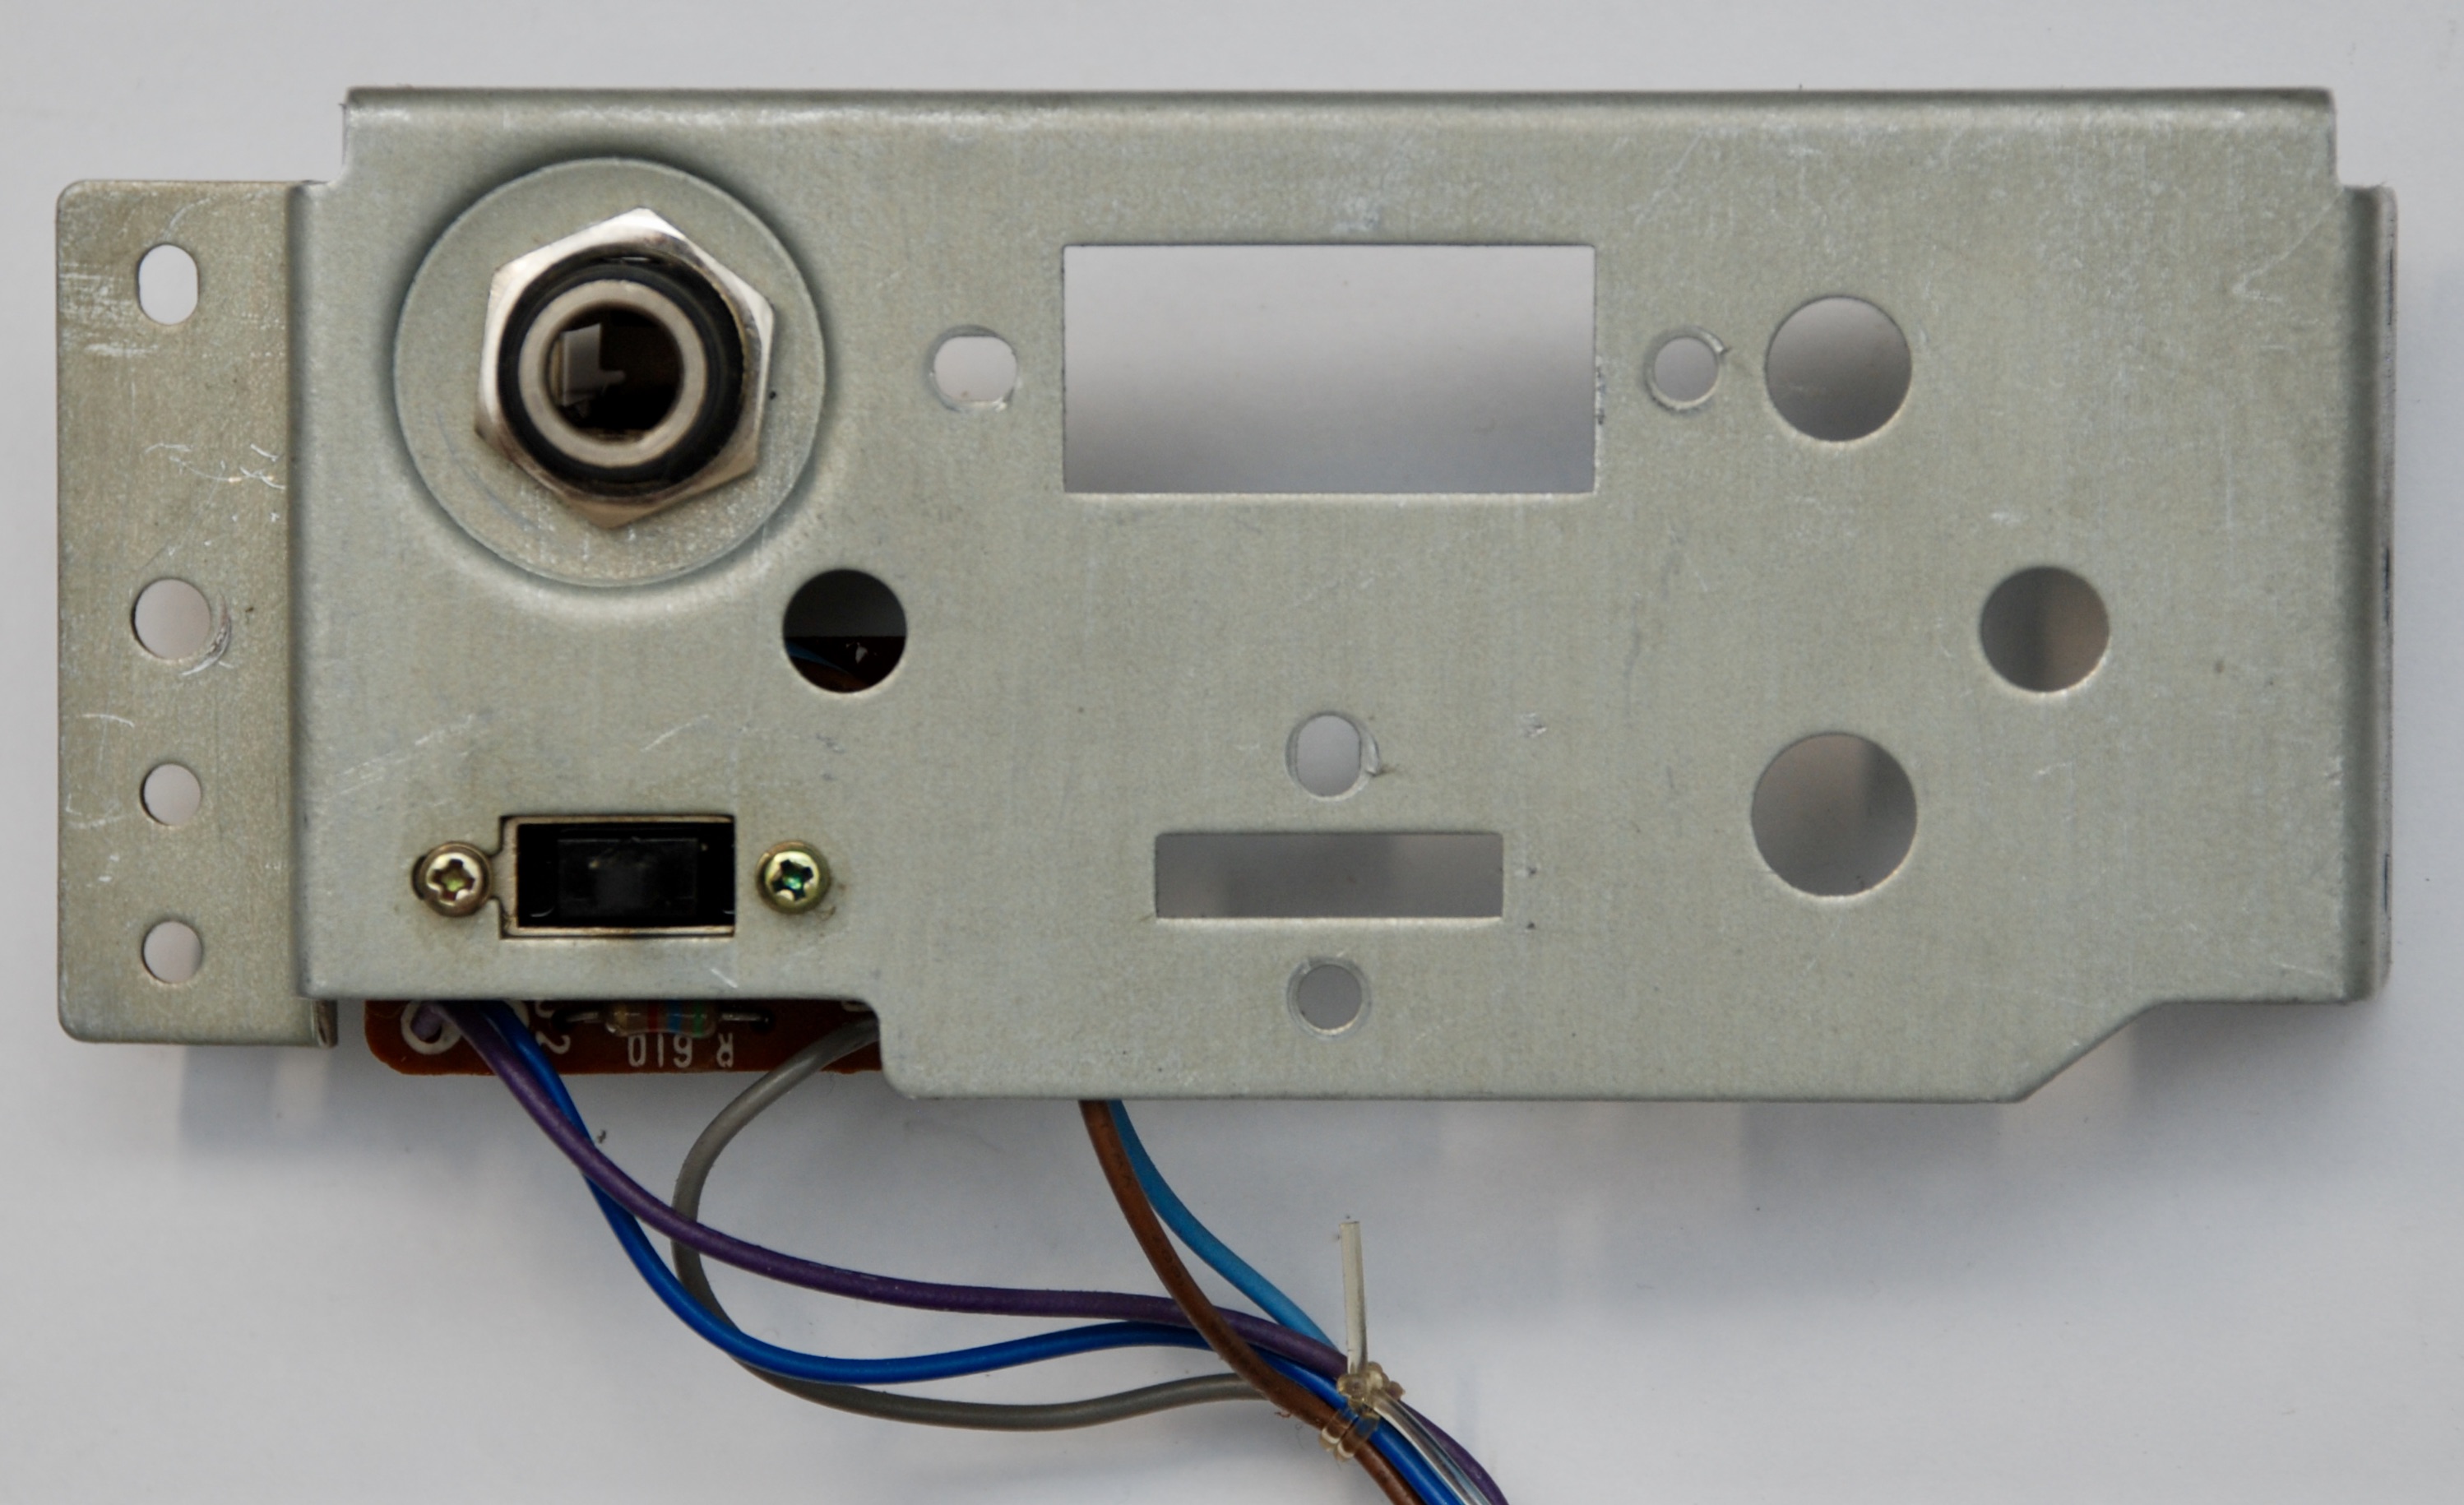
Gauges, Knobs and Jacks Panel
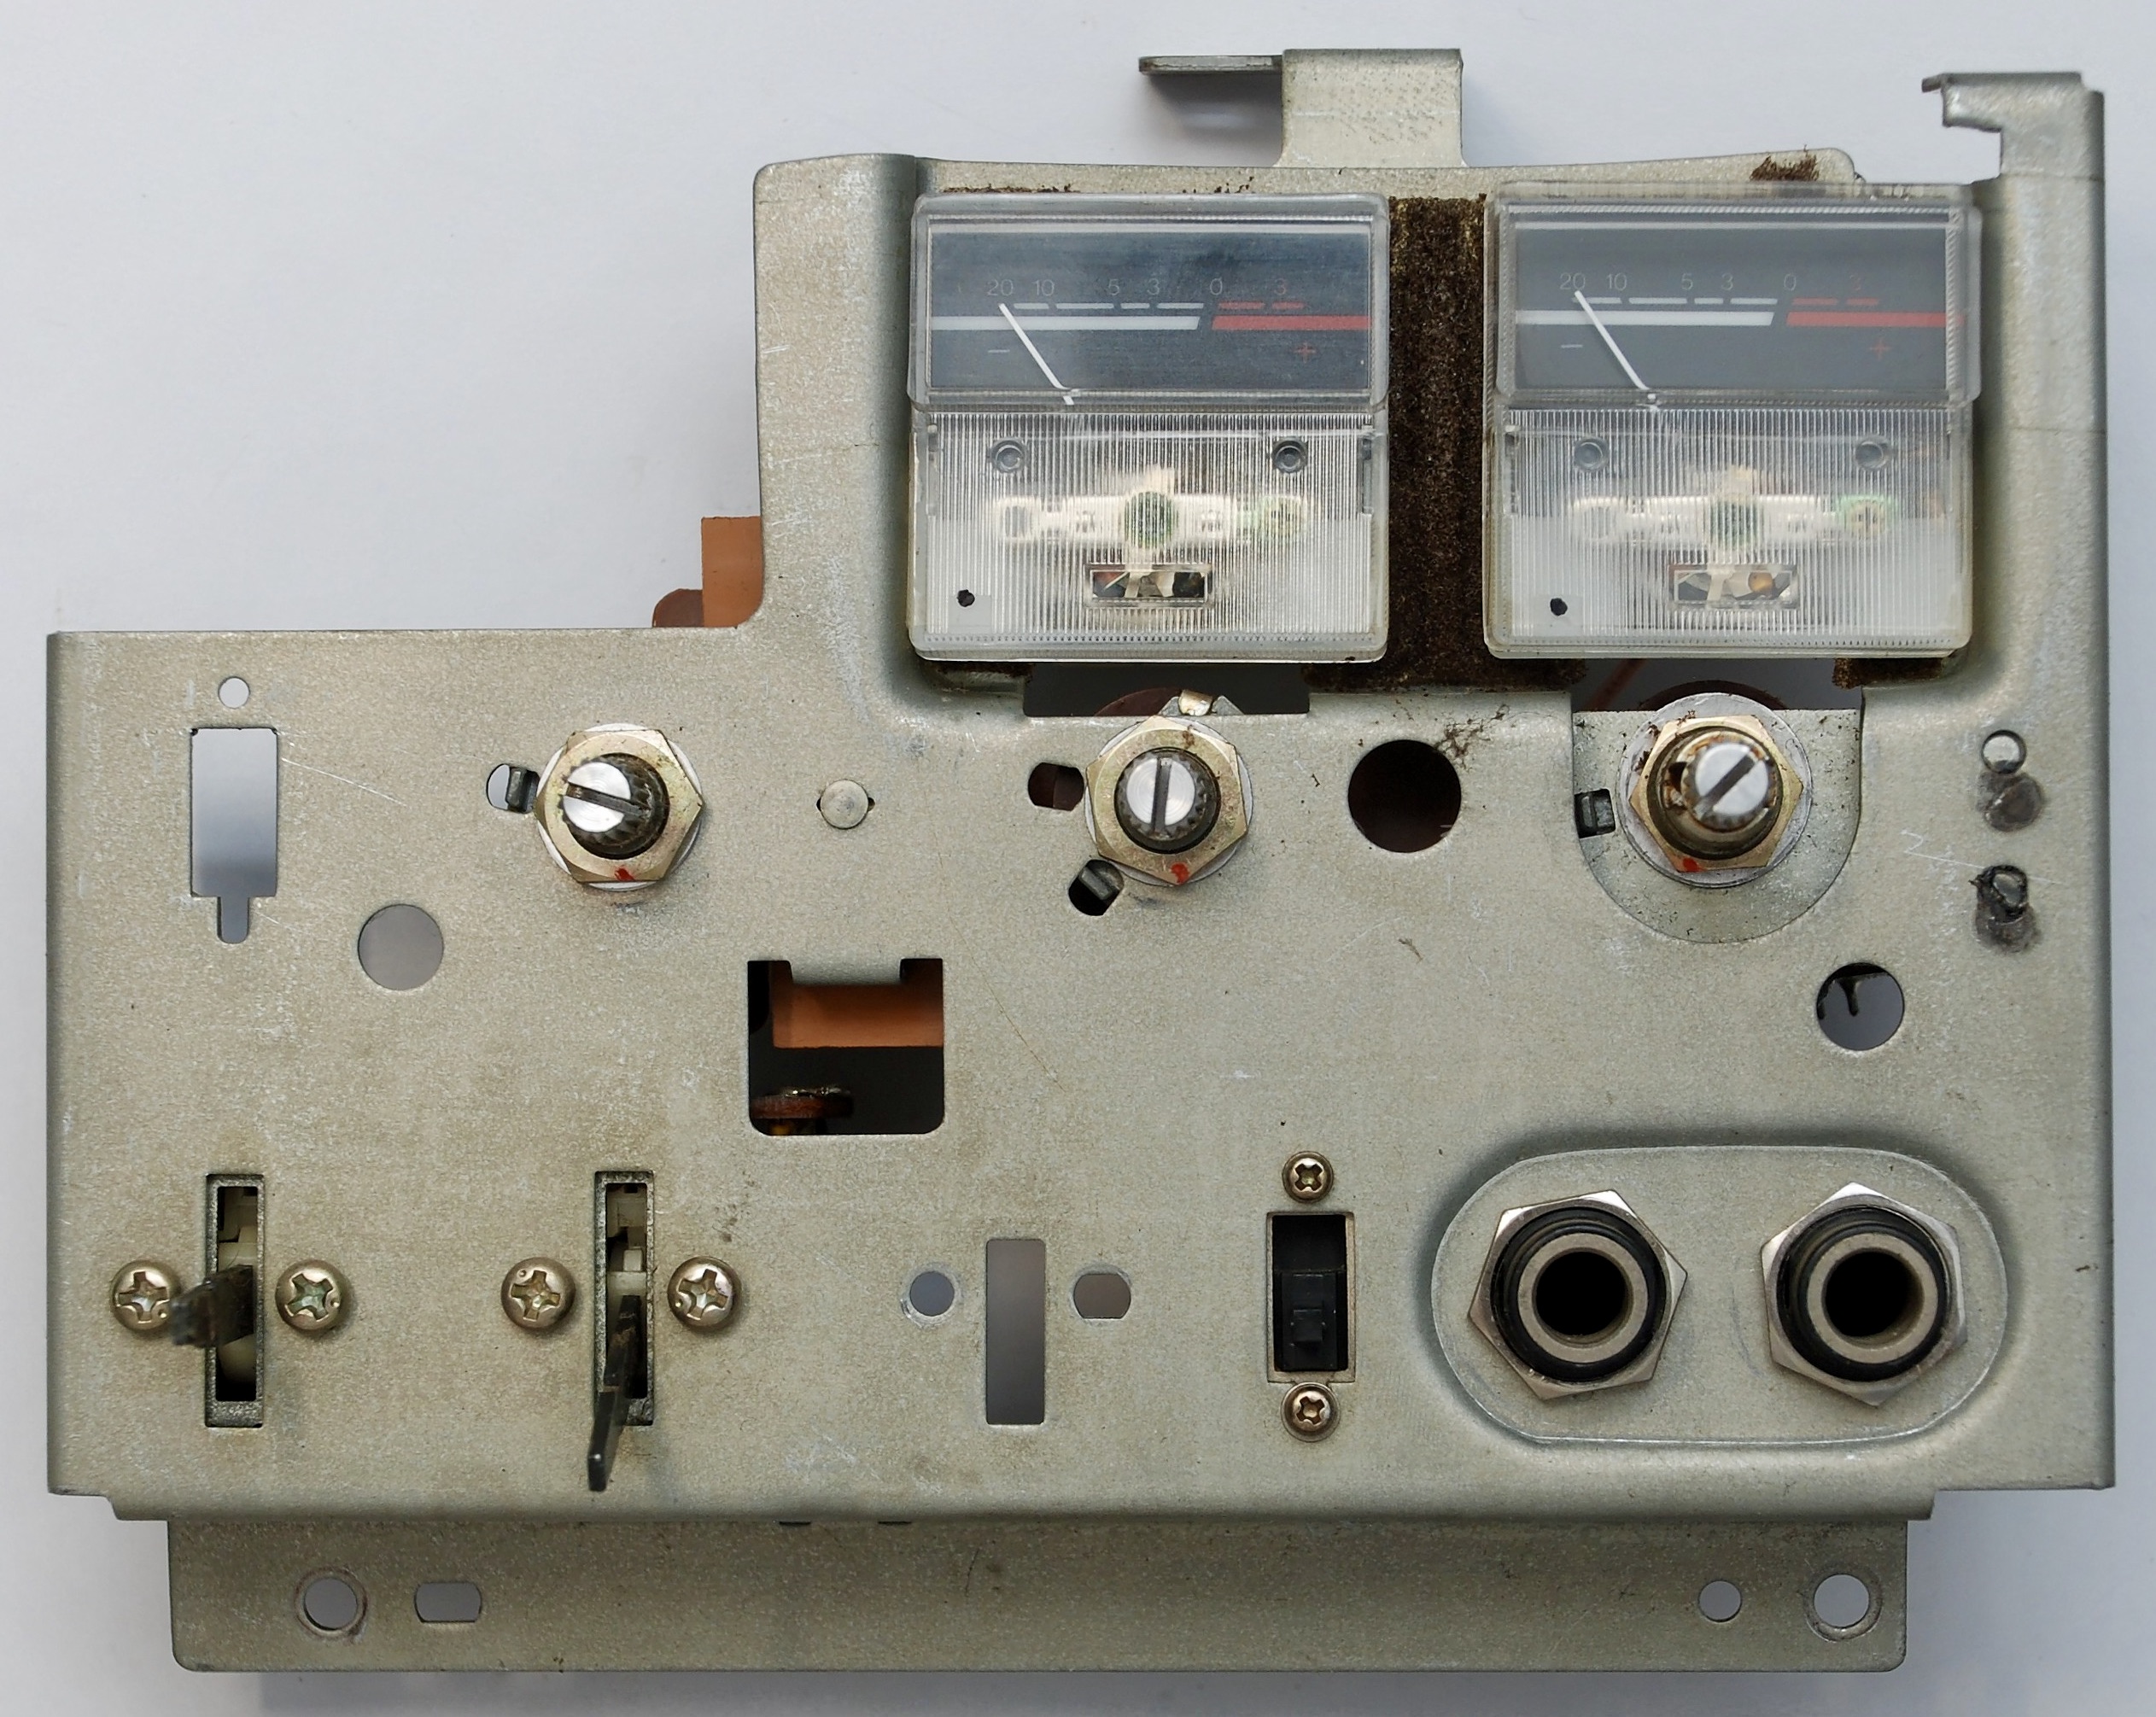


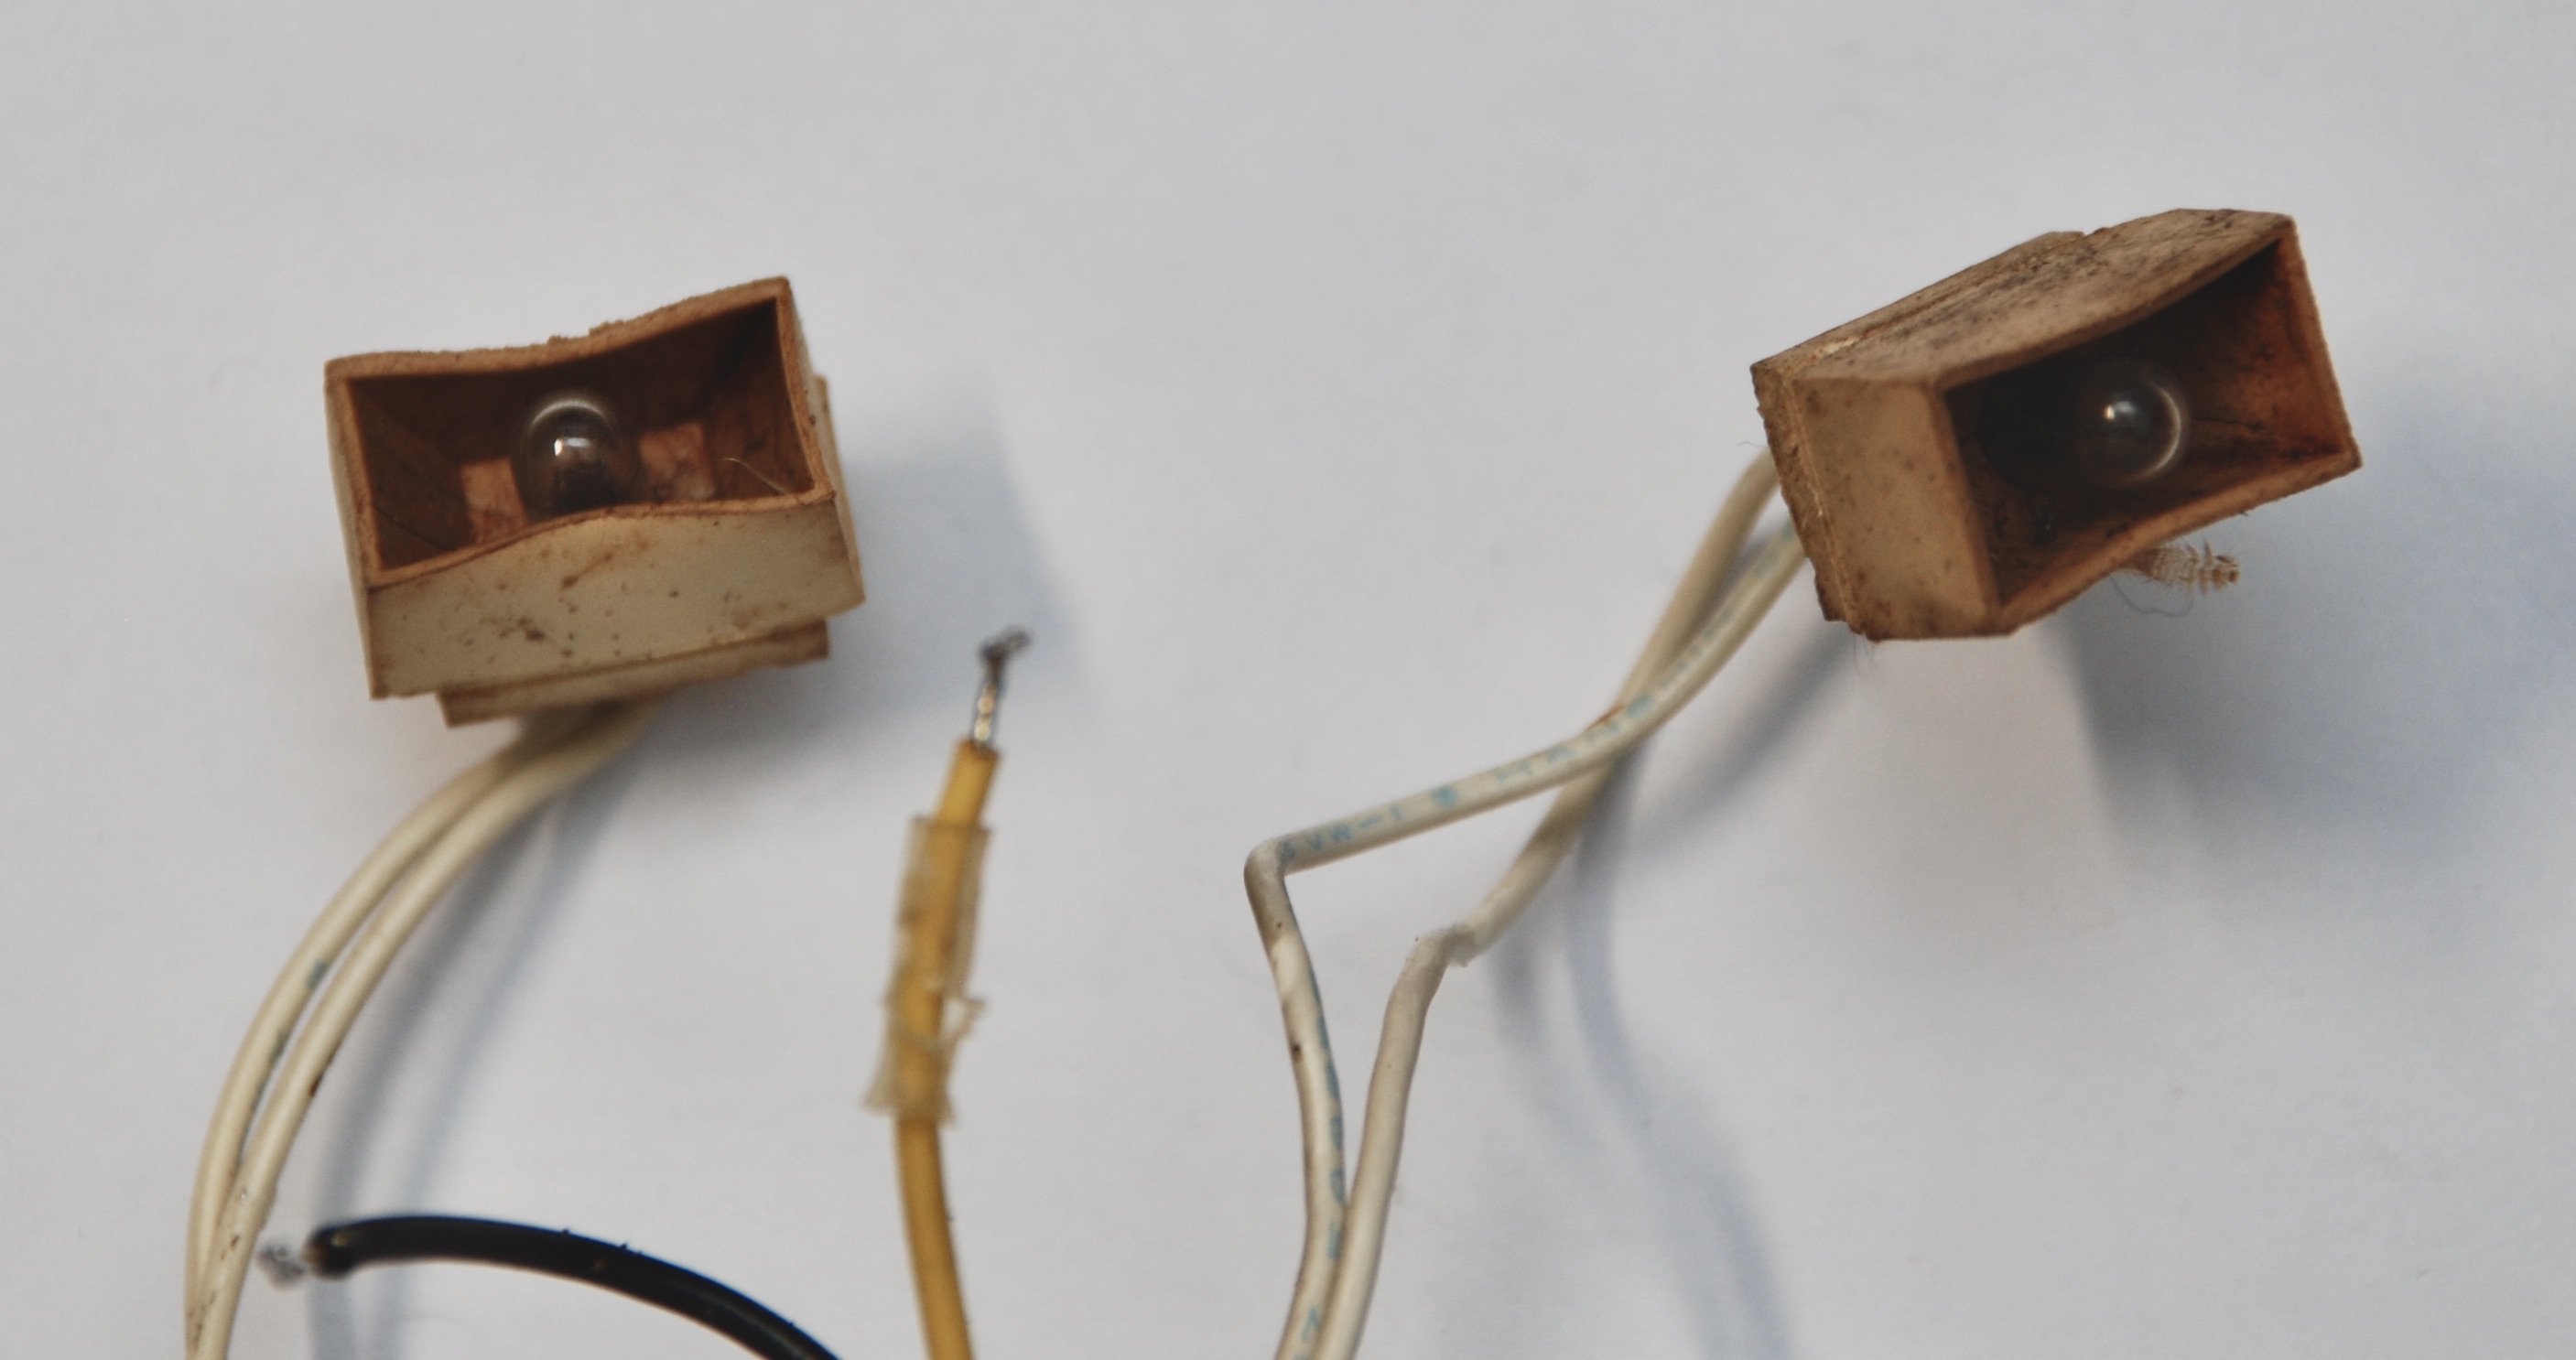
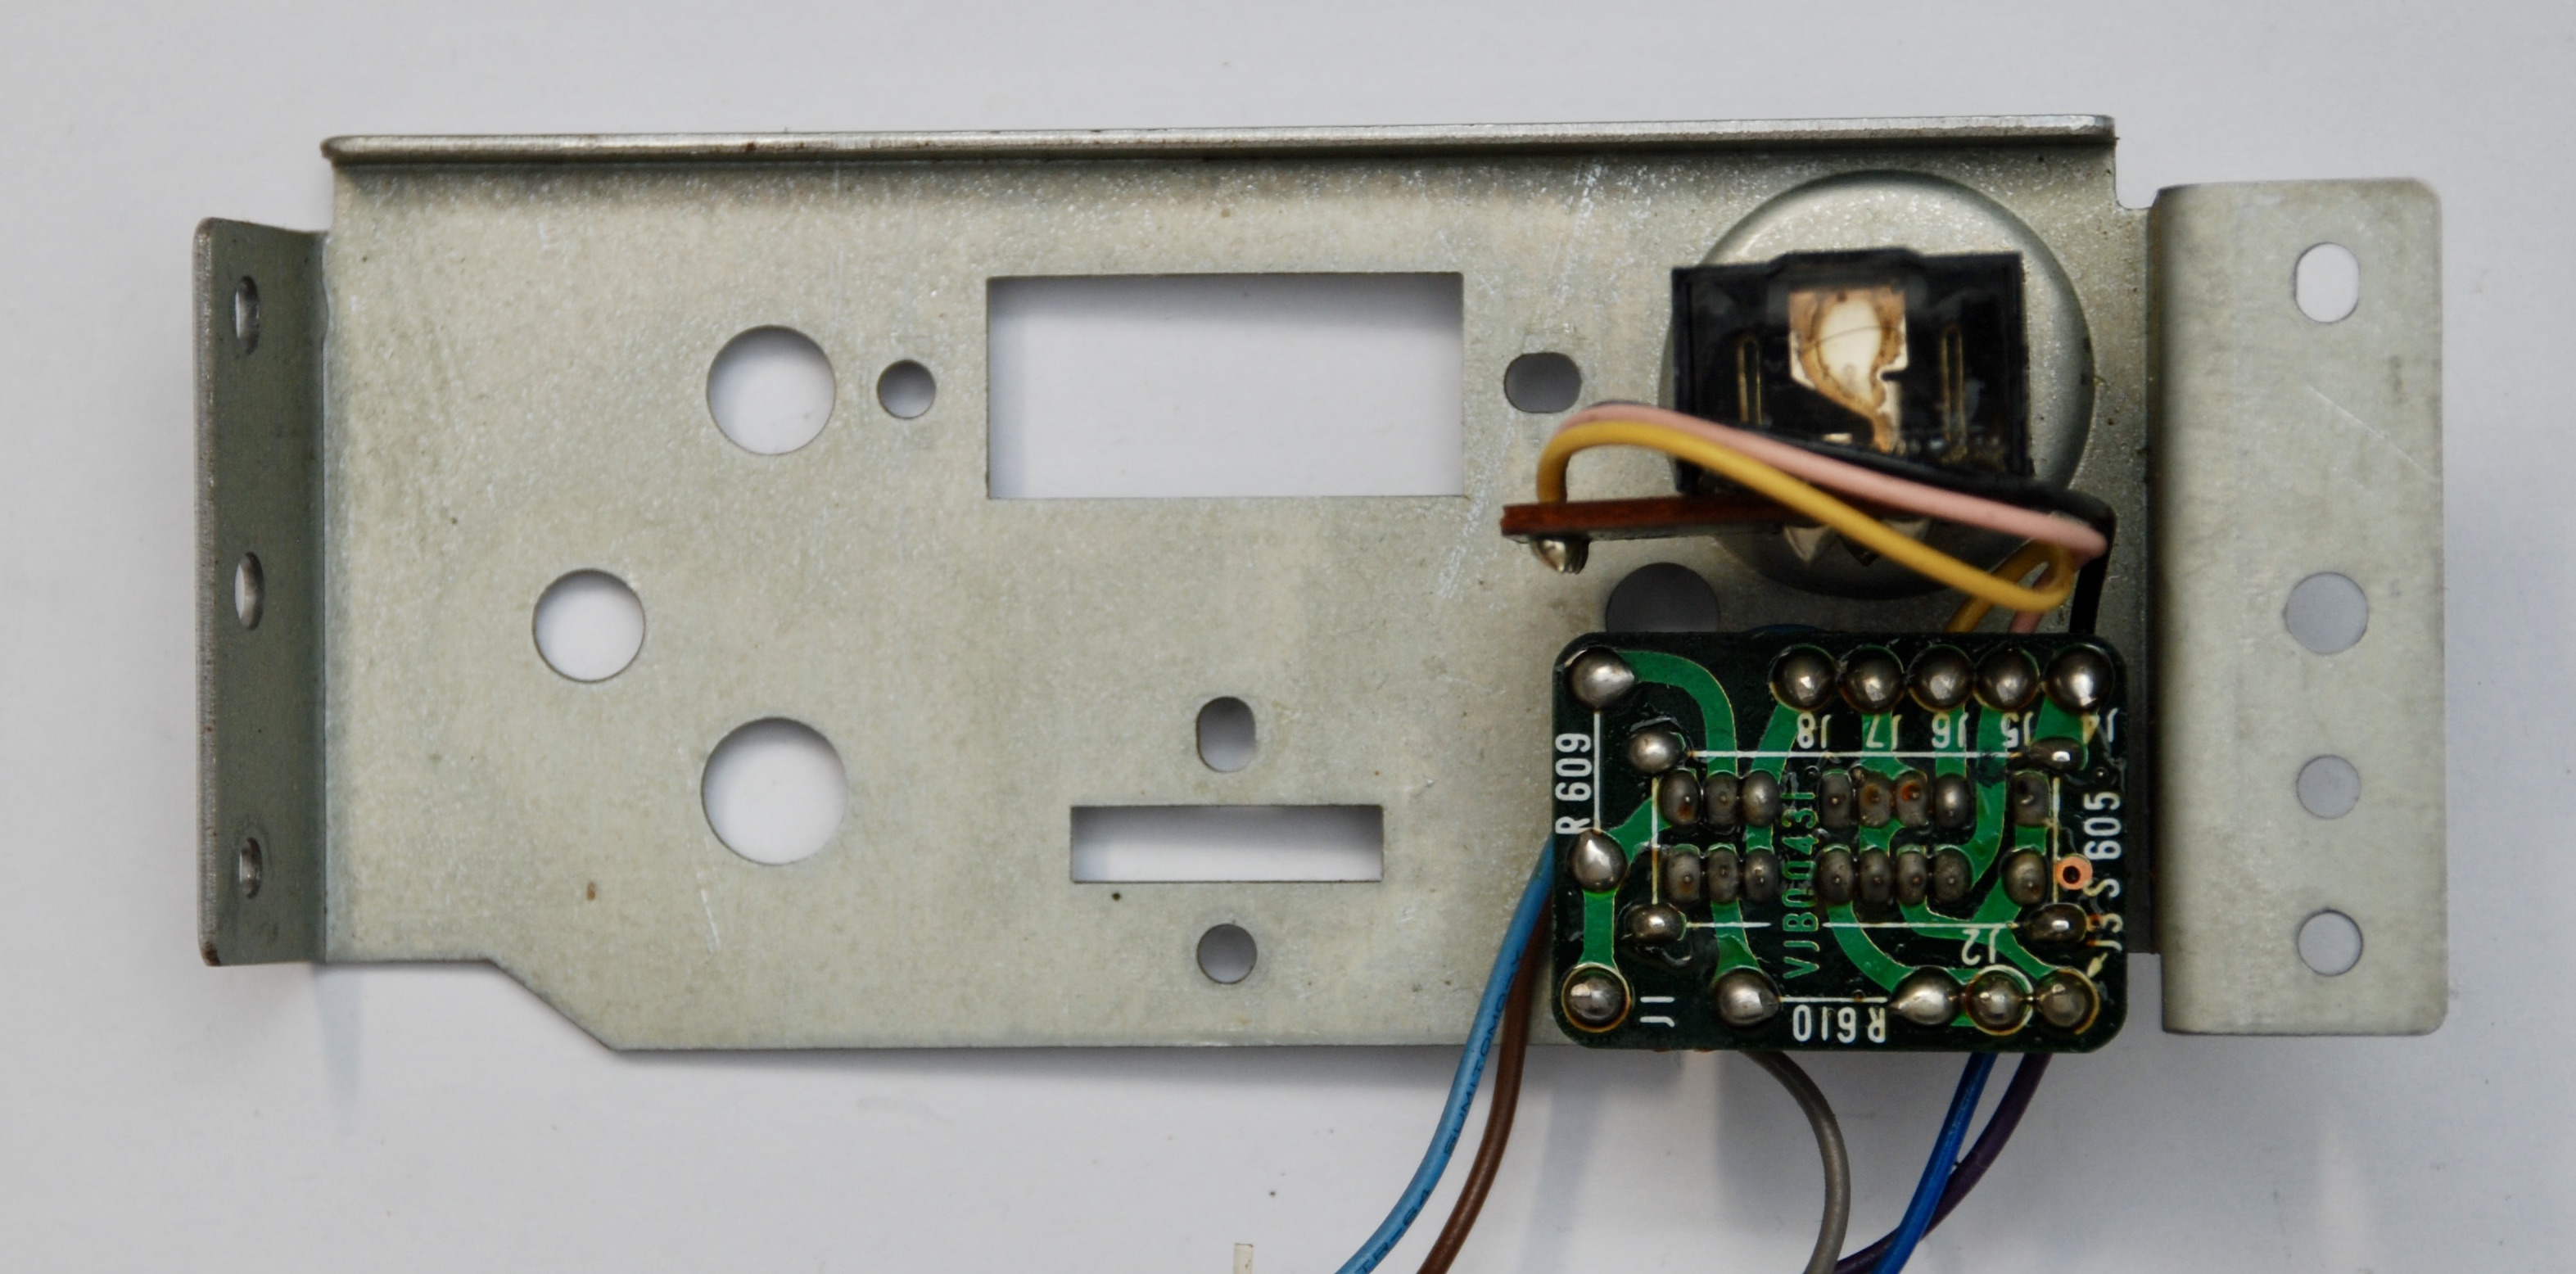
Gauge Lights
Power and Headphones Panel
Rear Connectors Panel


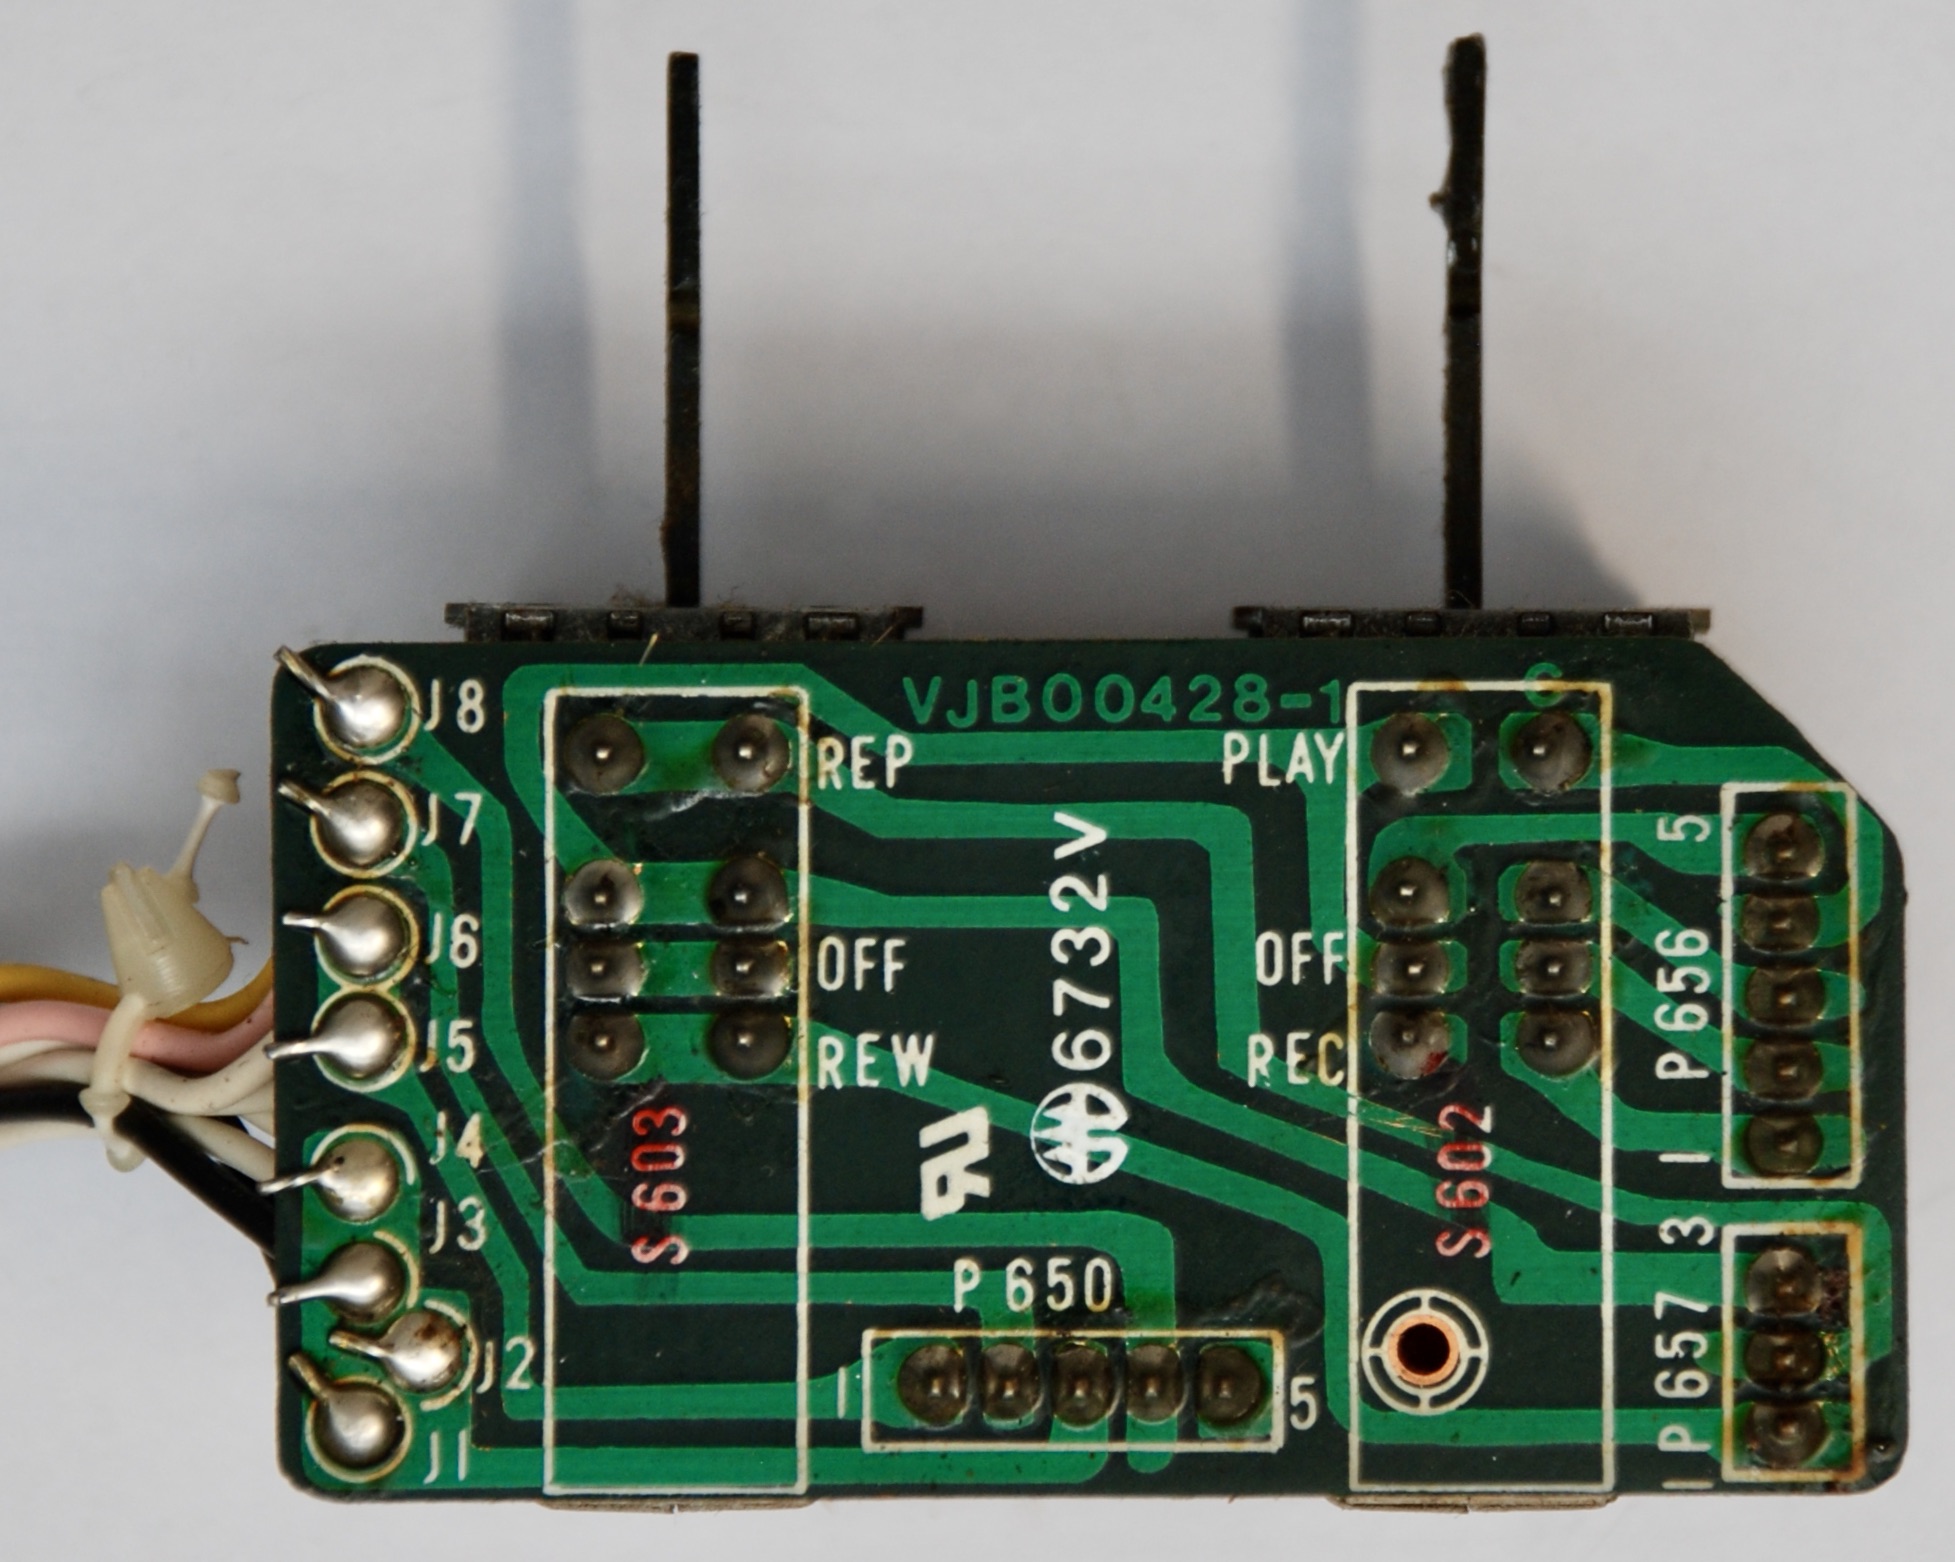
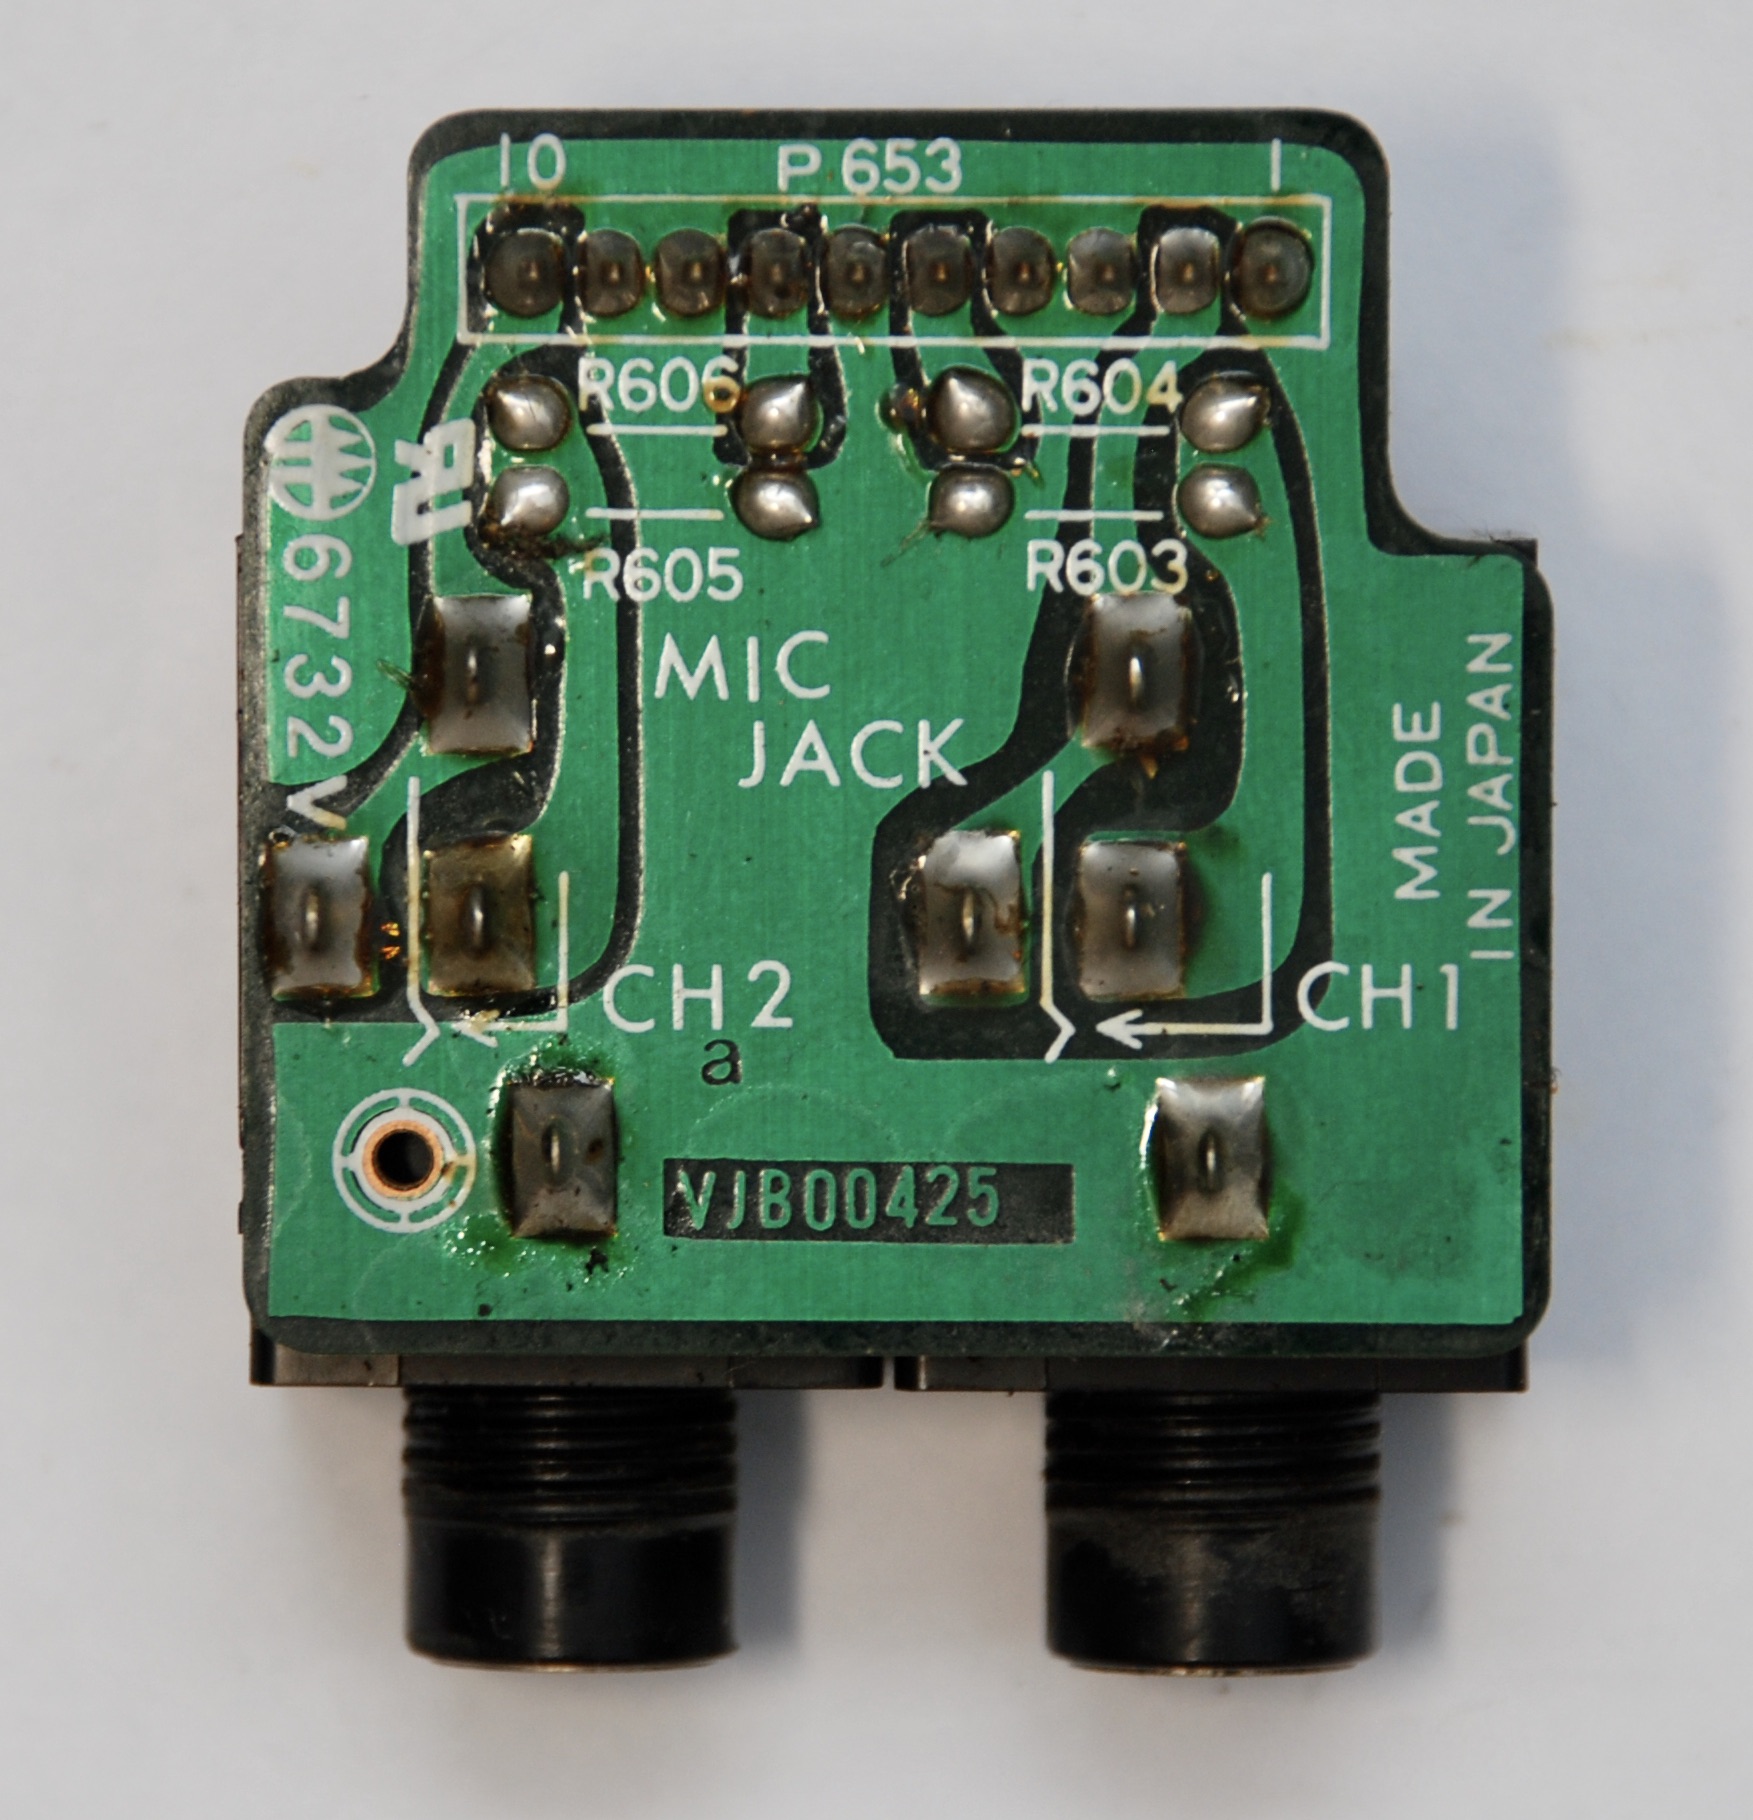
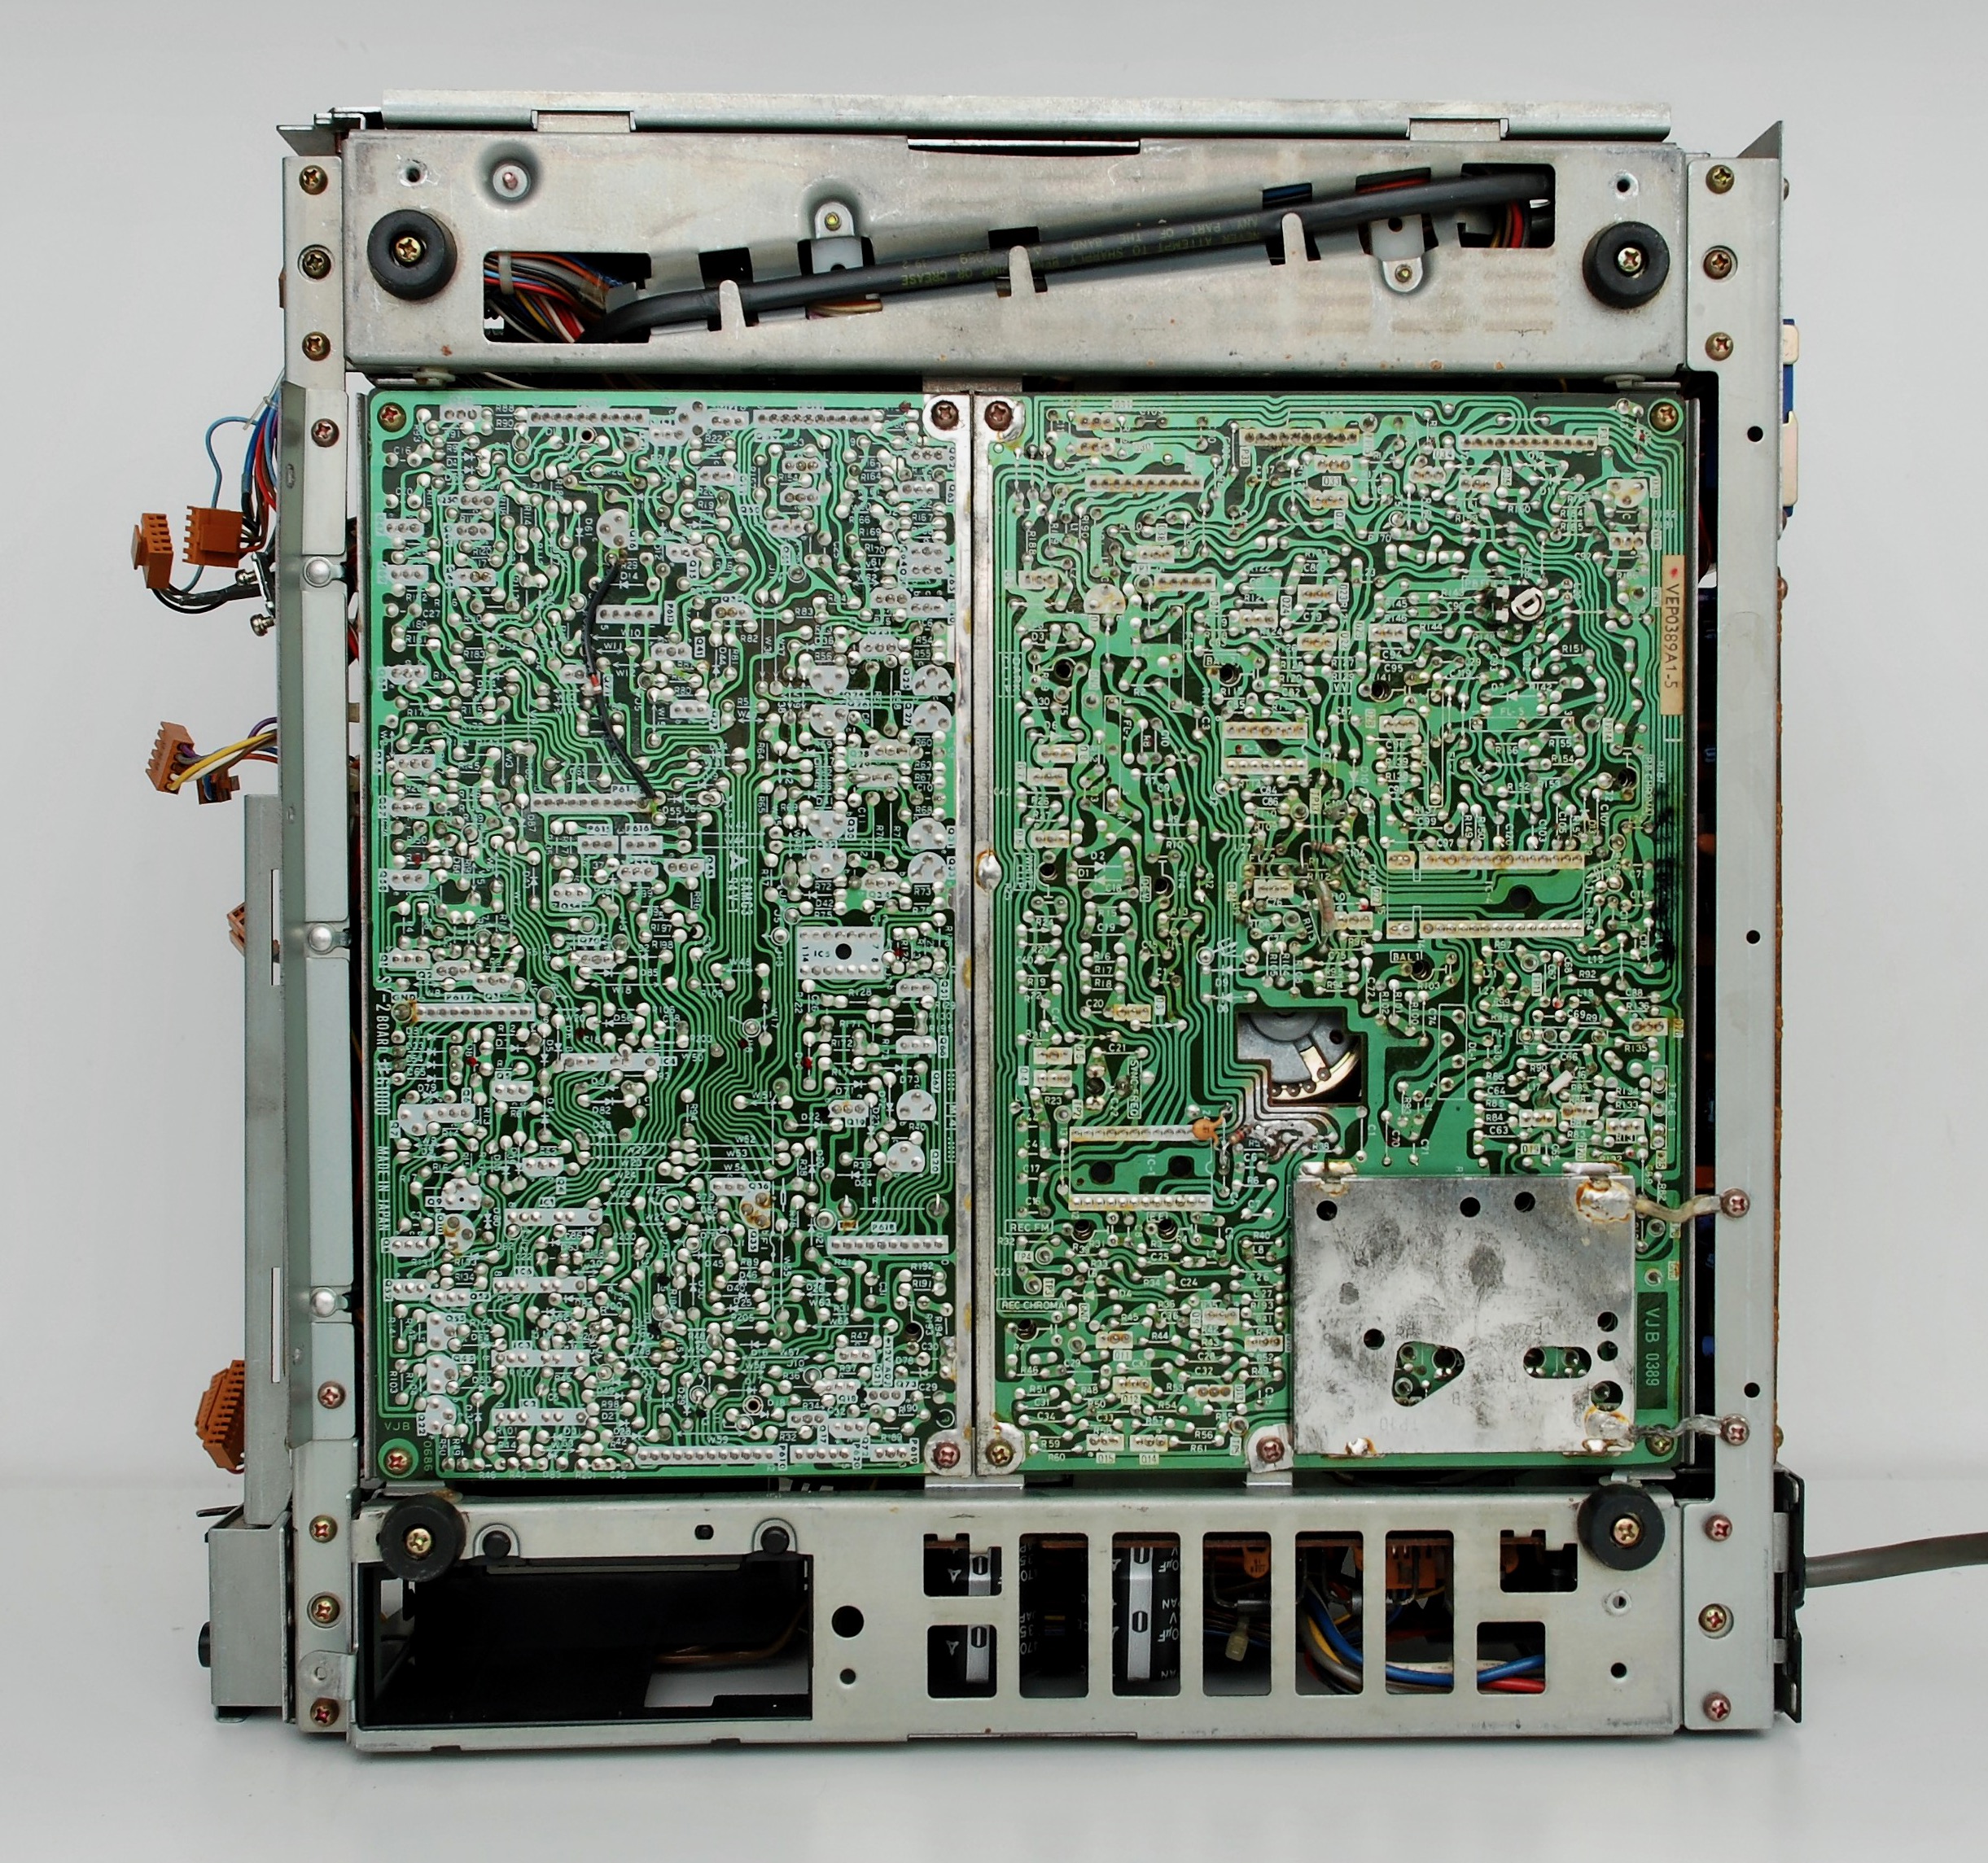
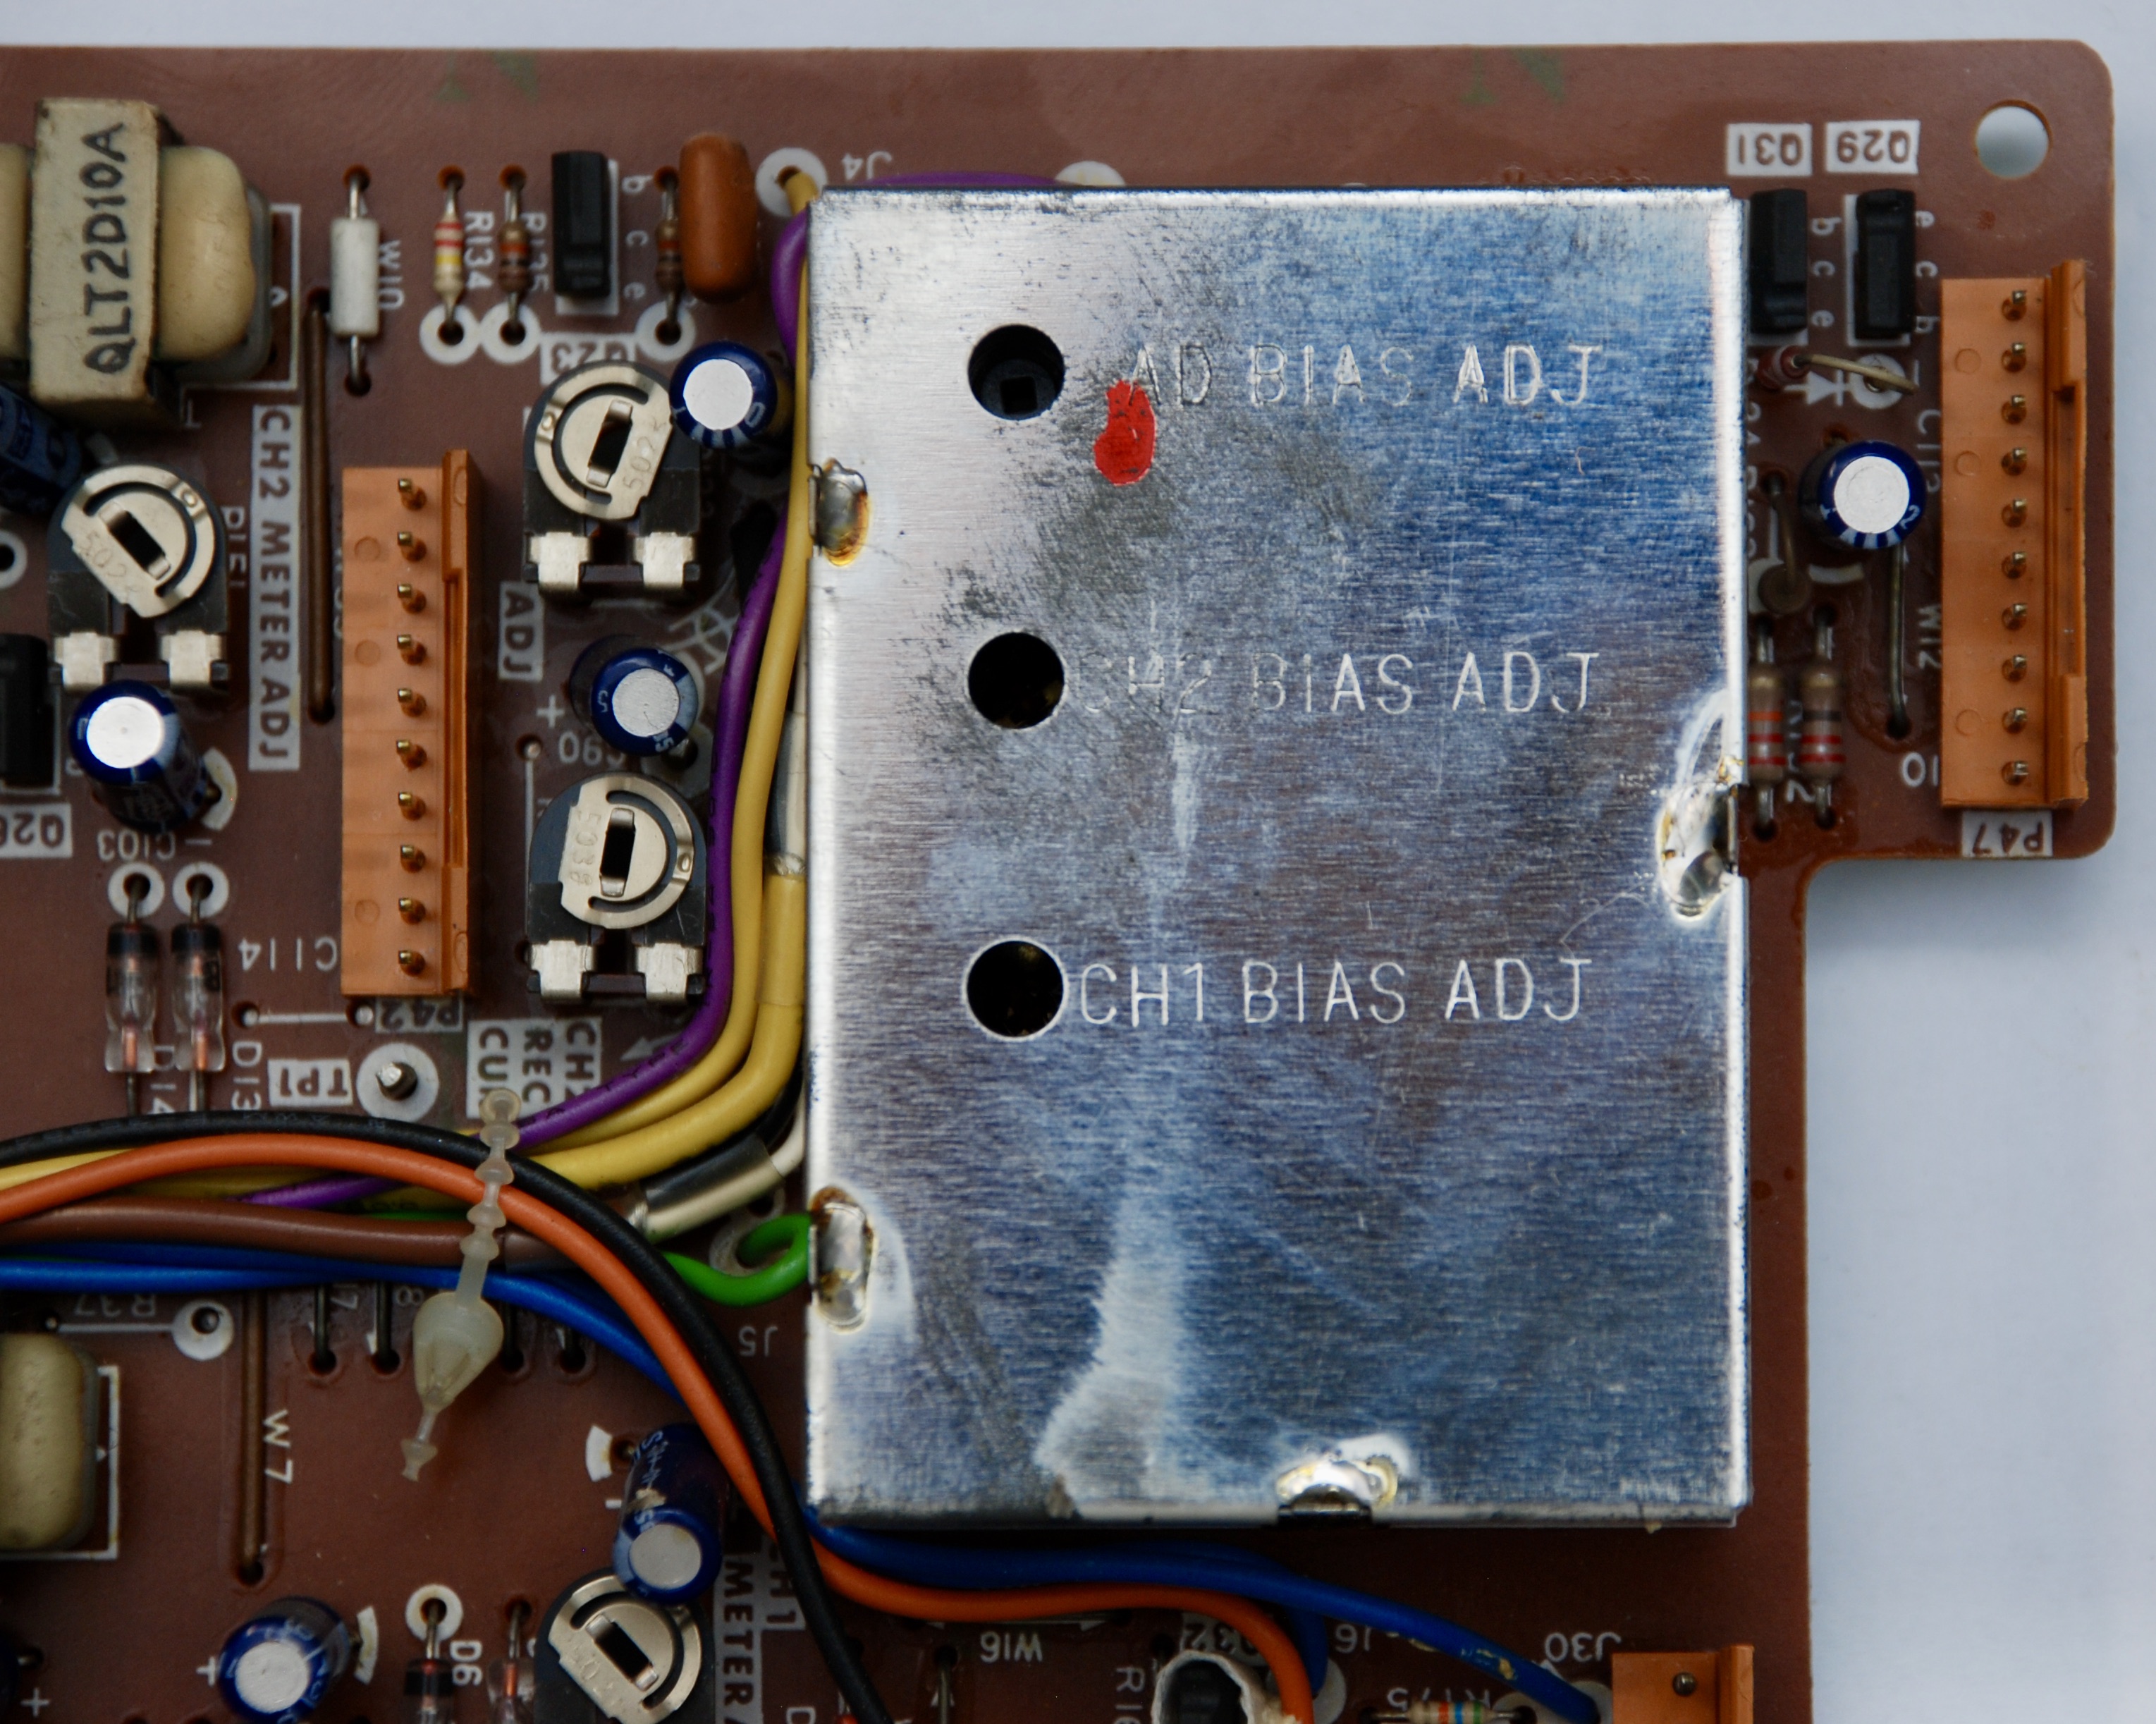
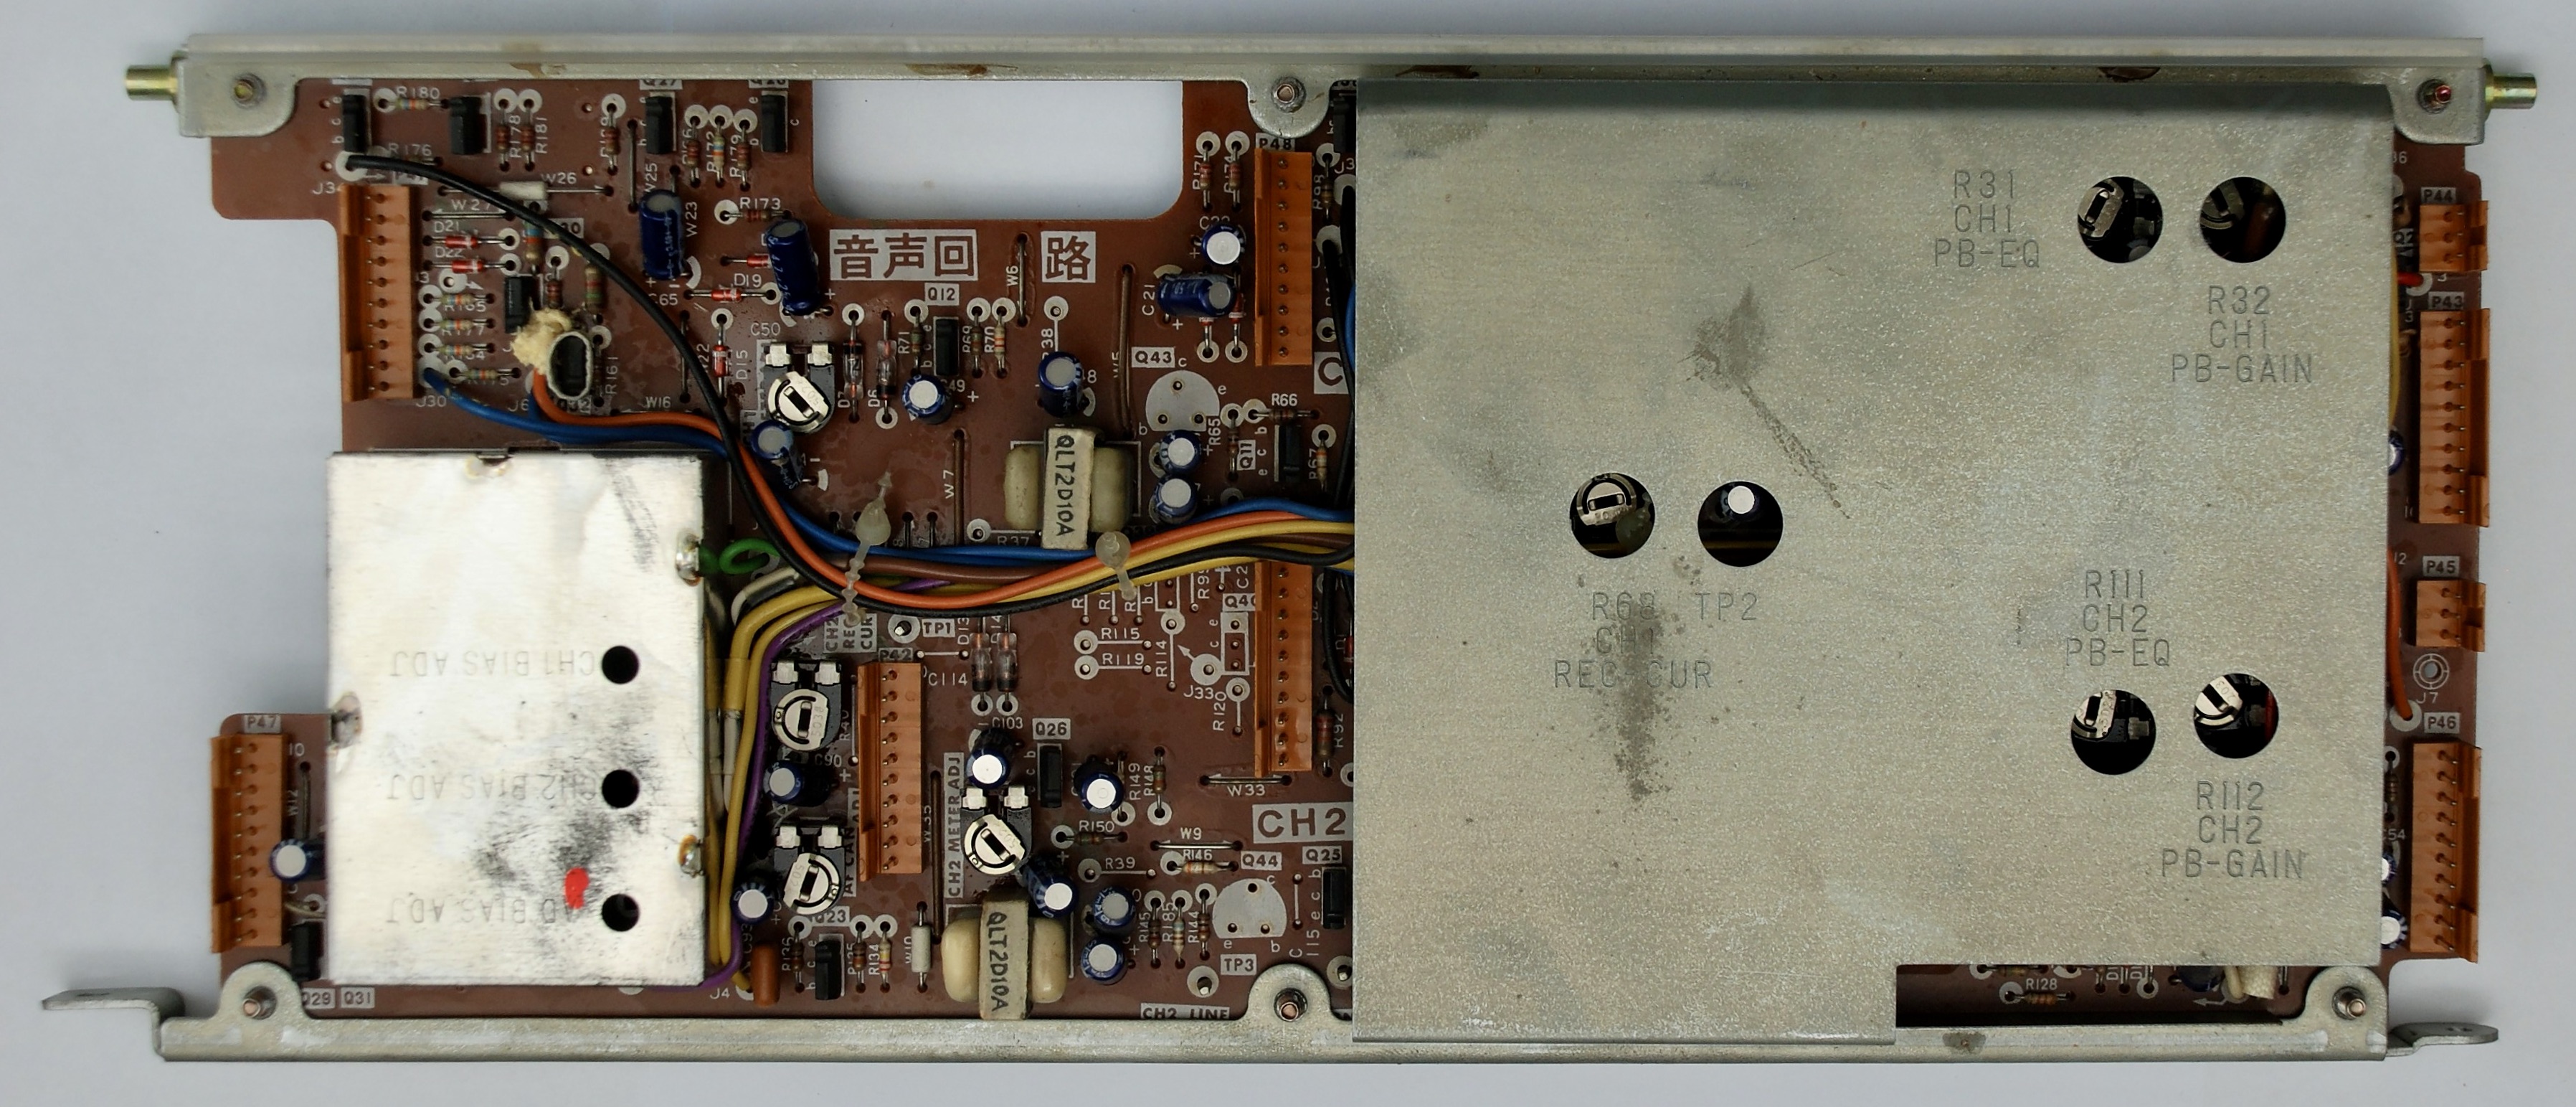
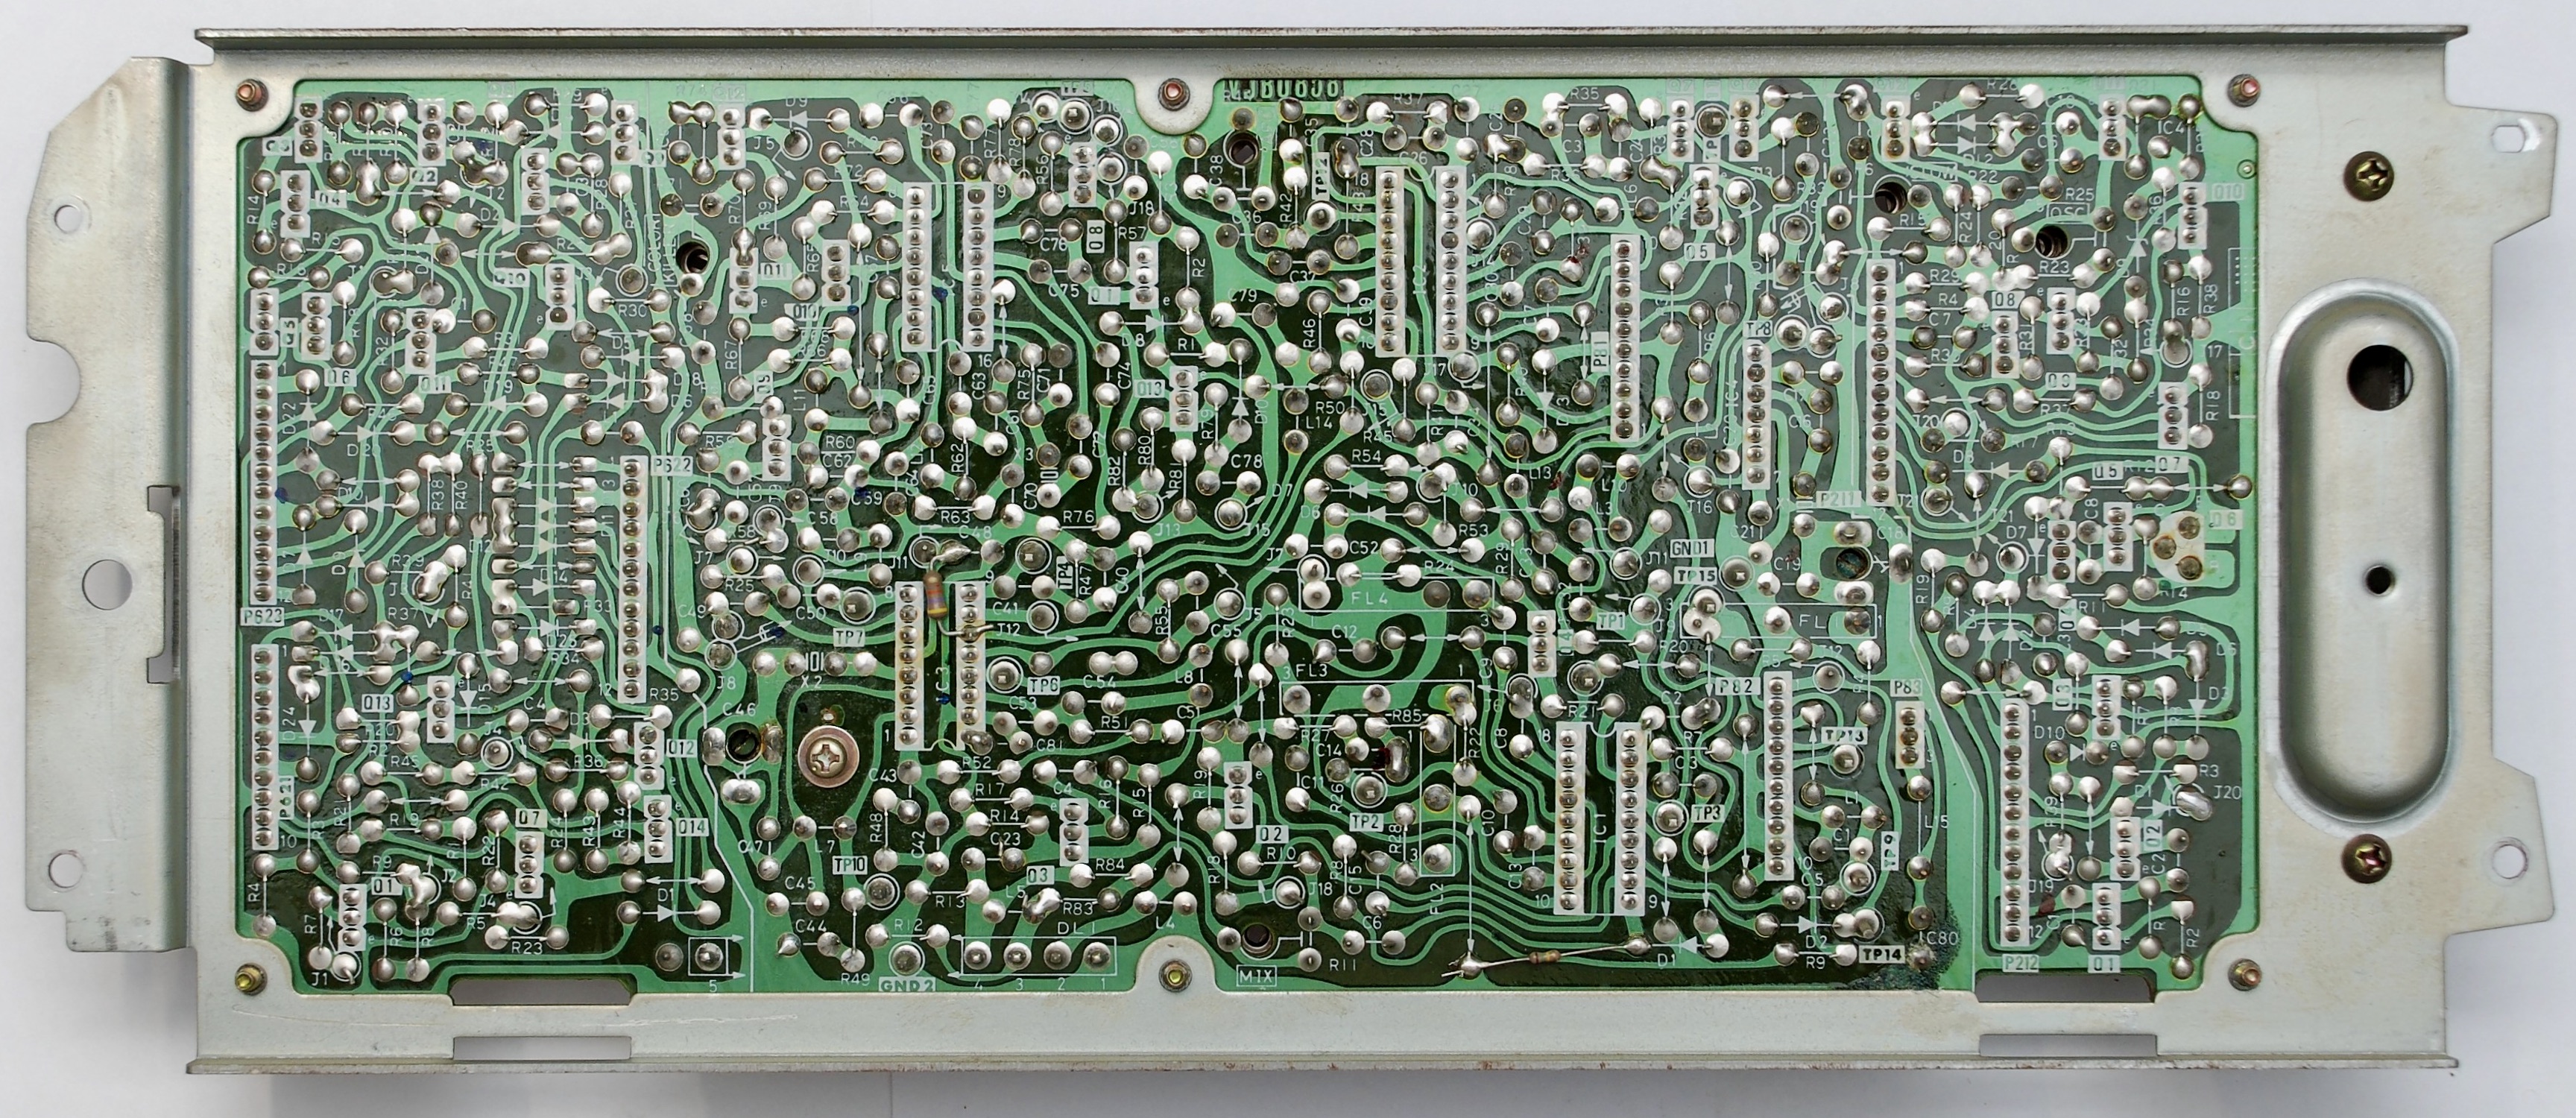
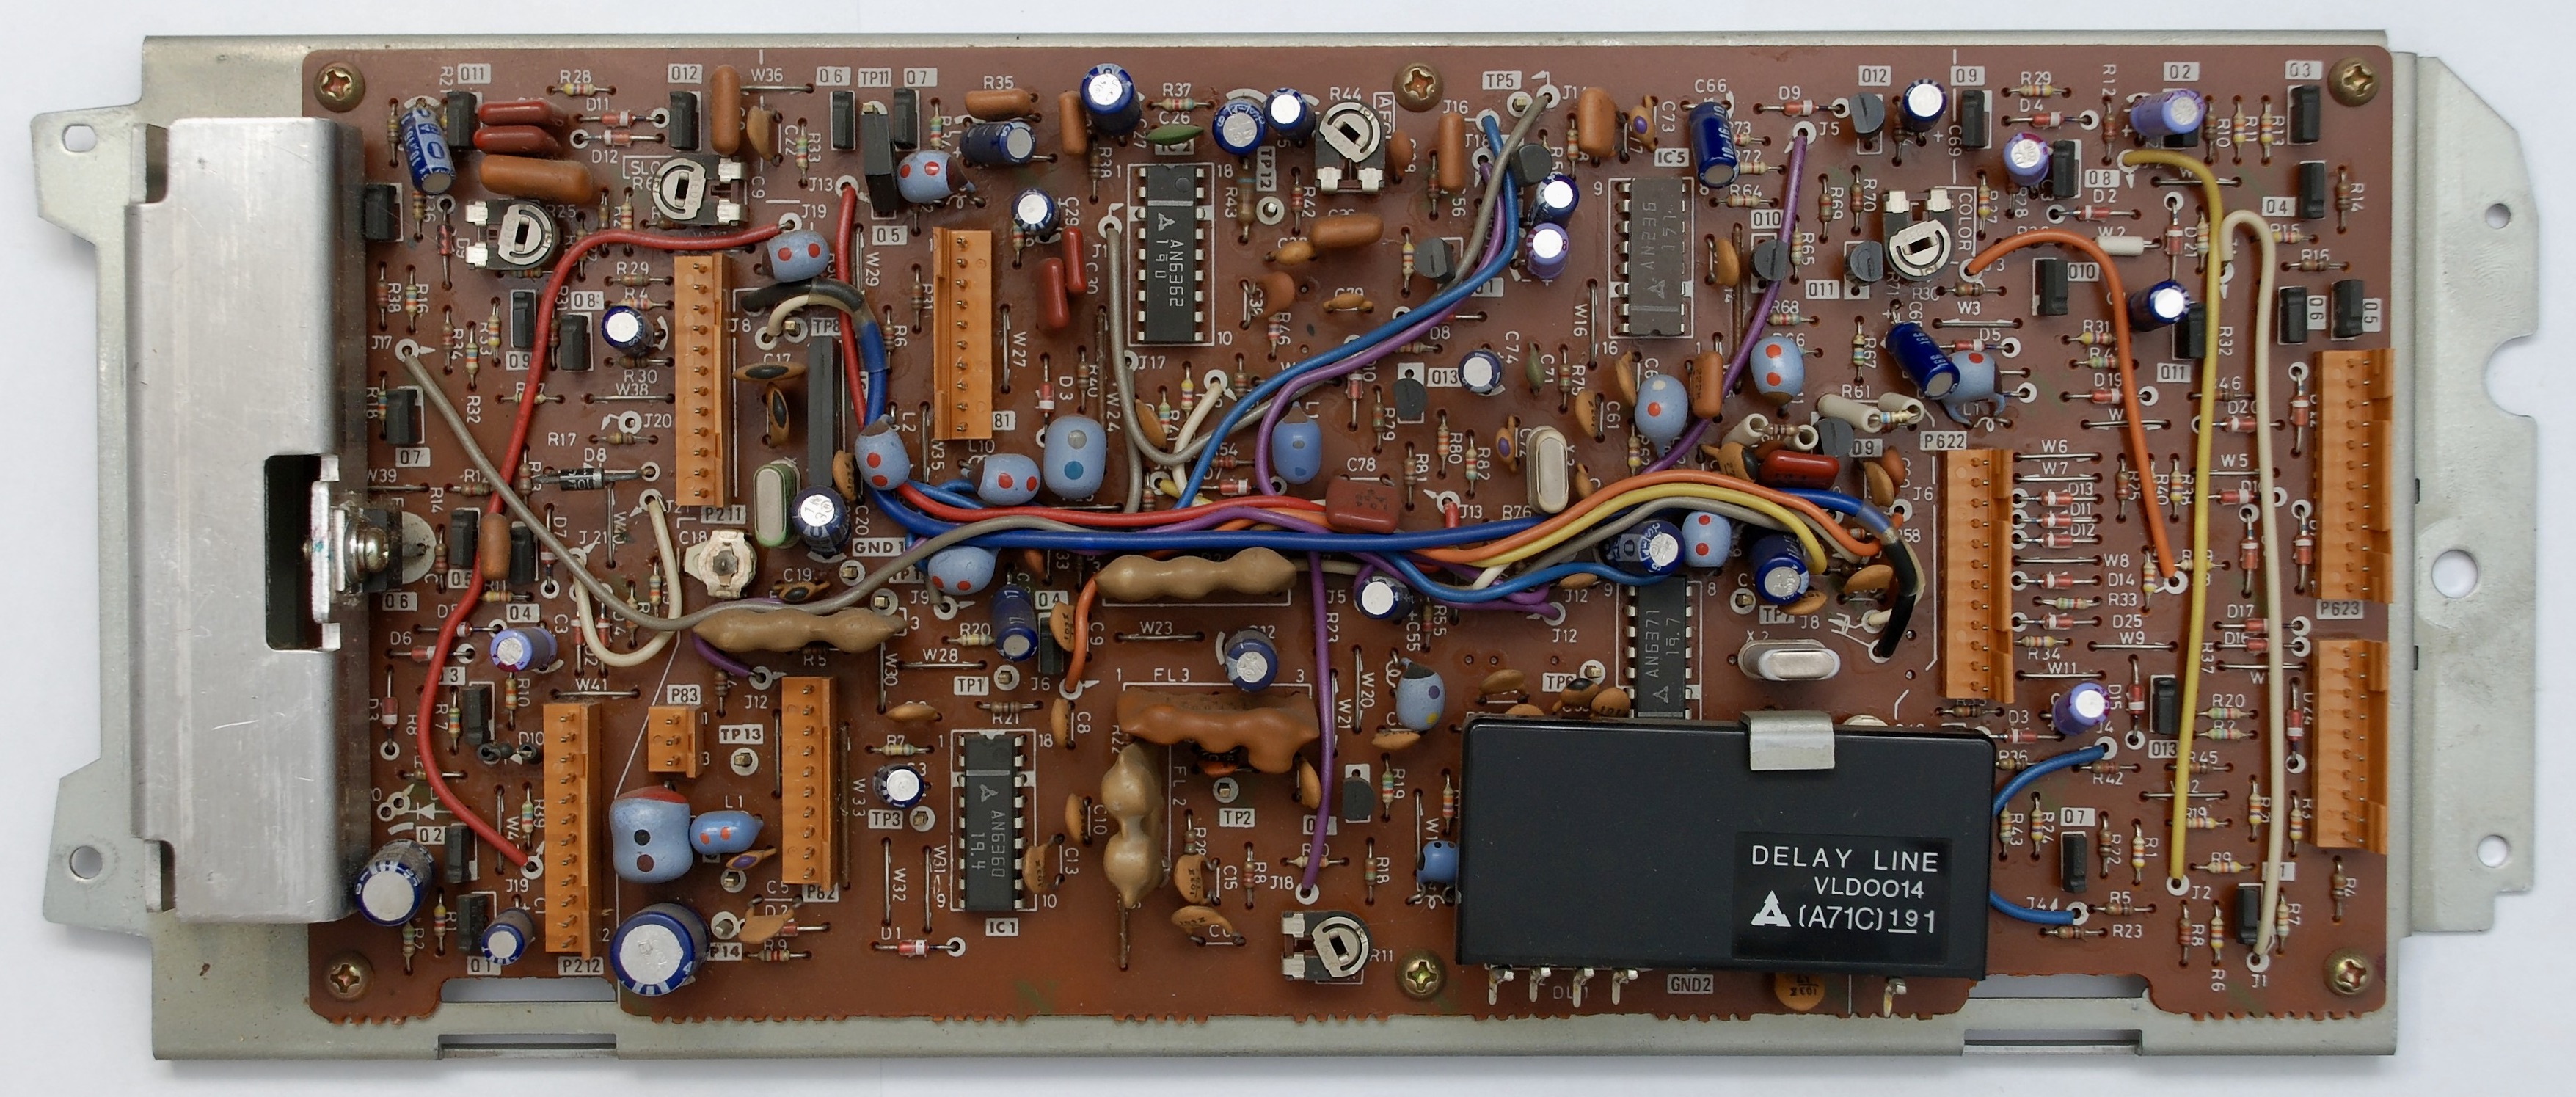
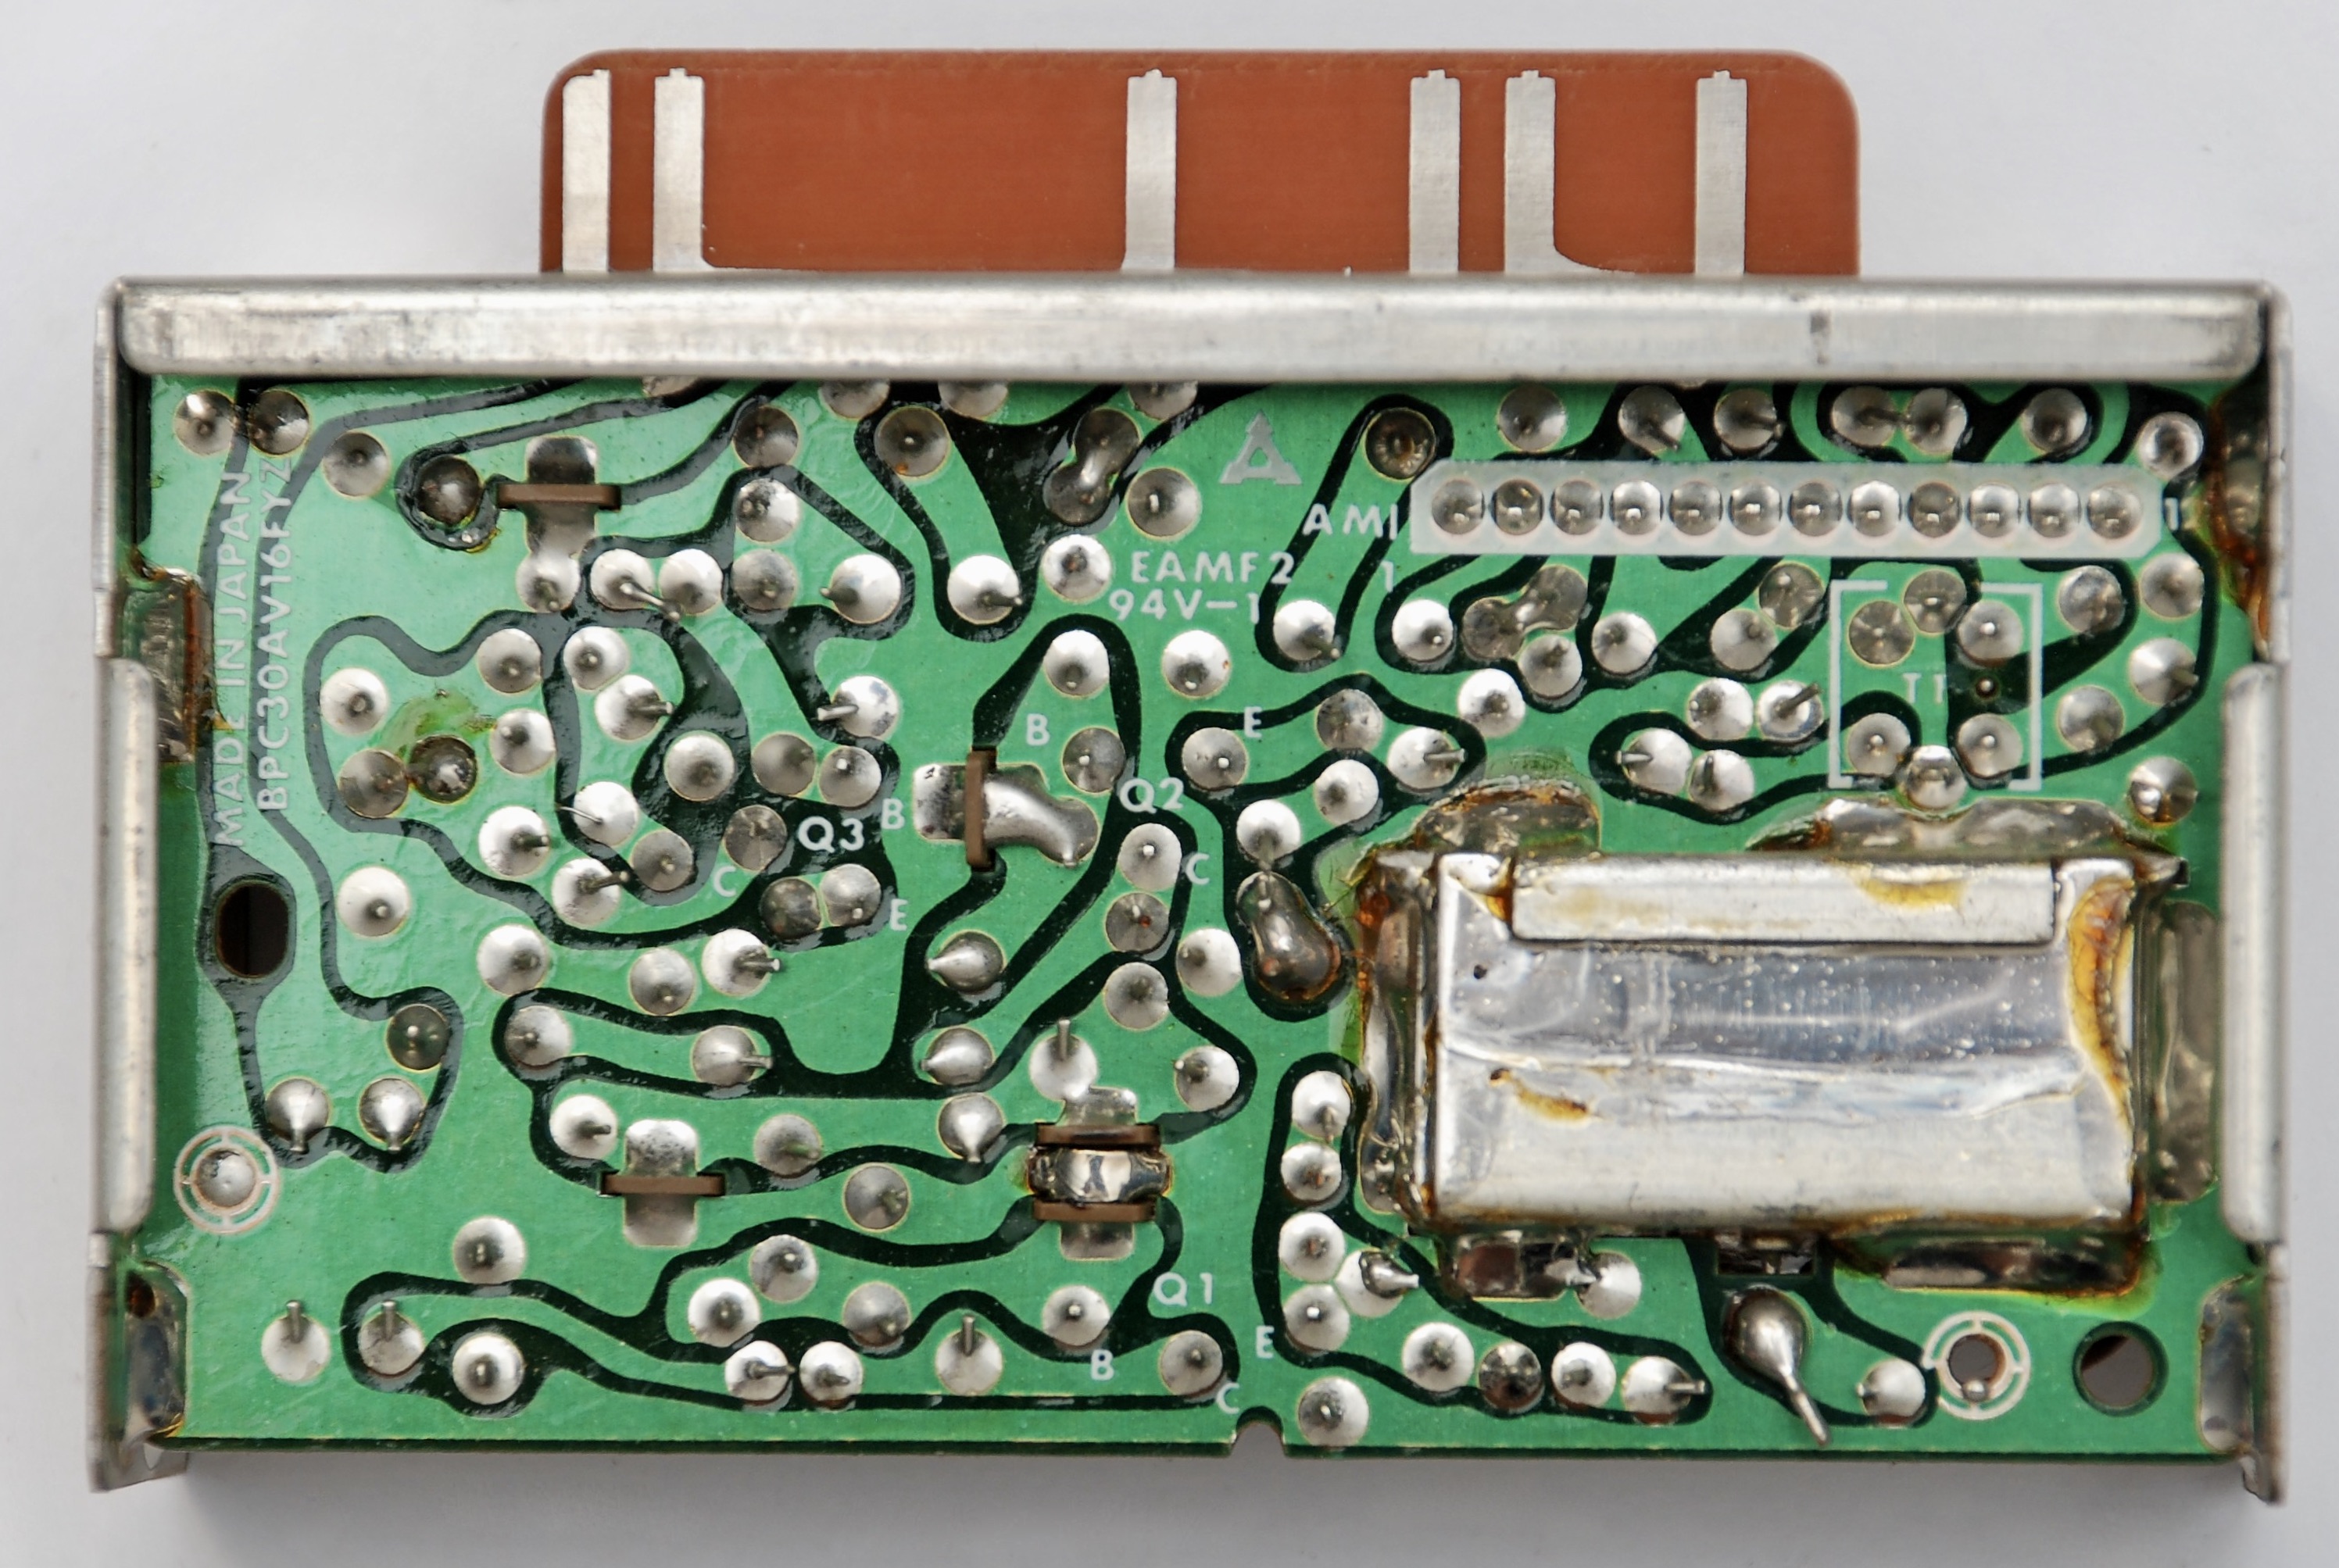
Circuit Boards
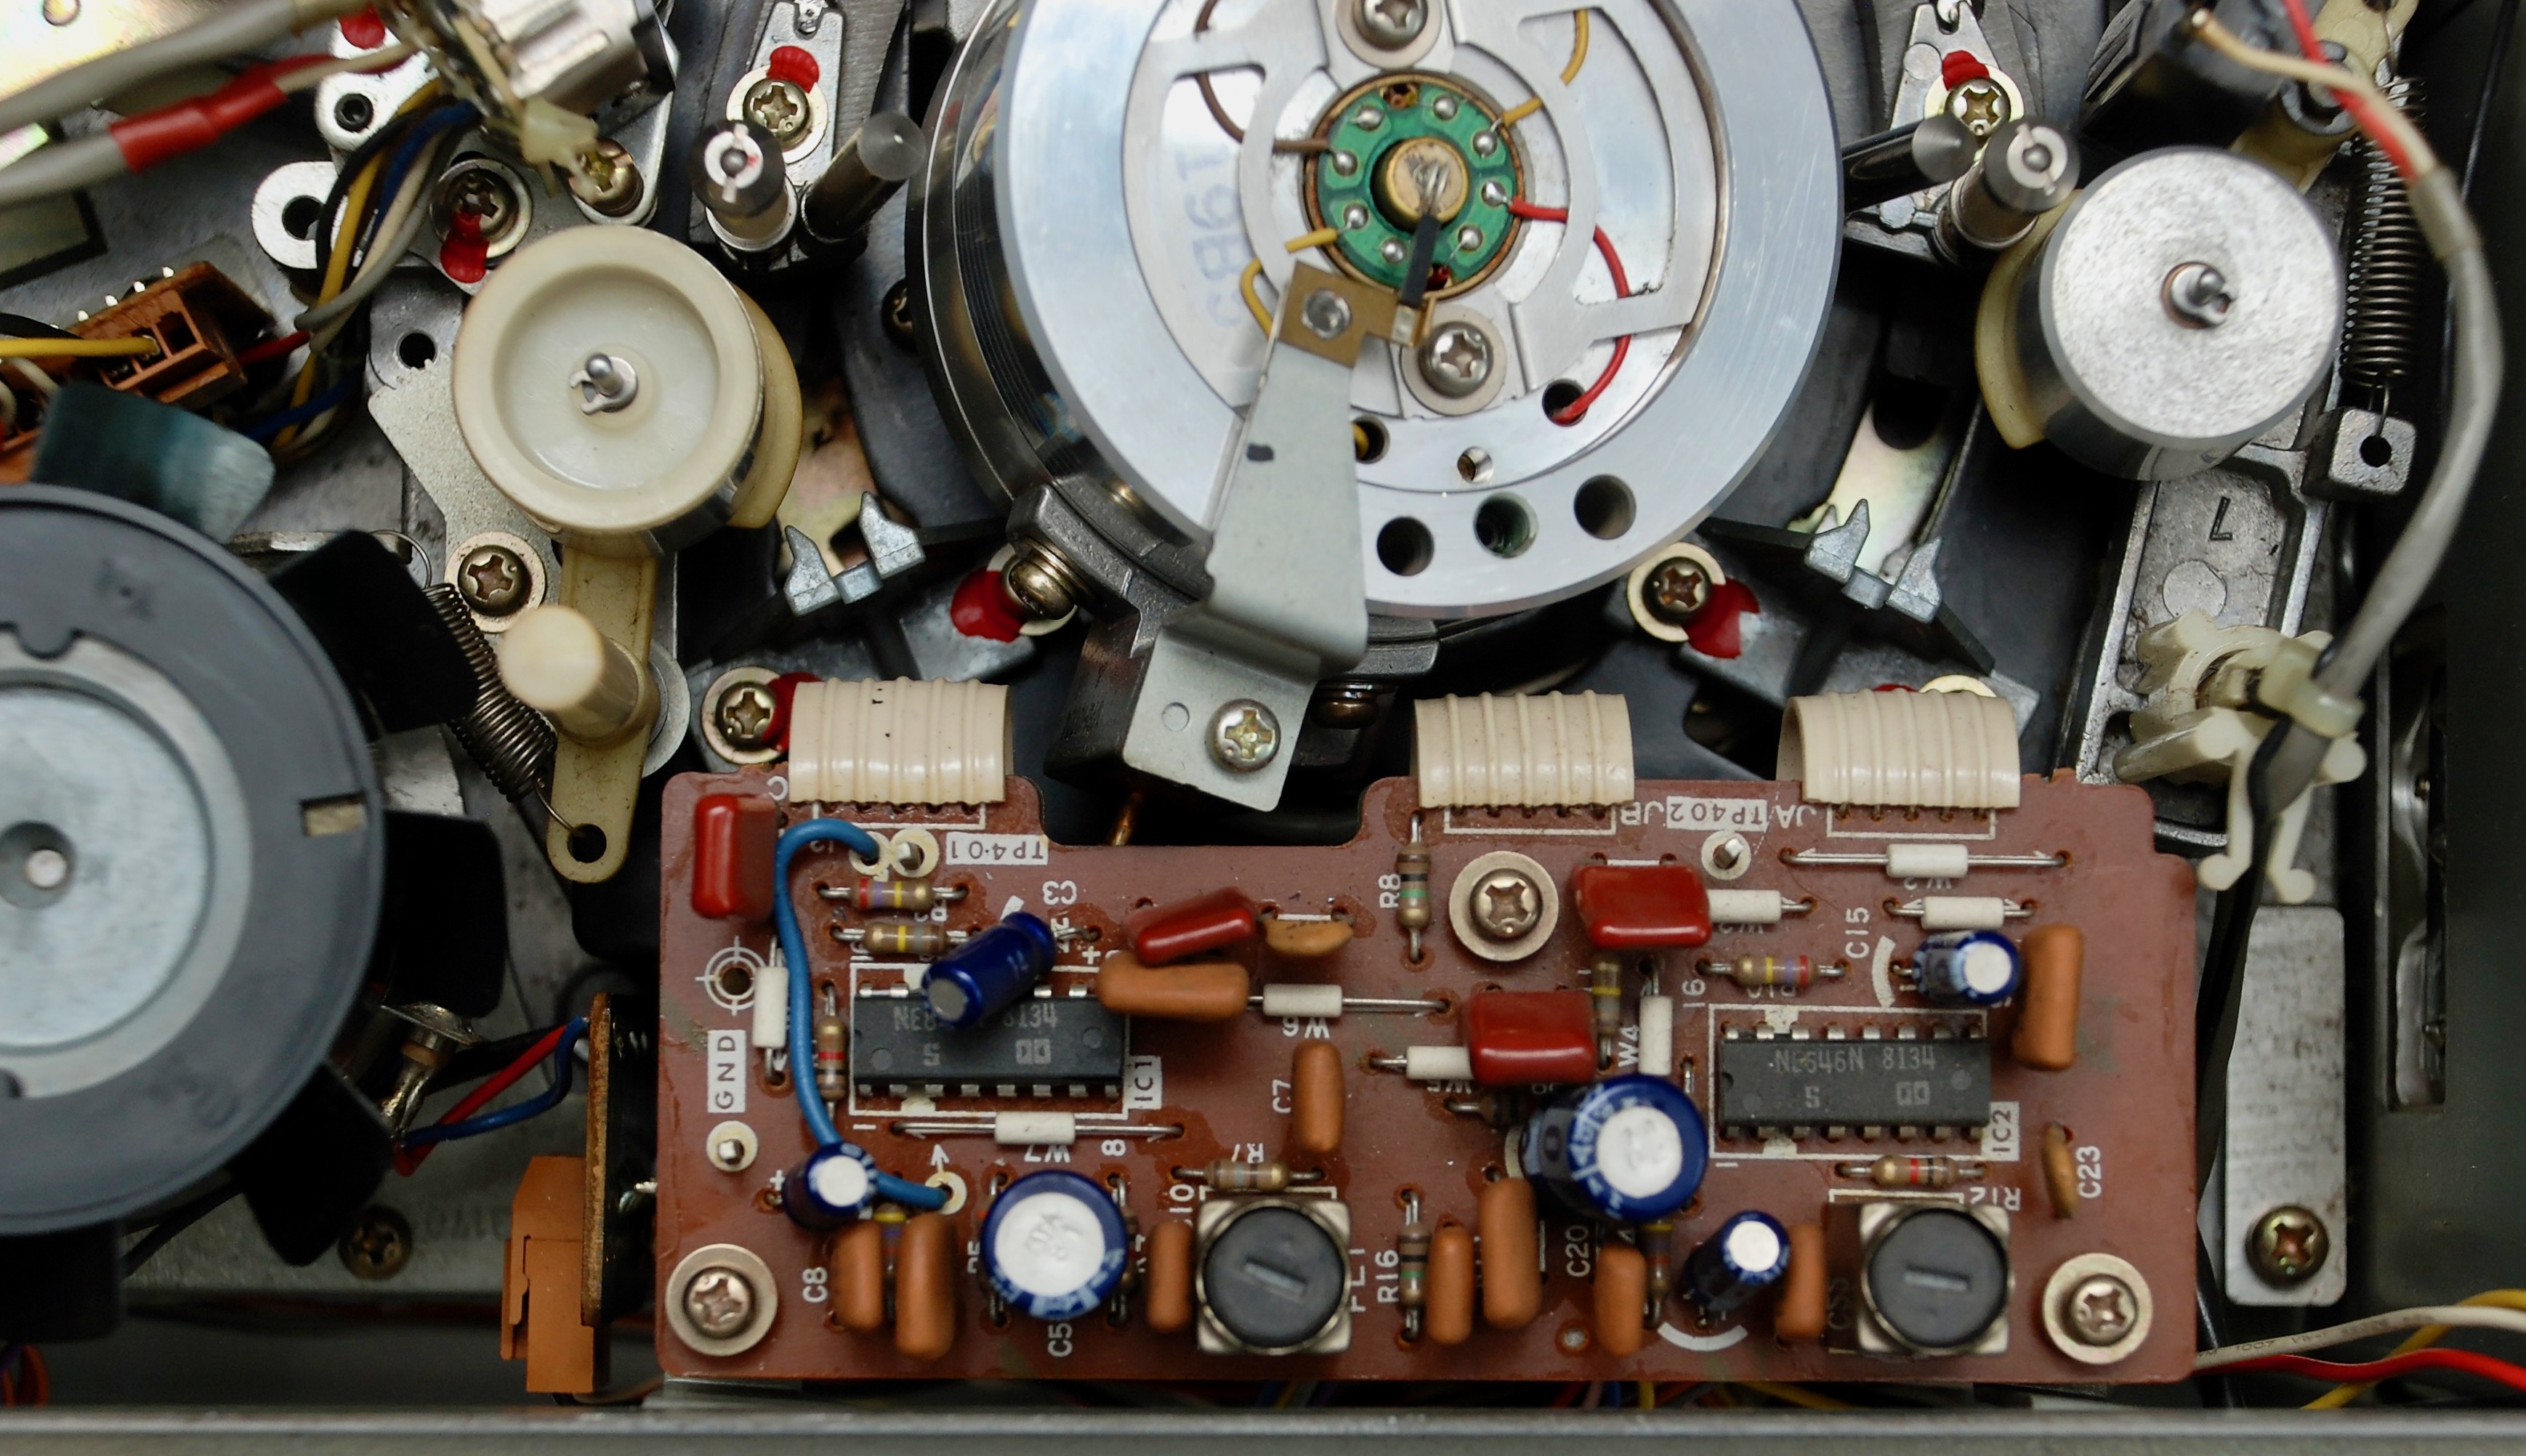
VEP0389A1-5


SY-2 Board


Both Boards Installed at the Bottom

VEP045181-1


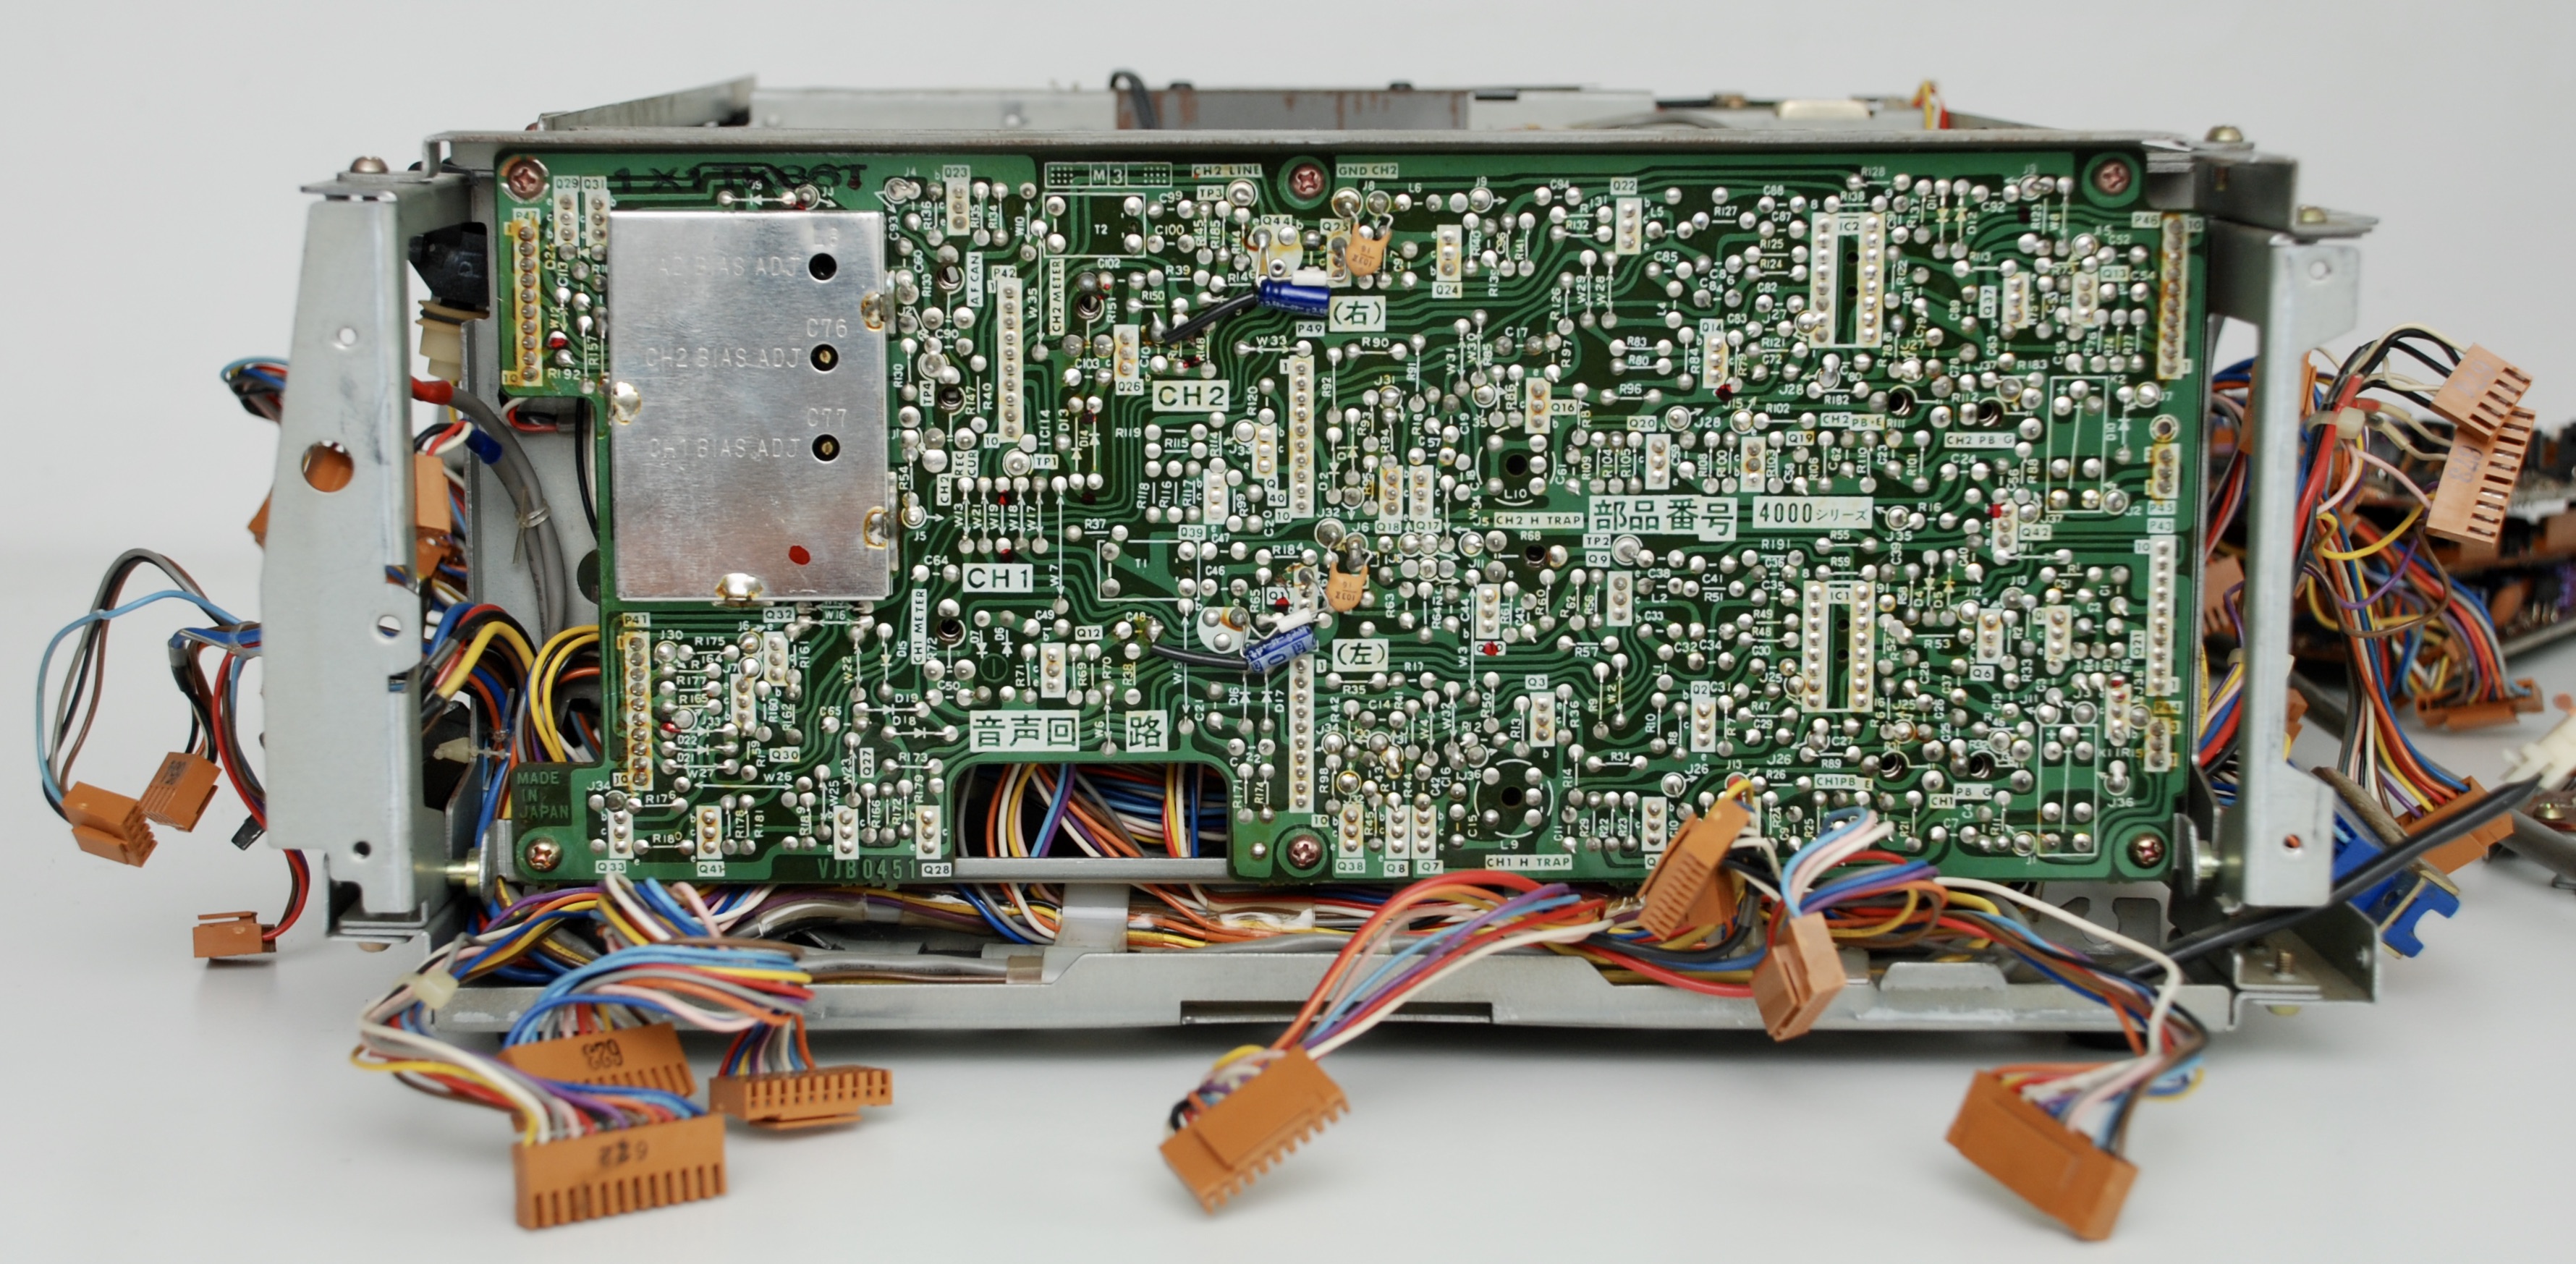
VEP0858A1-5


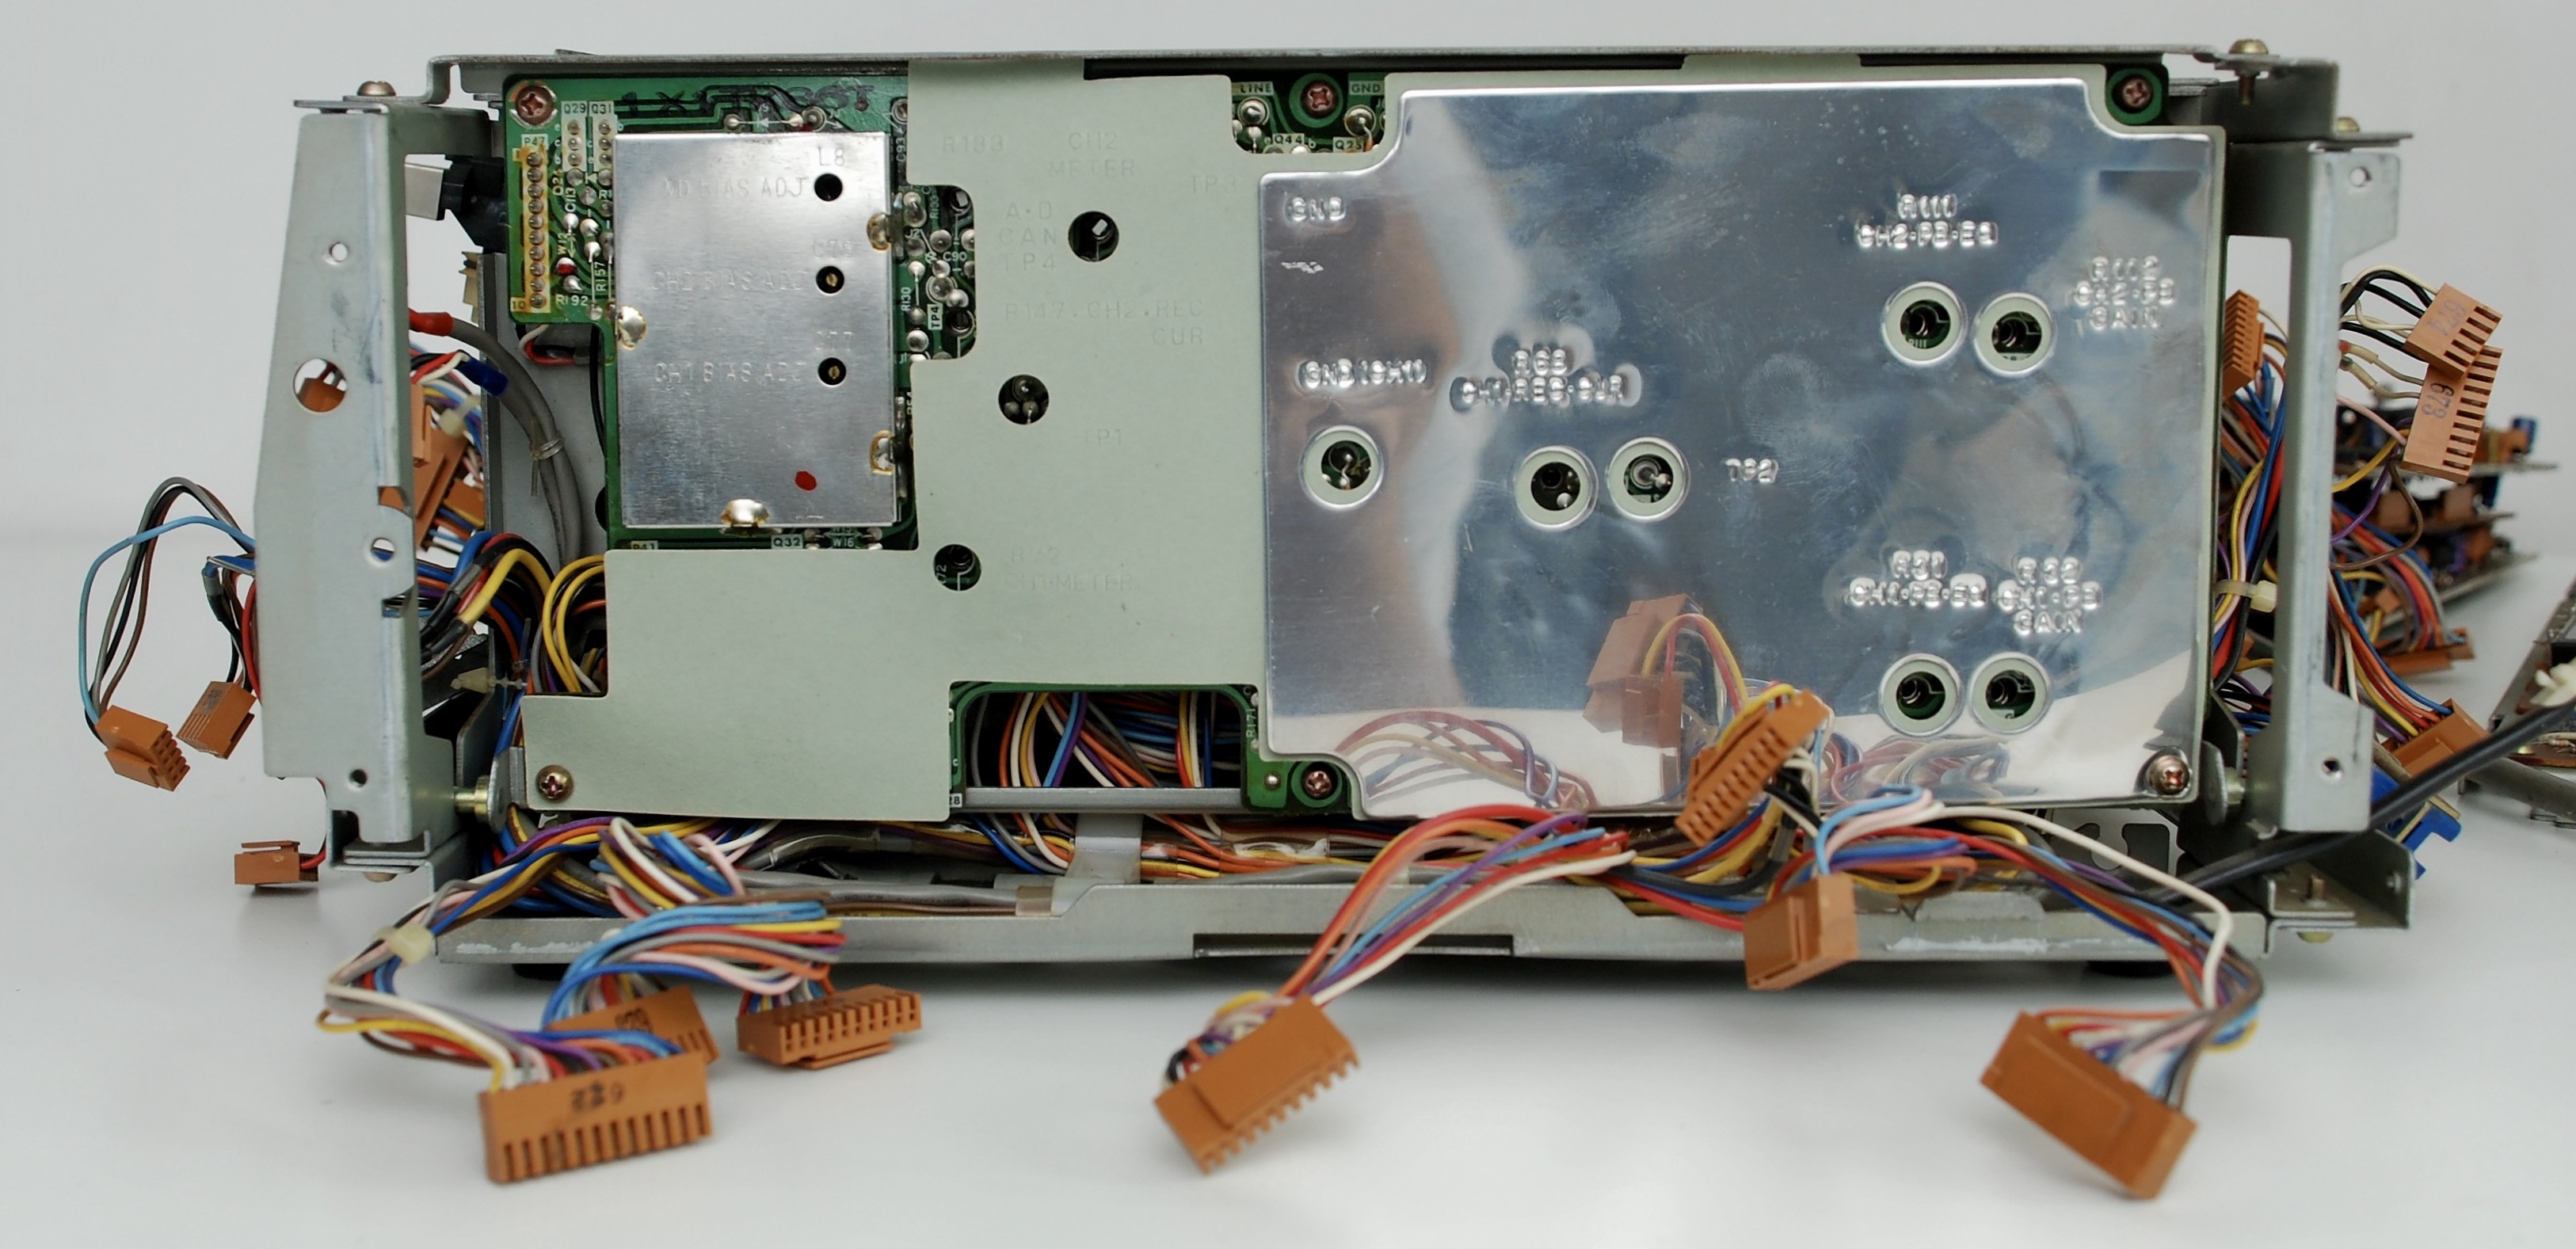
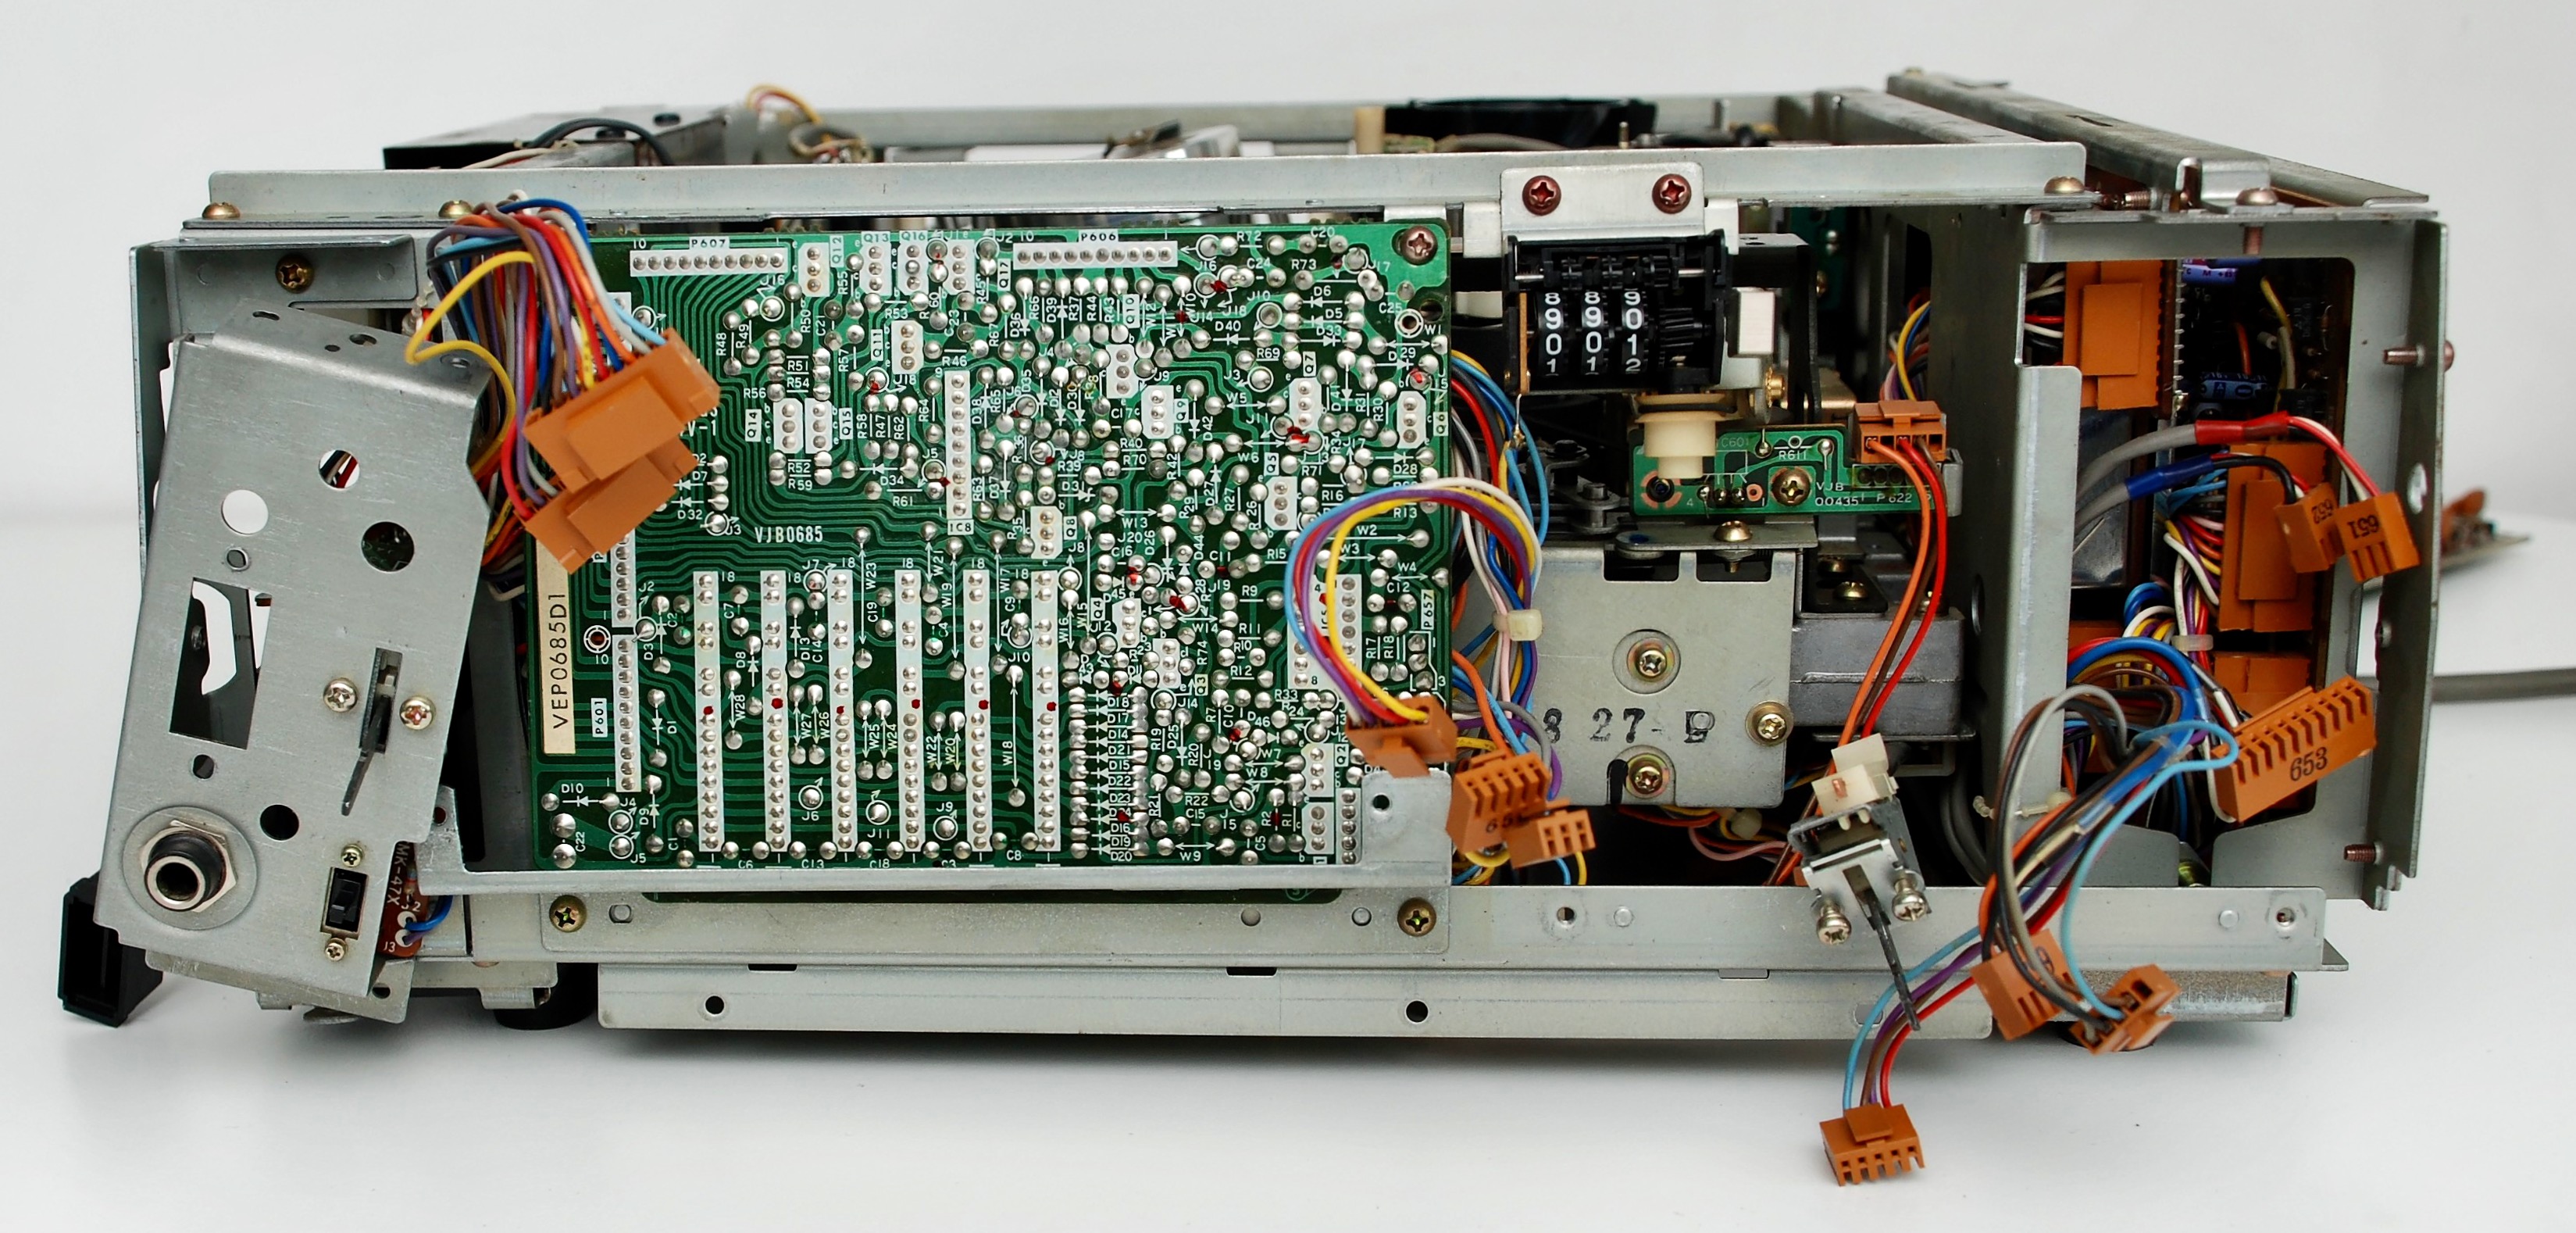
VEP0685D1


VEP0455A-1


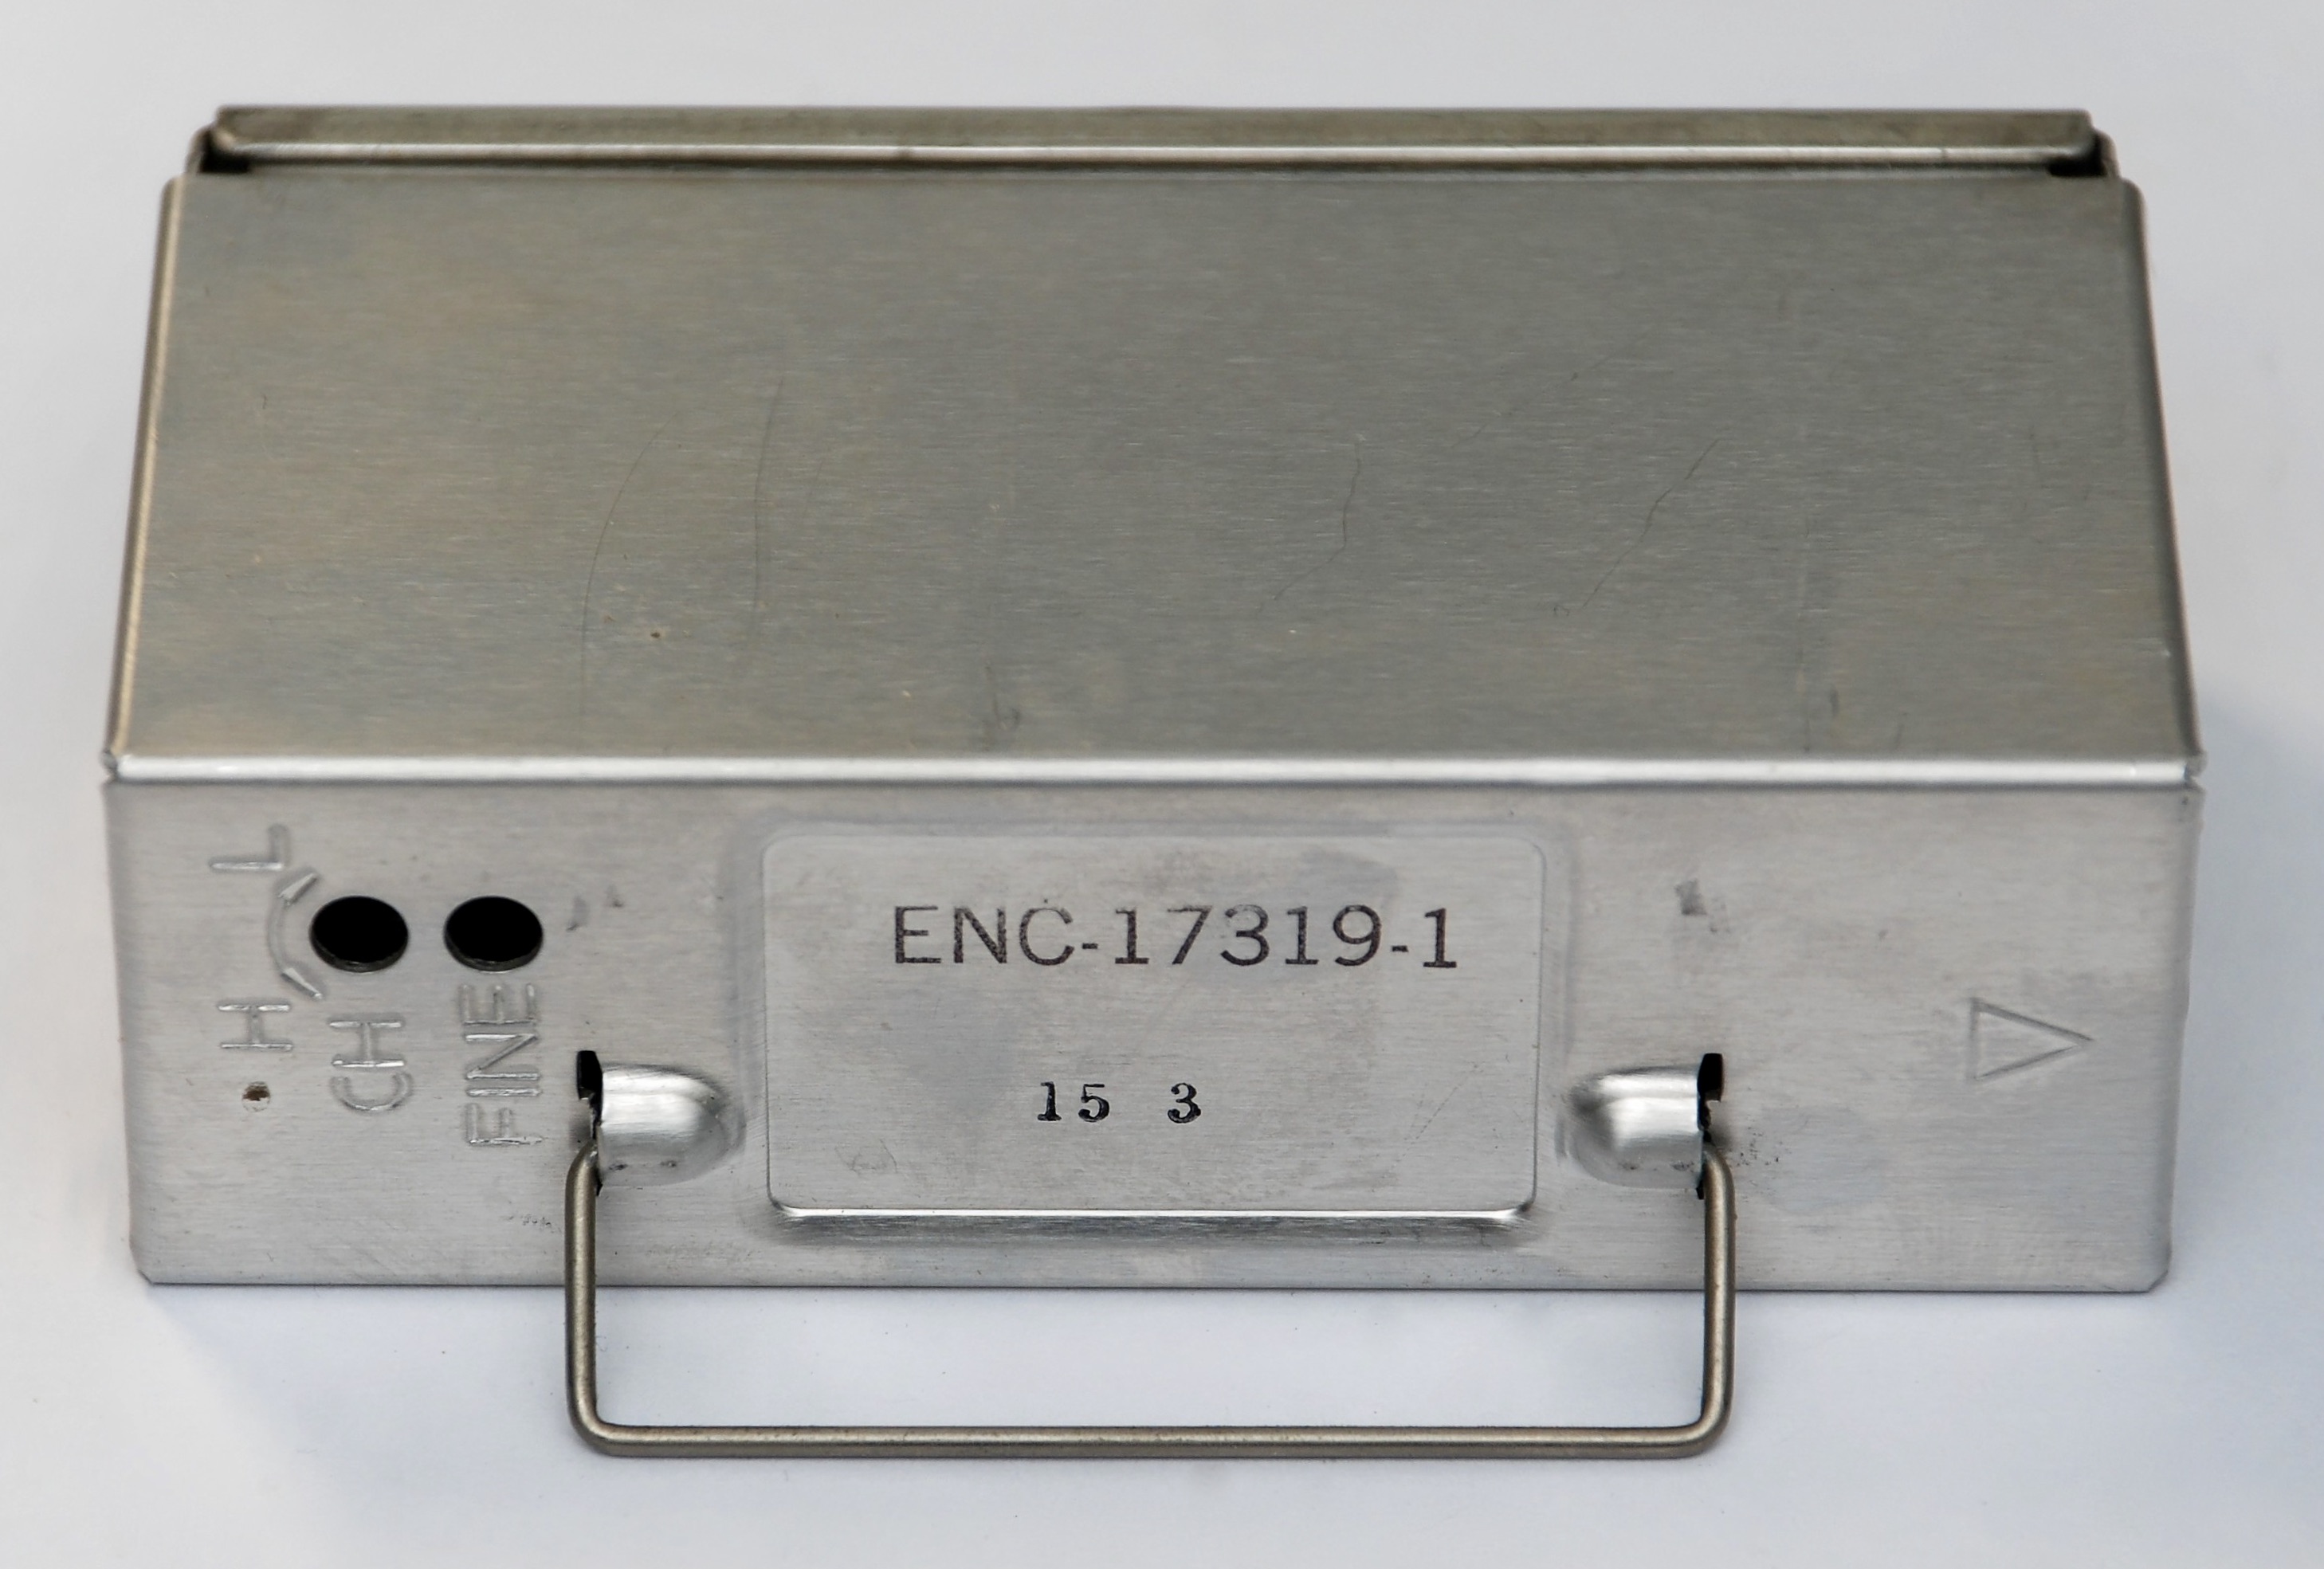
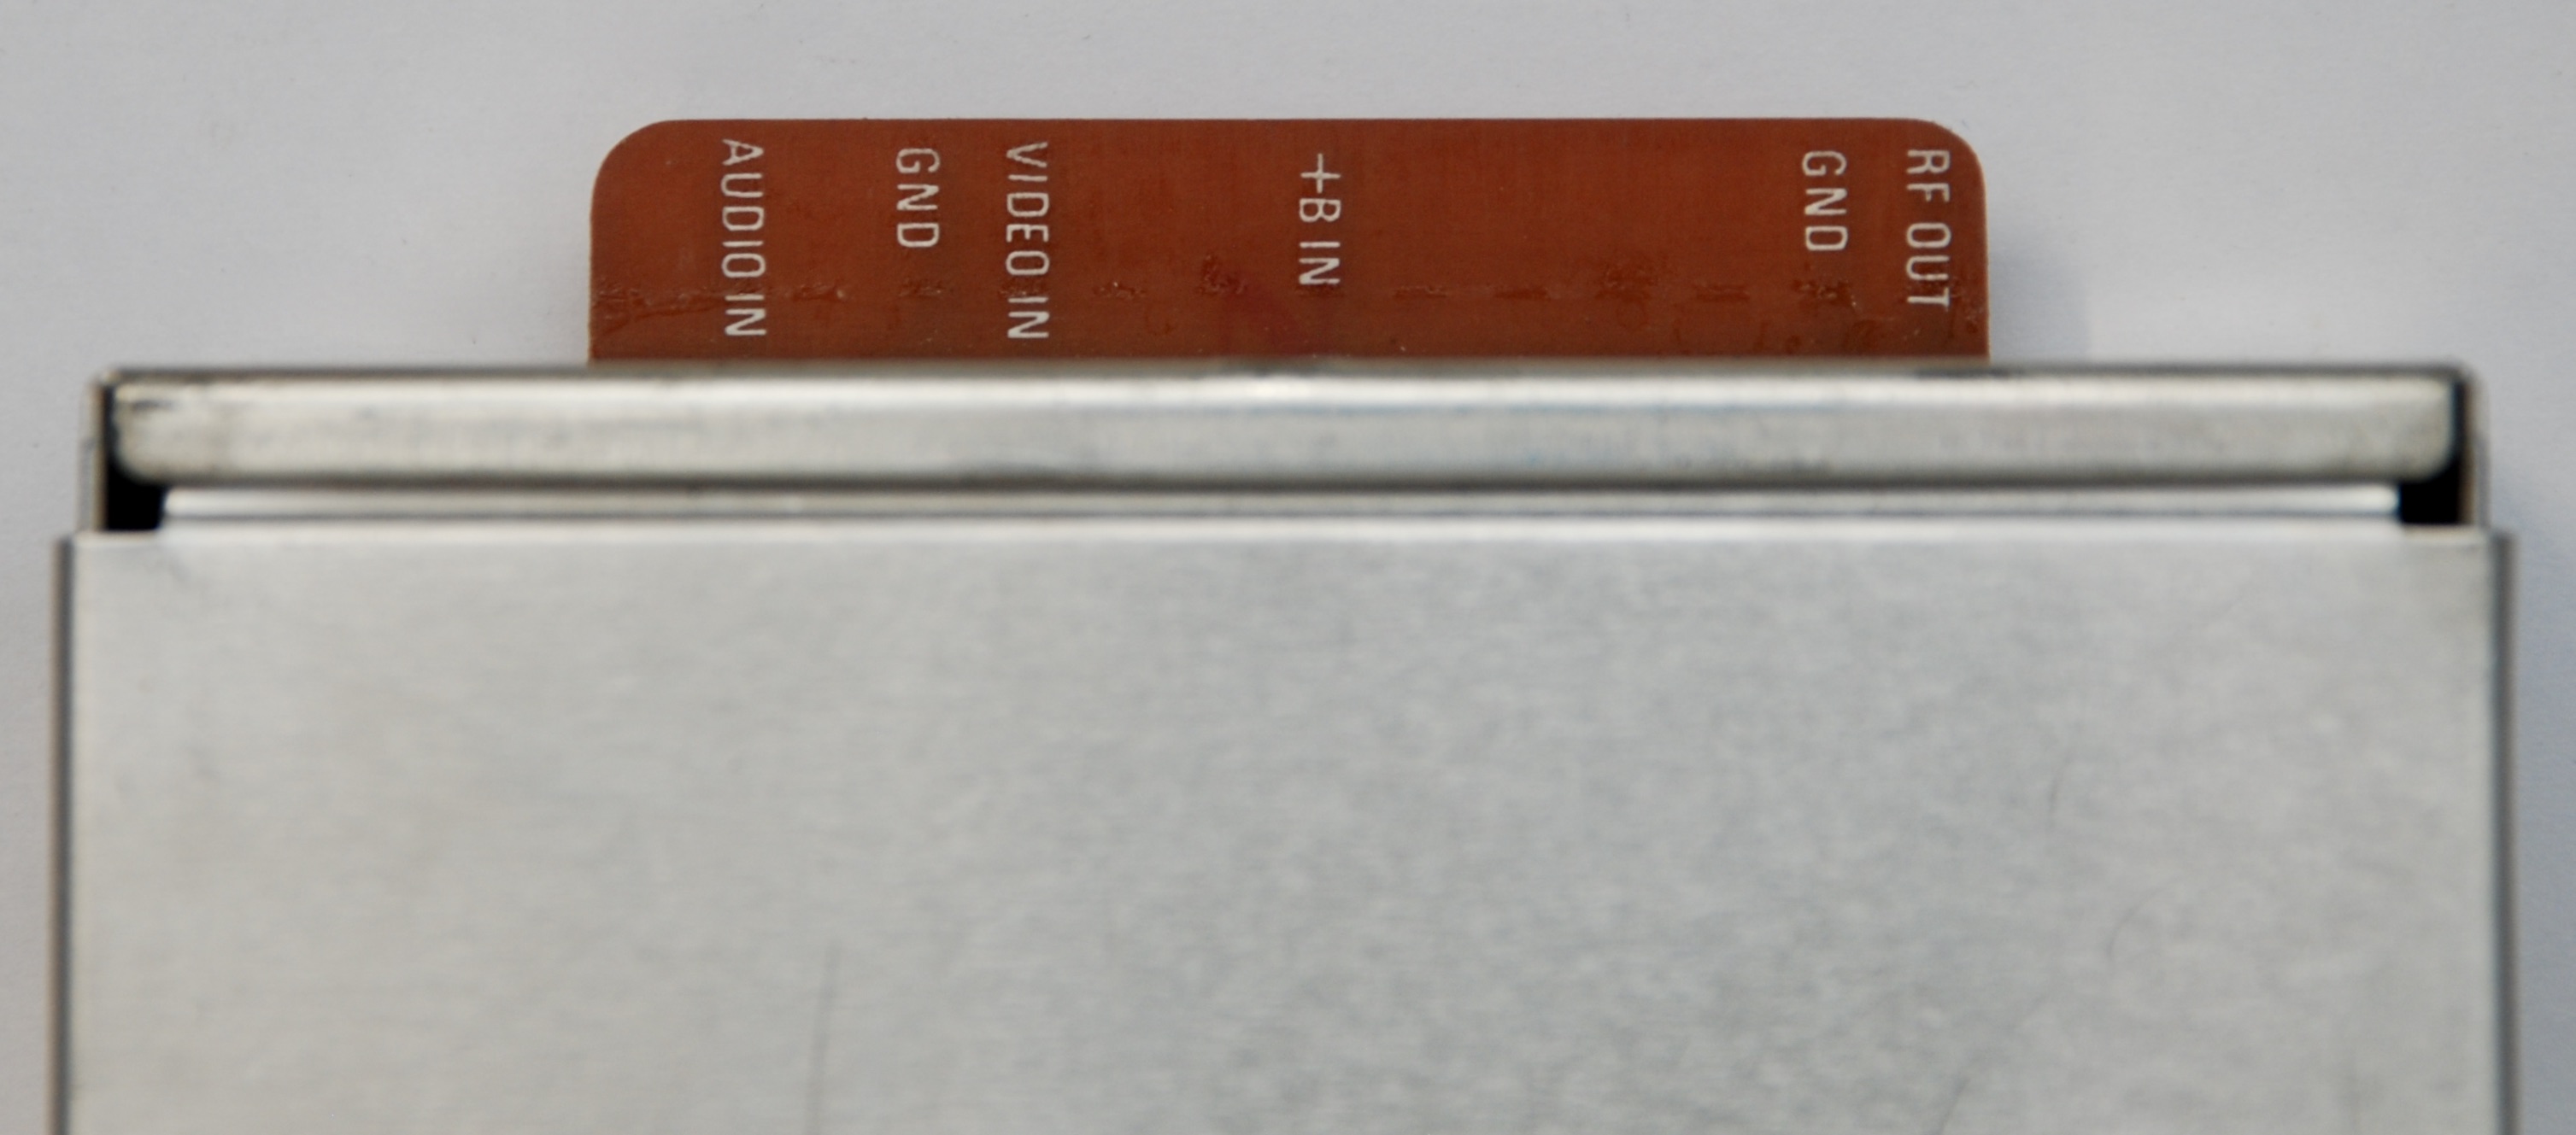
RF Modulator Module

Troubleshooting the Mechanism
Play Issues
The most common error of the NV-8200 is that after engaging PLAY the tape will not move (no roll rotation). I noticed the following reasons for this to happen:
- The PLAY does not engage completely. When PLAY is engaged, the rollers (1A) will pull the tape and try to wind it around the head. It may happen that the belt (3A) used to power the winding mechanism is too stretched and there is not enough power to finish the process. If it is the case, the servo (1B) disengaging the tape will not kick in. If you manually pull the bracket (1C) at the right time, it will finish the process and the PLAY will engage correctly. In this case, if you do not have a replacement belt, you can try to stretch the belt by moving the engine (3B) further away from the gear. It needs drilling an extra hole (2A) in the engine casing. You should also inspect the belt (3A) and remove any signs of grease that might have gotten there from the nearby worm gear (3C).


- The rewind roller brake mechanism (4A) is too tight. There is a loop around the rewind roller that serves as a brake. It has a stripe of a fleece glued to it. When you start PLAY and try to move the rewind roll manually, it should give a small resistance but not too large. Use the adjustment screw to correct the force of the brake.

Adjustments
This is a picture of a properly adjusted mechanism in a stop position. When reinstalling the casing of the engine (3B), pull the rollers (1A) all the way down away from the head and hold them both in that position until the engine and gears are in place and lock the rollers down.
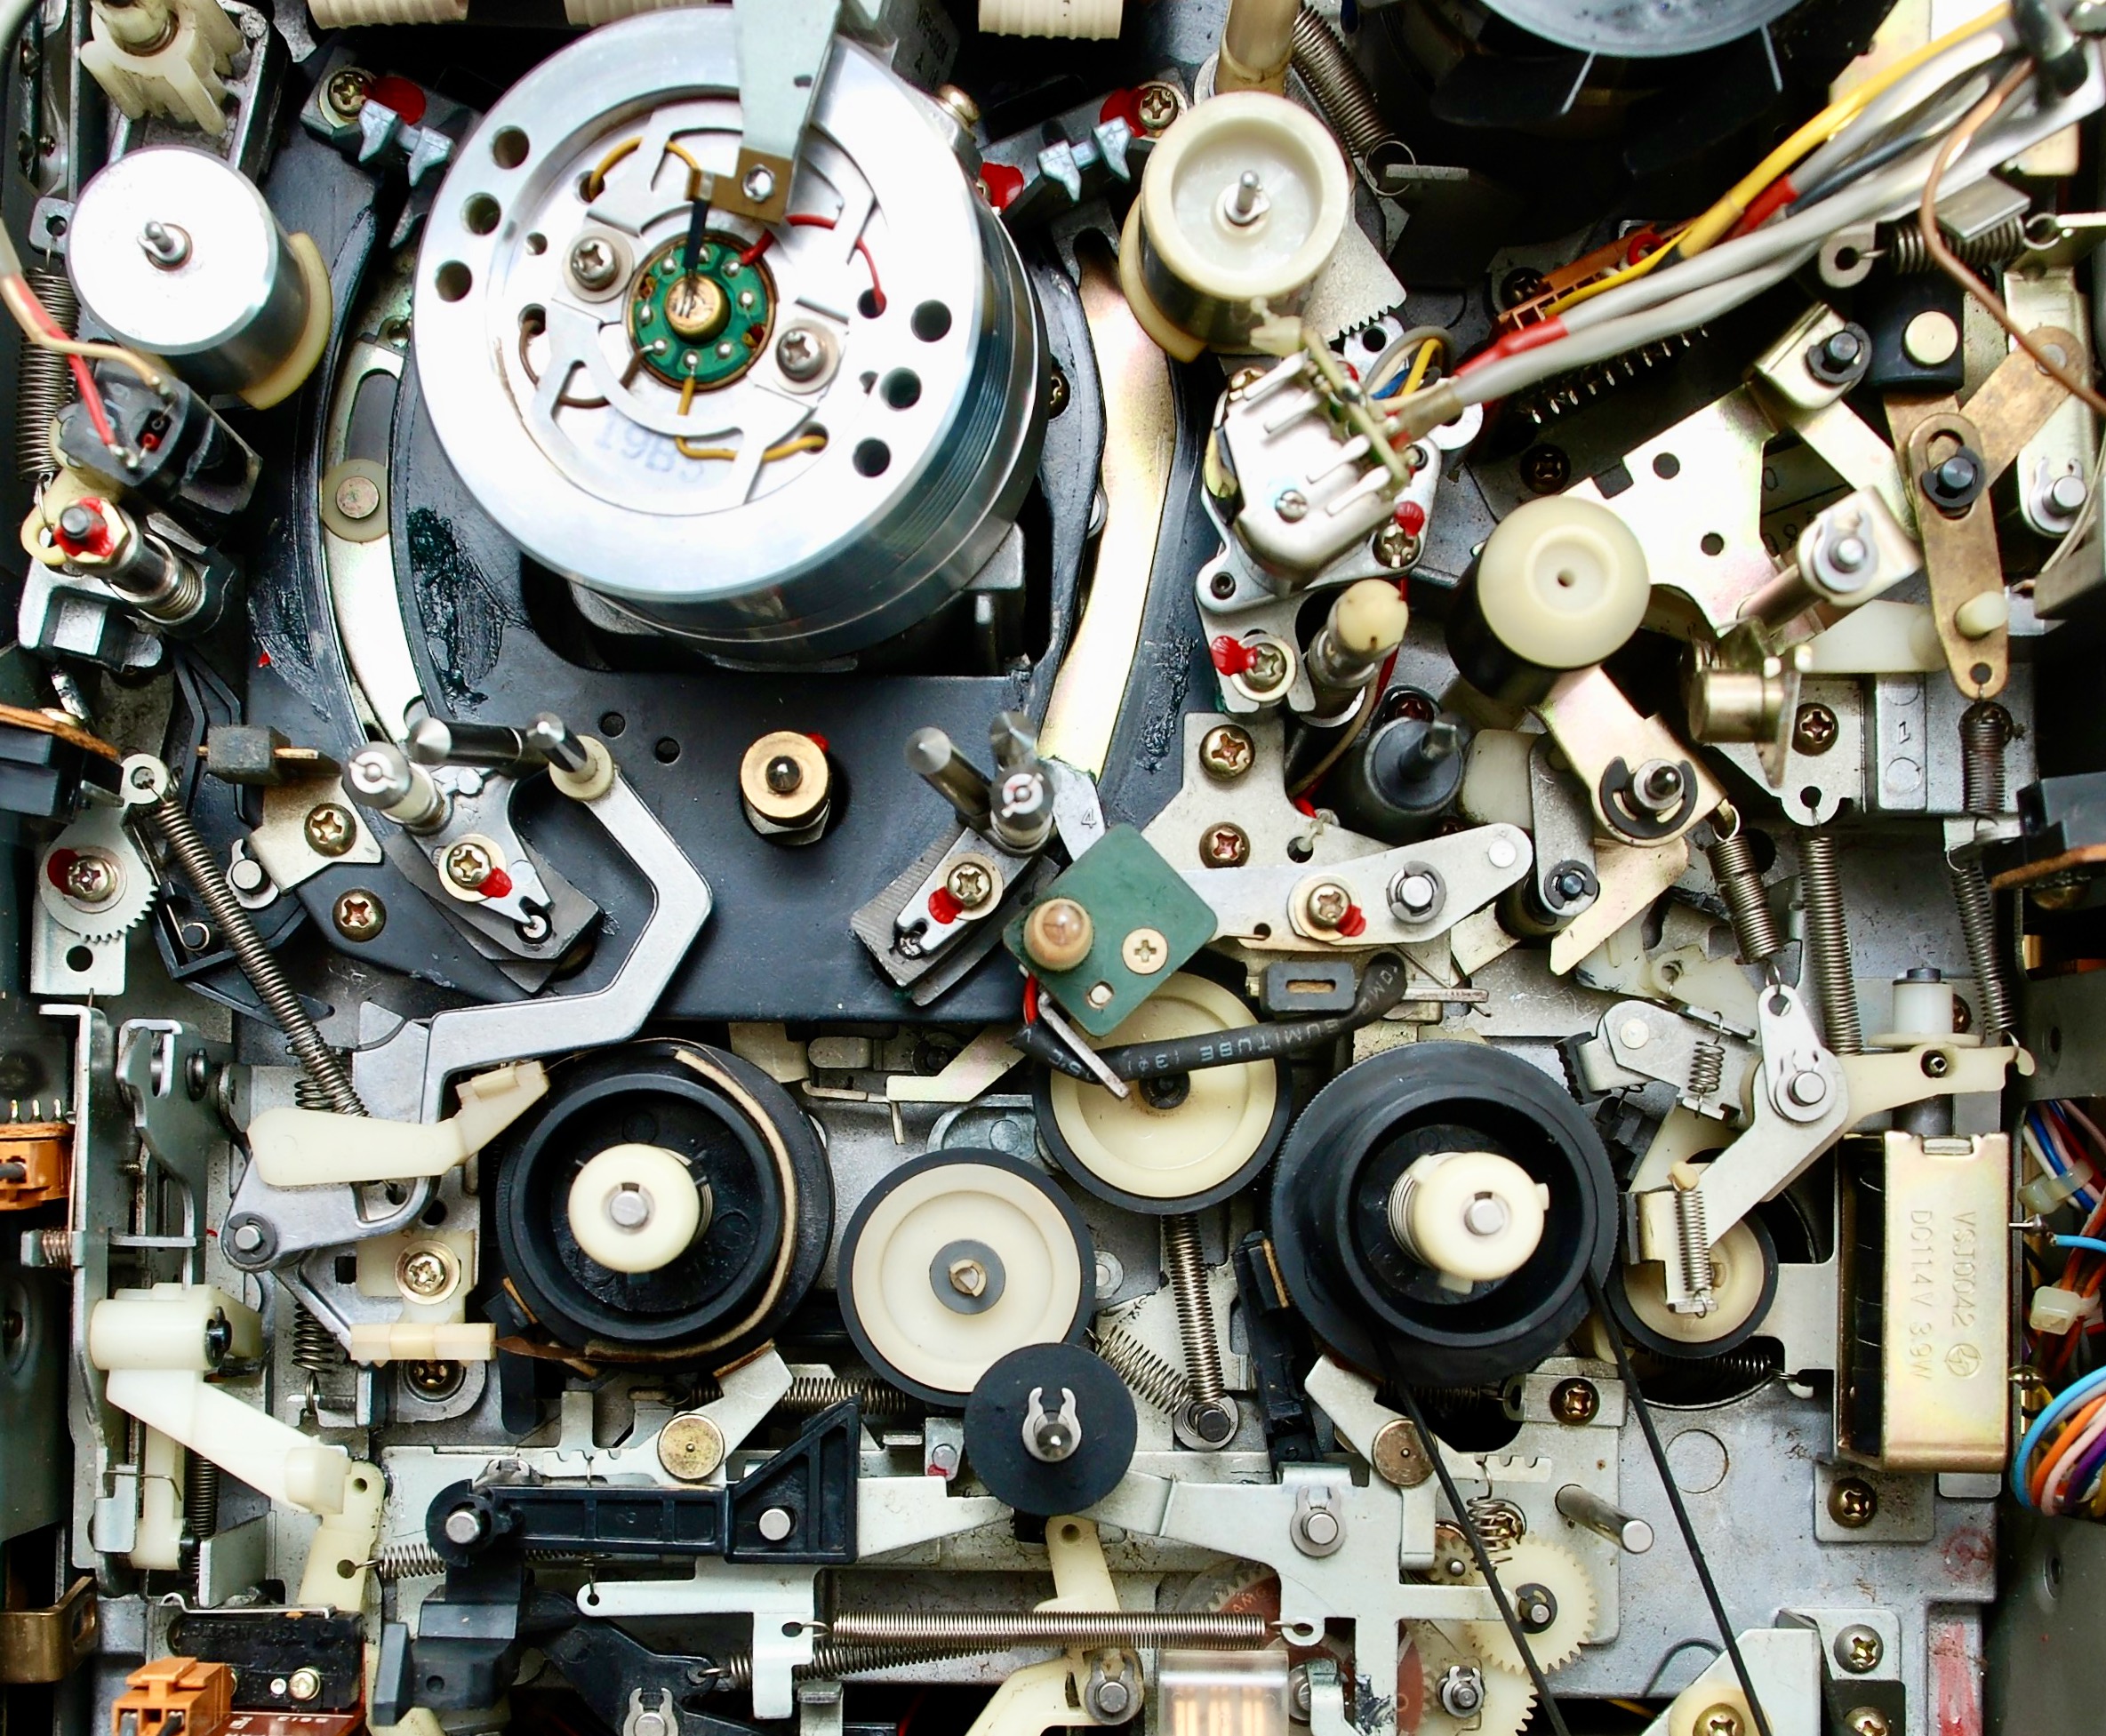
This is a picture of a properly adjusted mechanism in a play position.

Reassembly (last steps)