


Resources
Wiki
Old Computers
Atari Museum
Atari ST Interfaces (all interfaces with pinouts and cable designs)
Documents
No documents found.Internals
Board


The easiest way to upgrade TOS is to replace the ROM chips with electrically erasable EEPROMs, for example Winbond W27C010. It is much more convenient than using EPROMs. The jumpers on the motherboard will have to be set according to the chip used. Here is a photo of the original ROM chips and replacement chip.

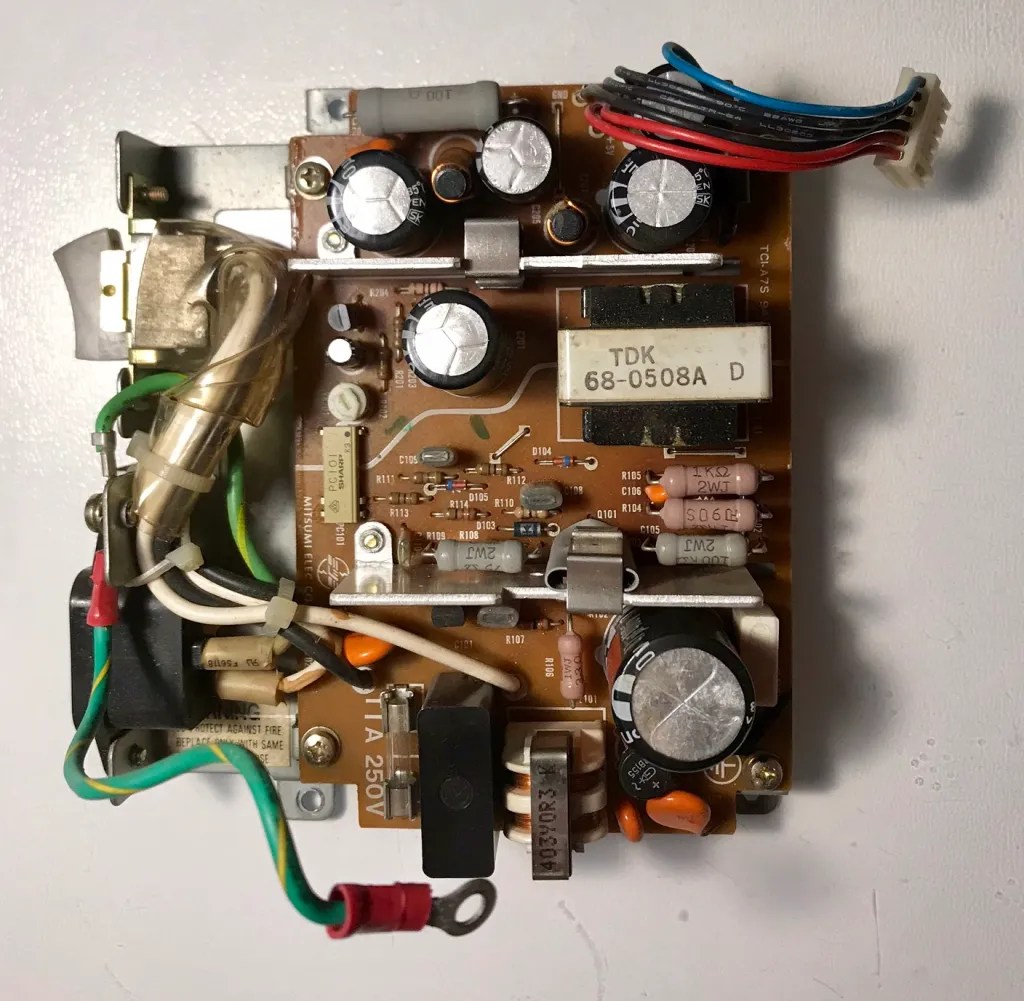
Power Supply


Keyboard


Floppy Disk Drive
The original FDDs may be worn out and refuse to read the disks. It is possible to replace them with a PC 1.44MB FDD, for example Sony MPF920. There are two things needed to make it work:
Changing the drive select from SEL1 to SEL0, either through jumpers (earlier models) or through a soldering fix


Connecting the drive data cable upside-down.
Unfortunately the original front plate of the drive may not fit the new one.
Atari Forum contains a lot of detailed information on FDD replacement.
Mouse


In the absence of the original Atari mouse, it is possible to connect a USB mouse through an adapter. I purchased and recommend a TOM+ adapter, that also fits Amiga and C64/128.

Video
There is a RF connector and a 13-pin DIN socket that combines composite video and RGB signals. If you have a monitor that supports 15 kHz horizontal sync frequency, you can connect the 13-pin DIN socket to VGA input.
One of the unfortunate features of Atari ST is that its low/medium resolution mode (color) and high resolution mode (monochrome) are selected through a pin on its video port. So there are two separate cables needed to cover all graphics modes.
VGA Monochrome cable

VGA color cable
Idea is described at info-coach.fr
Composite cable

SCART cable

Reassembly


french and probably russian ste didn’t have the rf modulator, and we never had one in the original st and the stf (no m in france), there simply wasn’t any rf modulator compatible secam, and we had scart since 1980.